# ruoyi-firebird
**Repository Path**: avatarwx/ruoyi-firebird
## Basic Information
- **Project Name**: ruoyi-firebird
- **Description**: Firebird 适合单机应用、嵌入式系统、对事务要求极高的小型/中型系统。由于资源消耗小,很多嵌入式设备、工控系统会内置 Firebird,例如医疗仪器、银行终端、能源系统。
- **Primary Language**: Unknown
- **License**: MIT
- **Default Branch**: master
- **Homepage**: None
- **GVP Project**: No
## Statistics
- **Stars**: 1
- **Forks**: 1
- **Created**: 2025-09-01
- **Last Updated**: 2025-10-25
## Categories & Tags
**Categories**: Uncategorized
**Tags**: firebird, ruoyi-firebird, firebird-ruoyi, ruoyi, ry-firebird
## README
## 平台简介
- 将ruoyi底层数据库改为firebird。Firebird 适合单机应用、嵌入式系统、对事务要求极高的小型/中型系统。由于资源消耗小,很多嵌入式设备、工控系统会内置 Firebird,例如医疗仪器、银行终端、能源系统。Firebird 常被用于 Windows 桌面软件作为后台数据库(例如 ERP、进销存软件),因为它无需复杂配置,用户只要带 .fdb 文件即可使用。
- 记得右上角点个 star 持续关注更新哟~~

## 系统模块
```
com.ruoyi
├── ruoyi-admin // 启动类 主配置
├── ruoyi-generator // 代码生成
├── ruoyi-auth // 用户认证
├── ruoyi-quart // 定时任务
├── ruoyi-system // 业务代码
├── ruoyi-ui // 前端
```
## 内置功能
1. 用户管理:用户是系统操作者,该功能主要完成系统用户配置。
......
6. 代码生成:前后端代码的生成(java、html、xml、sql)支持CRUD下载
除此之外,还支持 系统接口,服务监控,缓存监控,在线构建器,连接池监视等功能。
## 在线体验
- (后台管理)- https://s4.s100.vip:14280
- 测试账号:admin / admin123
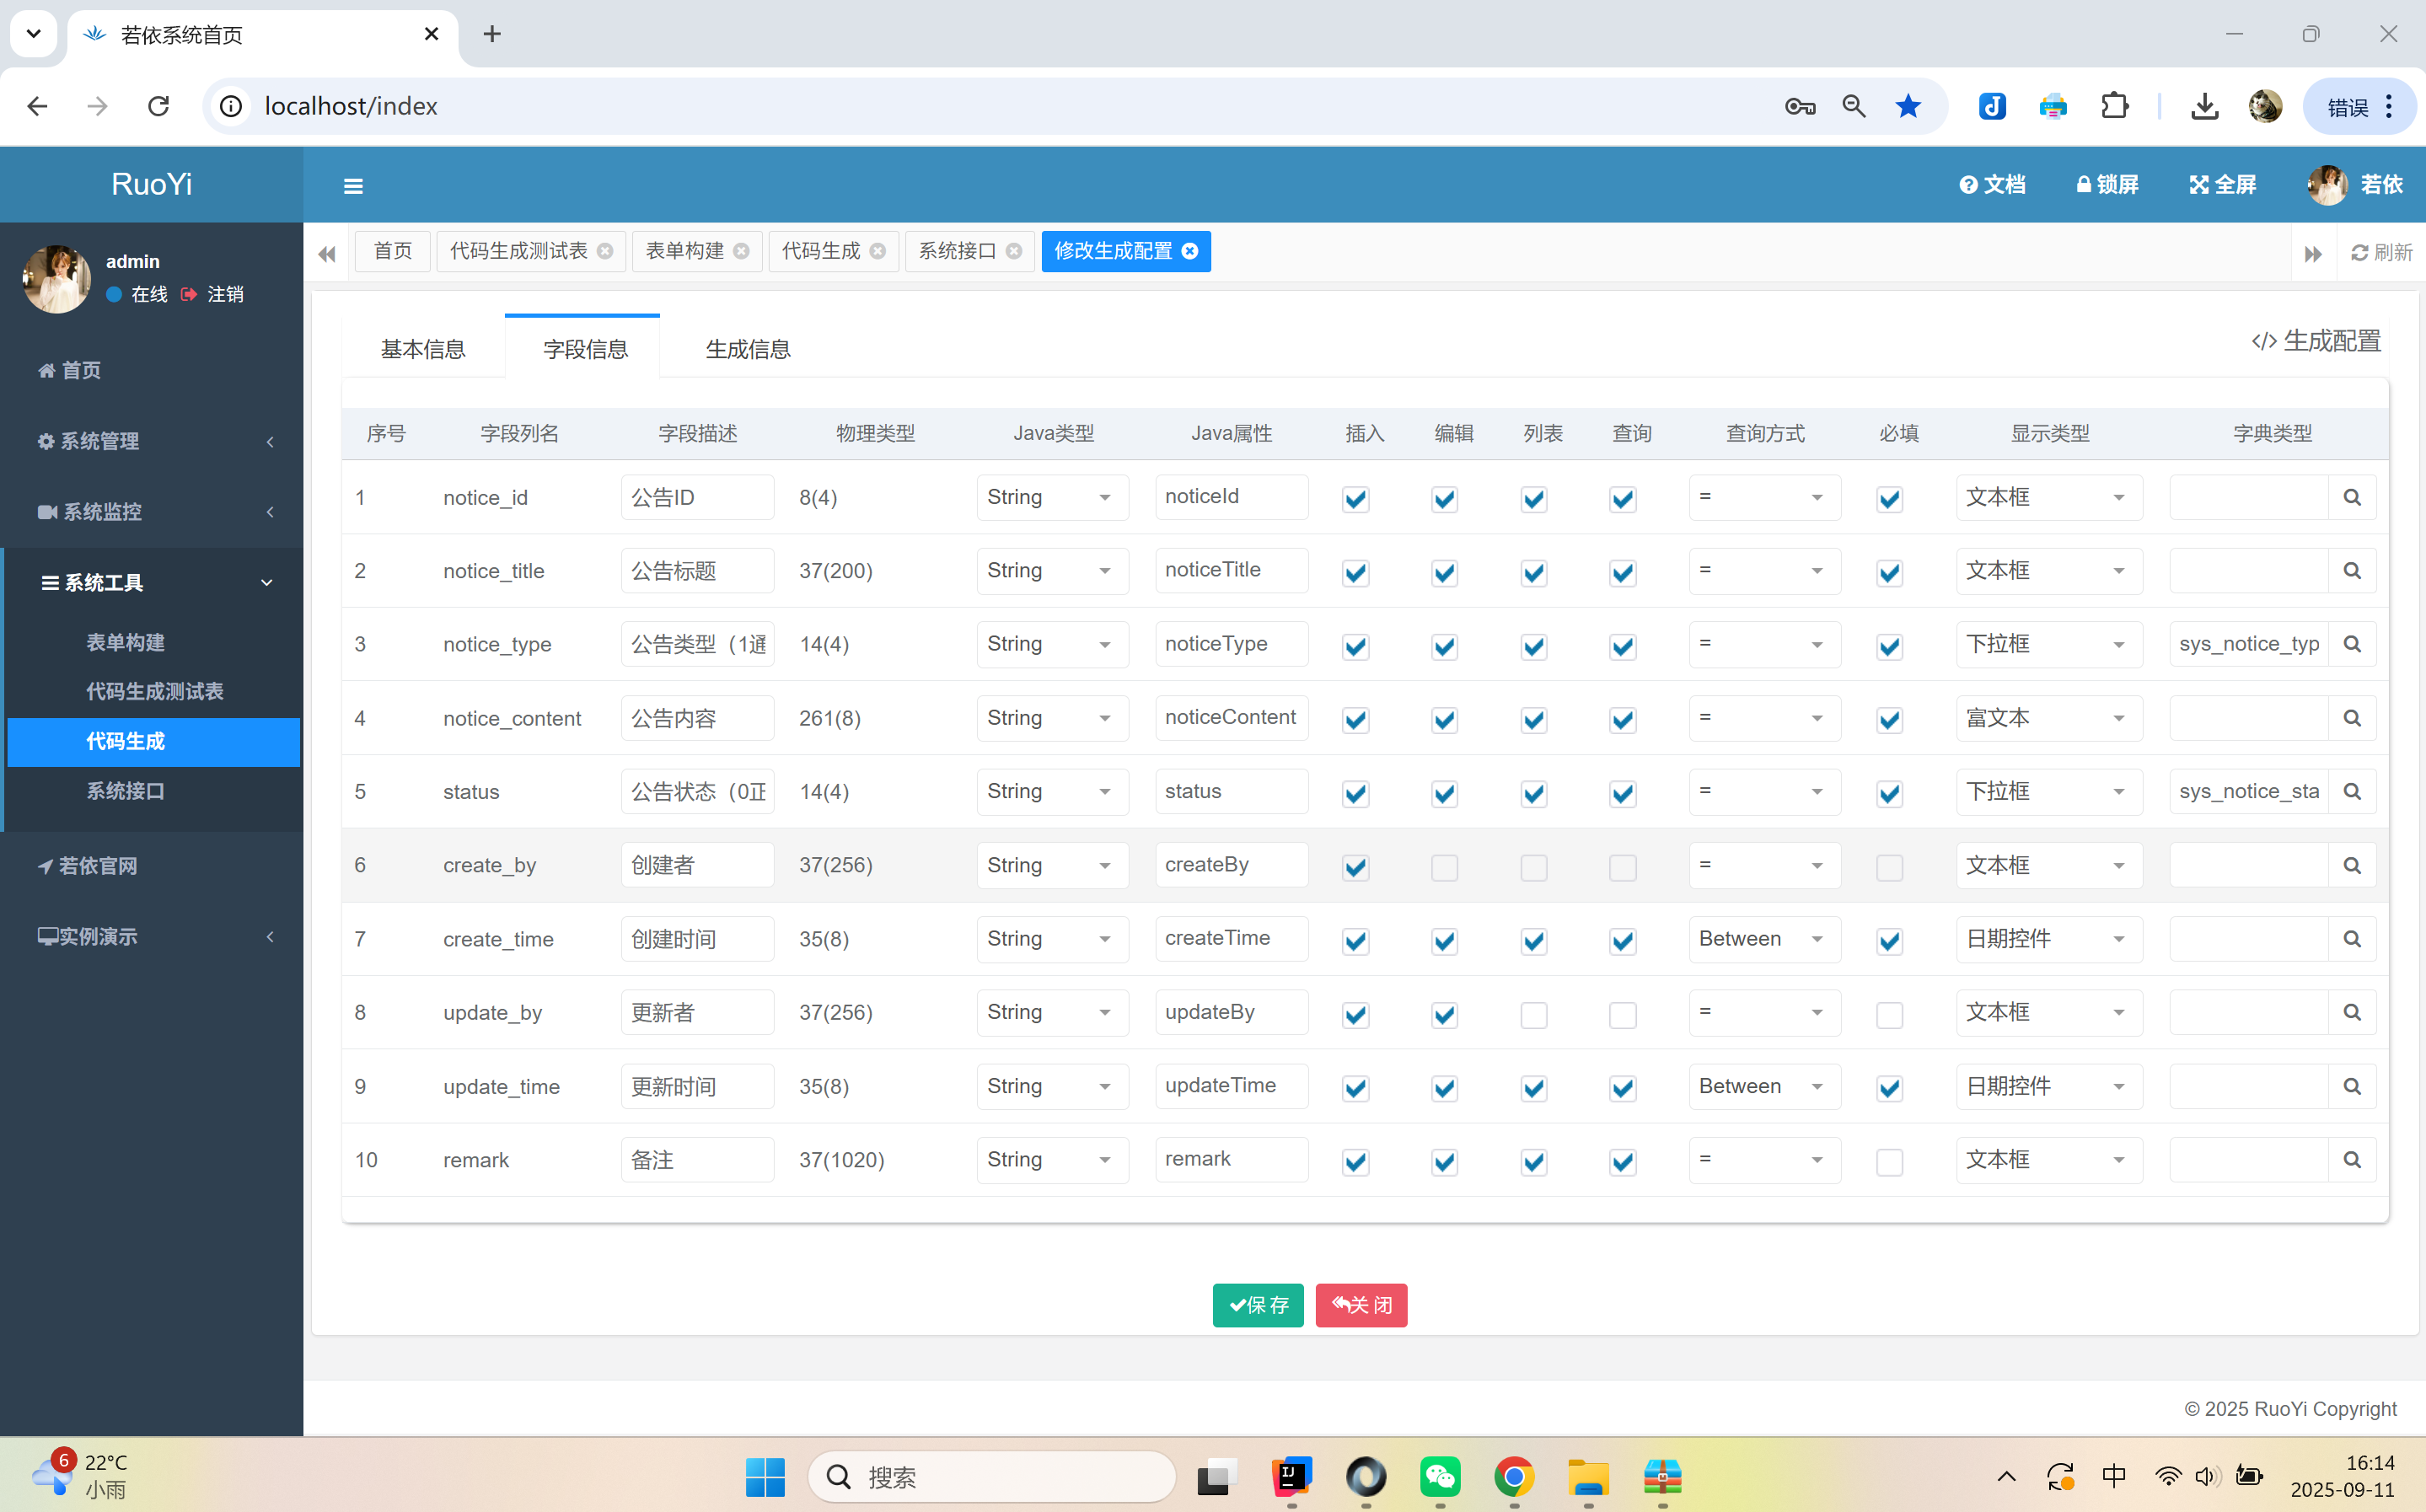
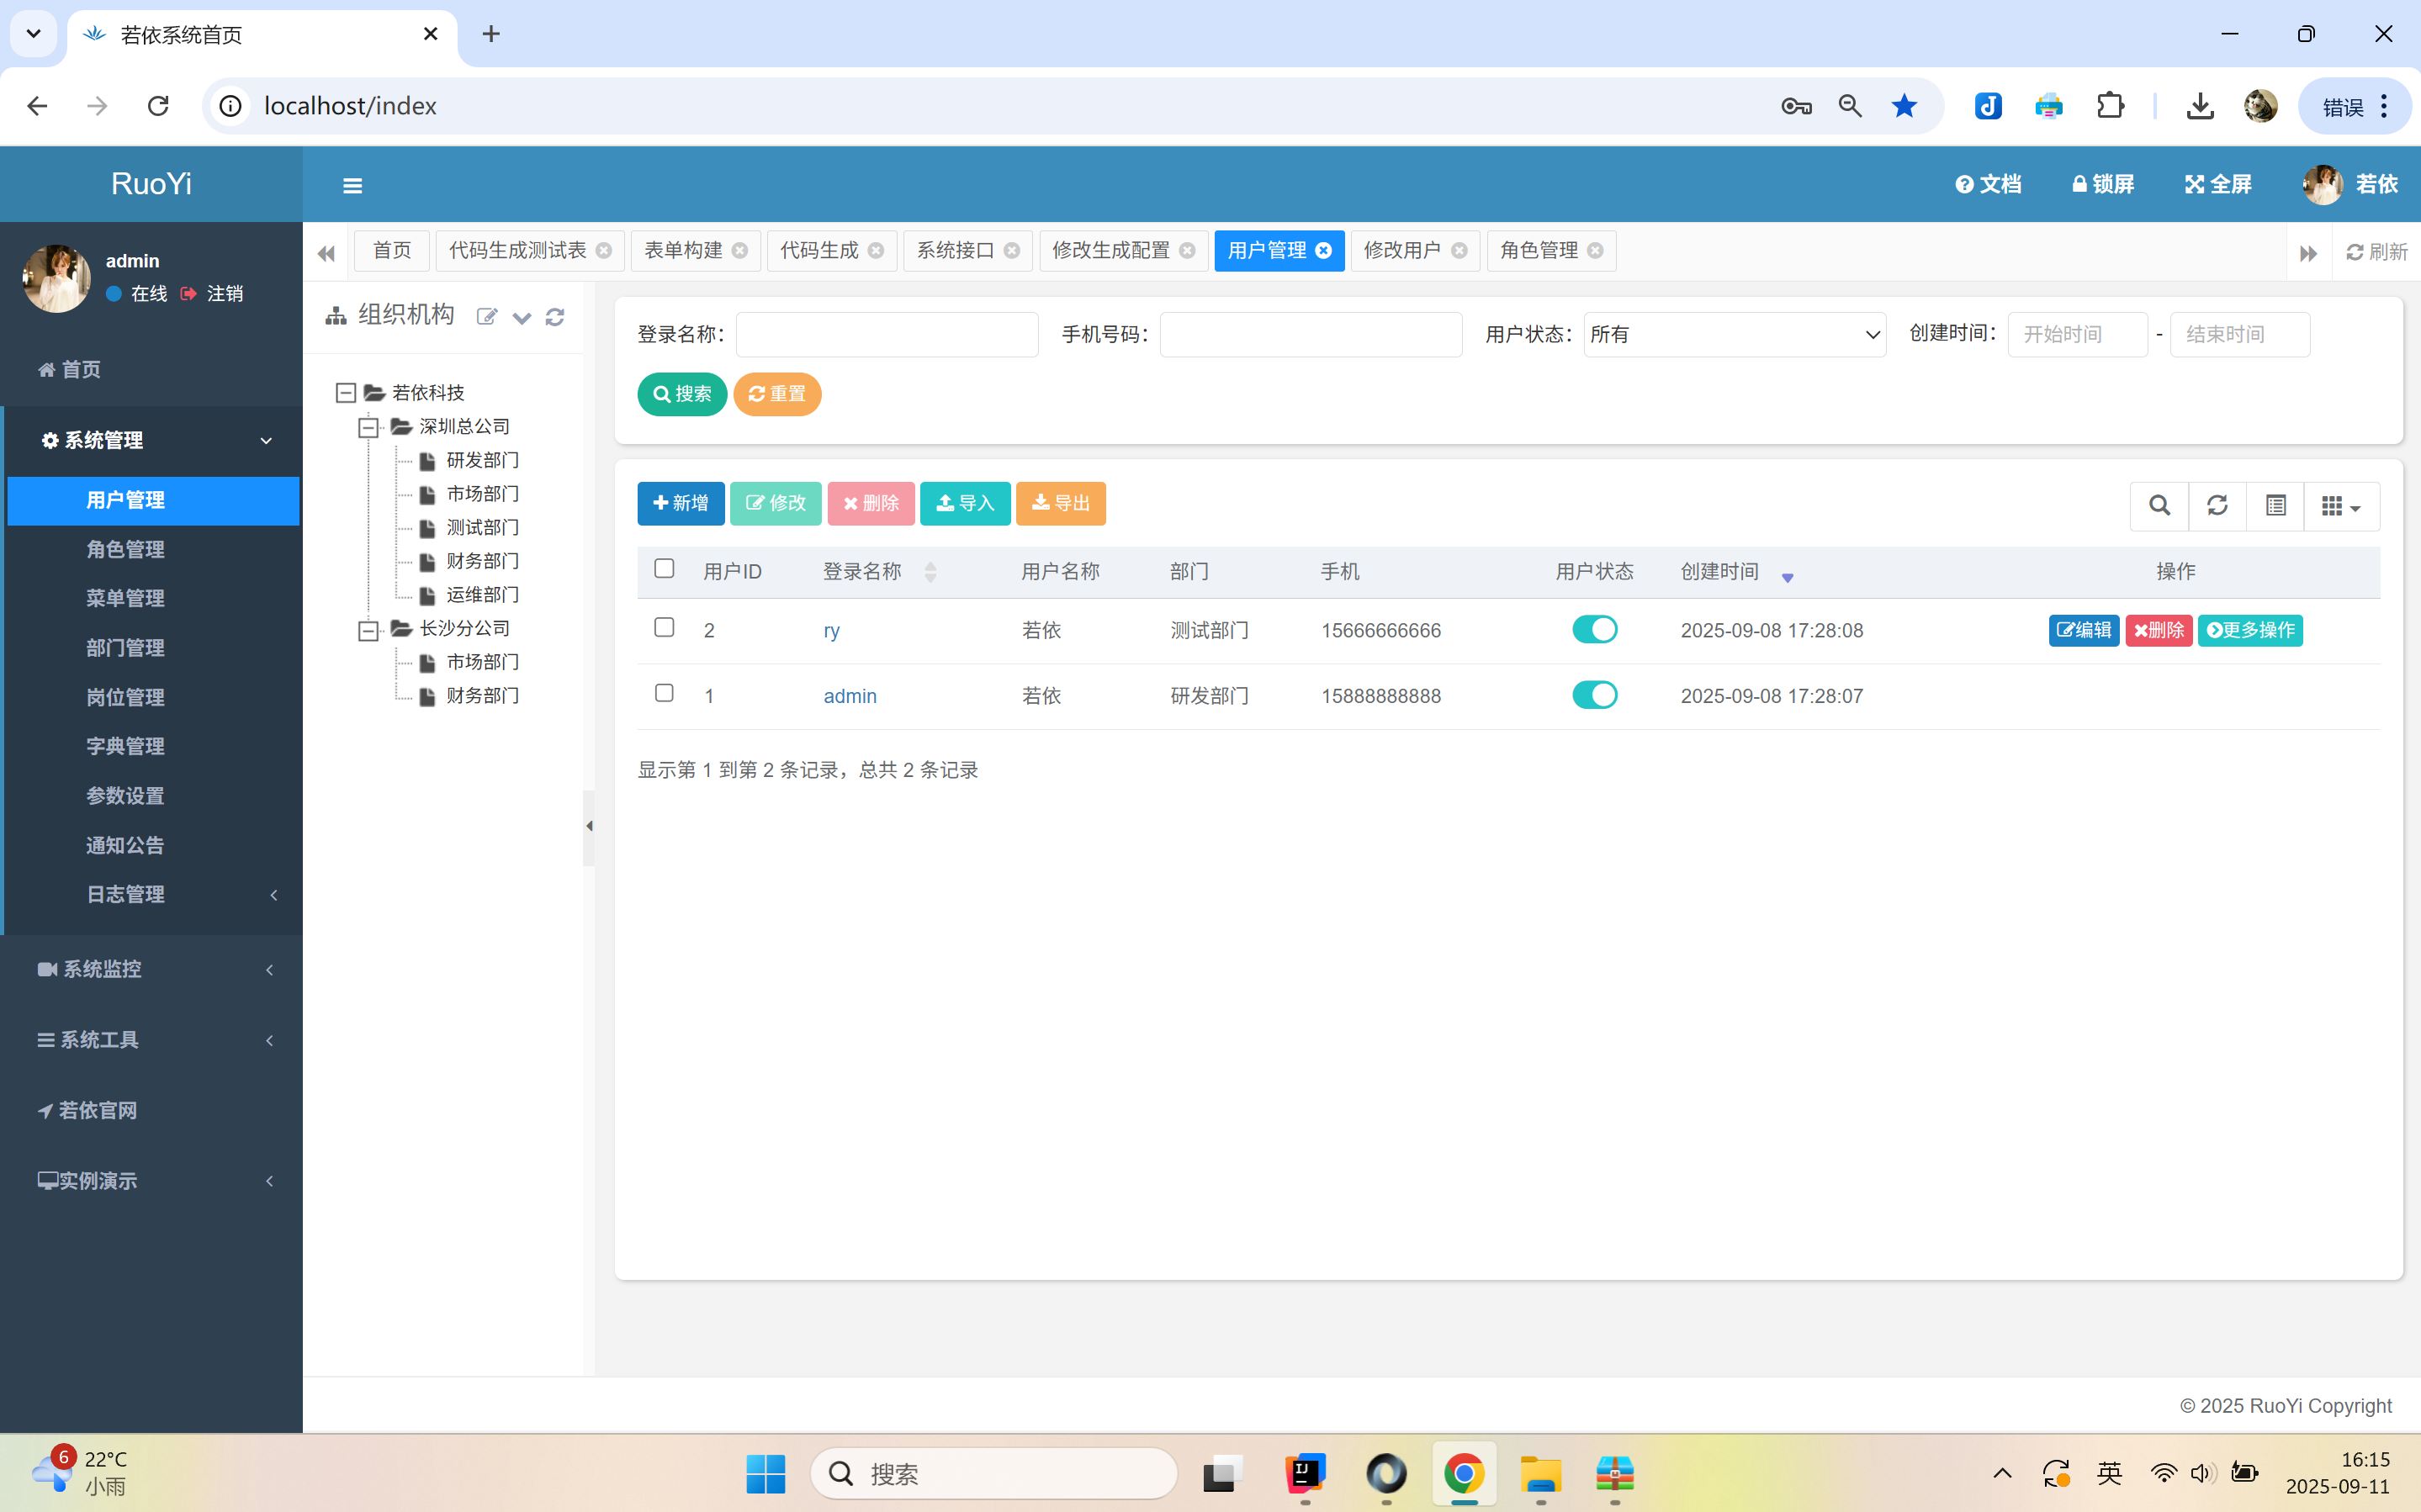
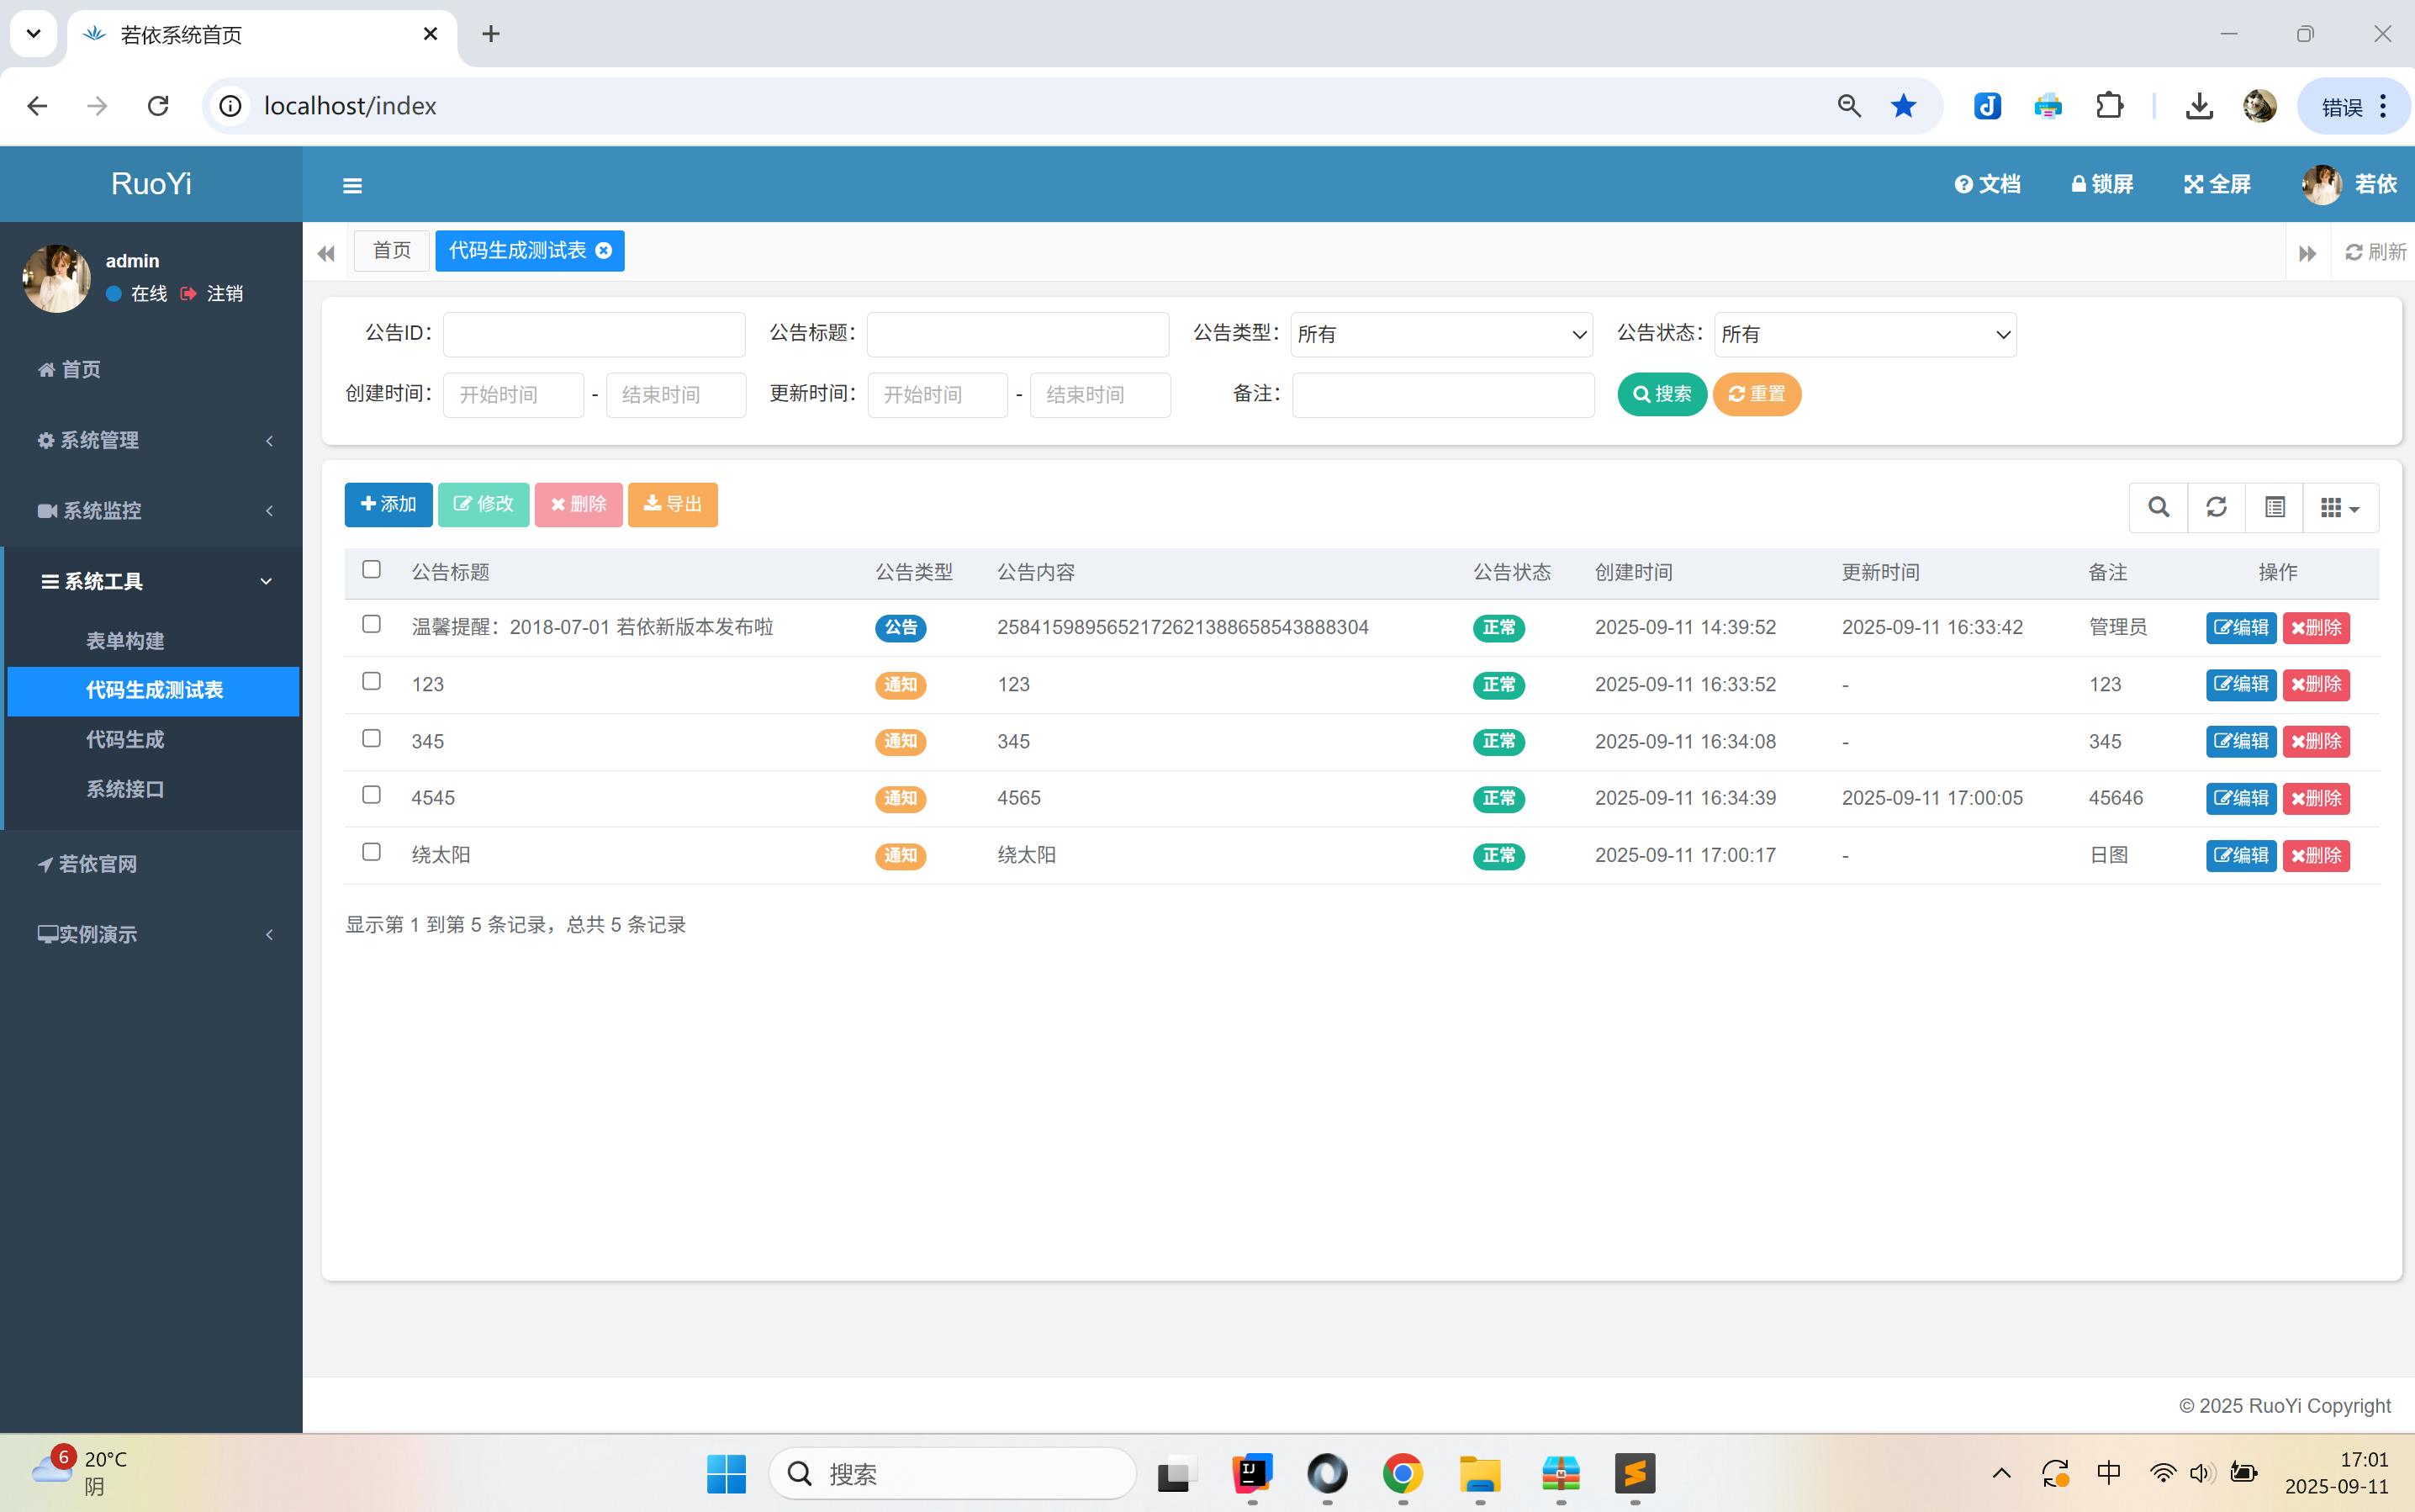
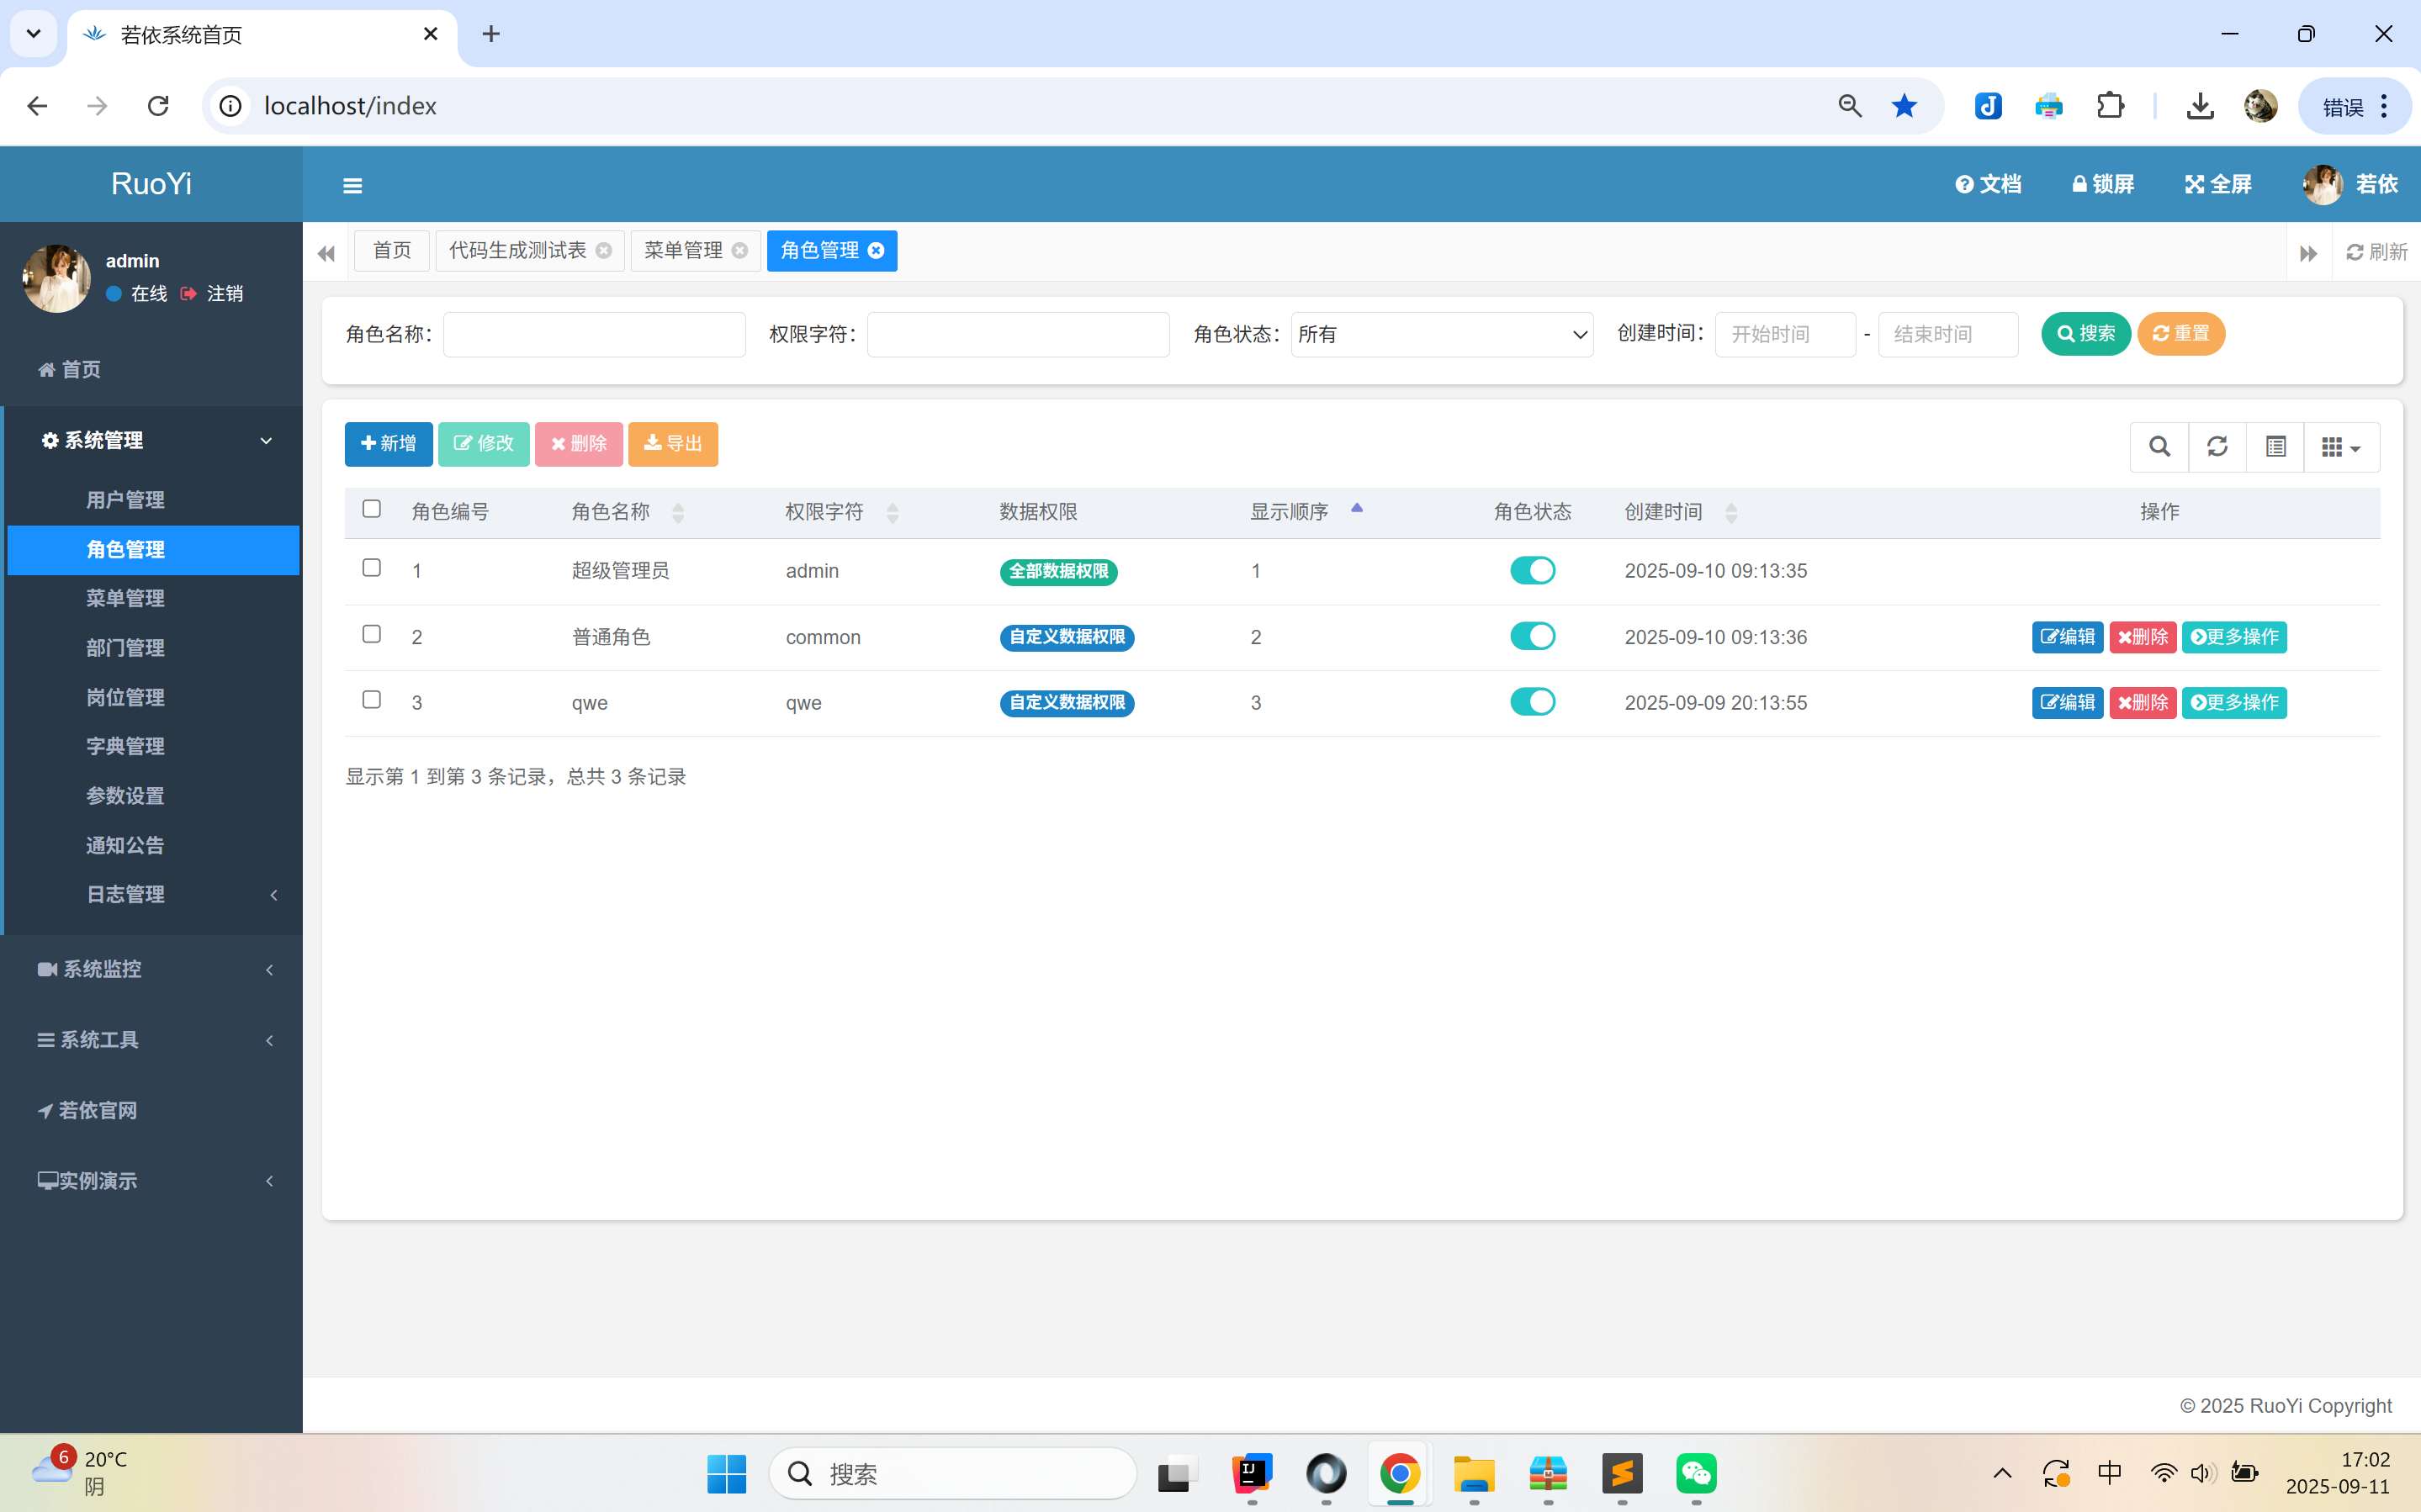
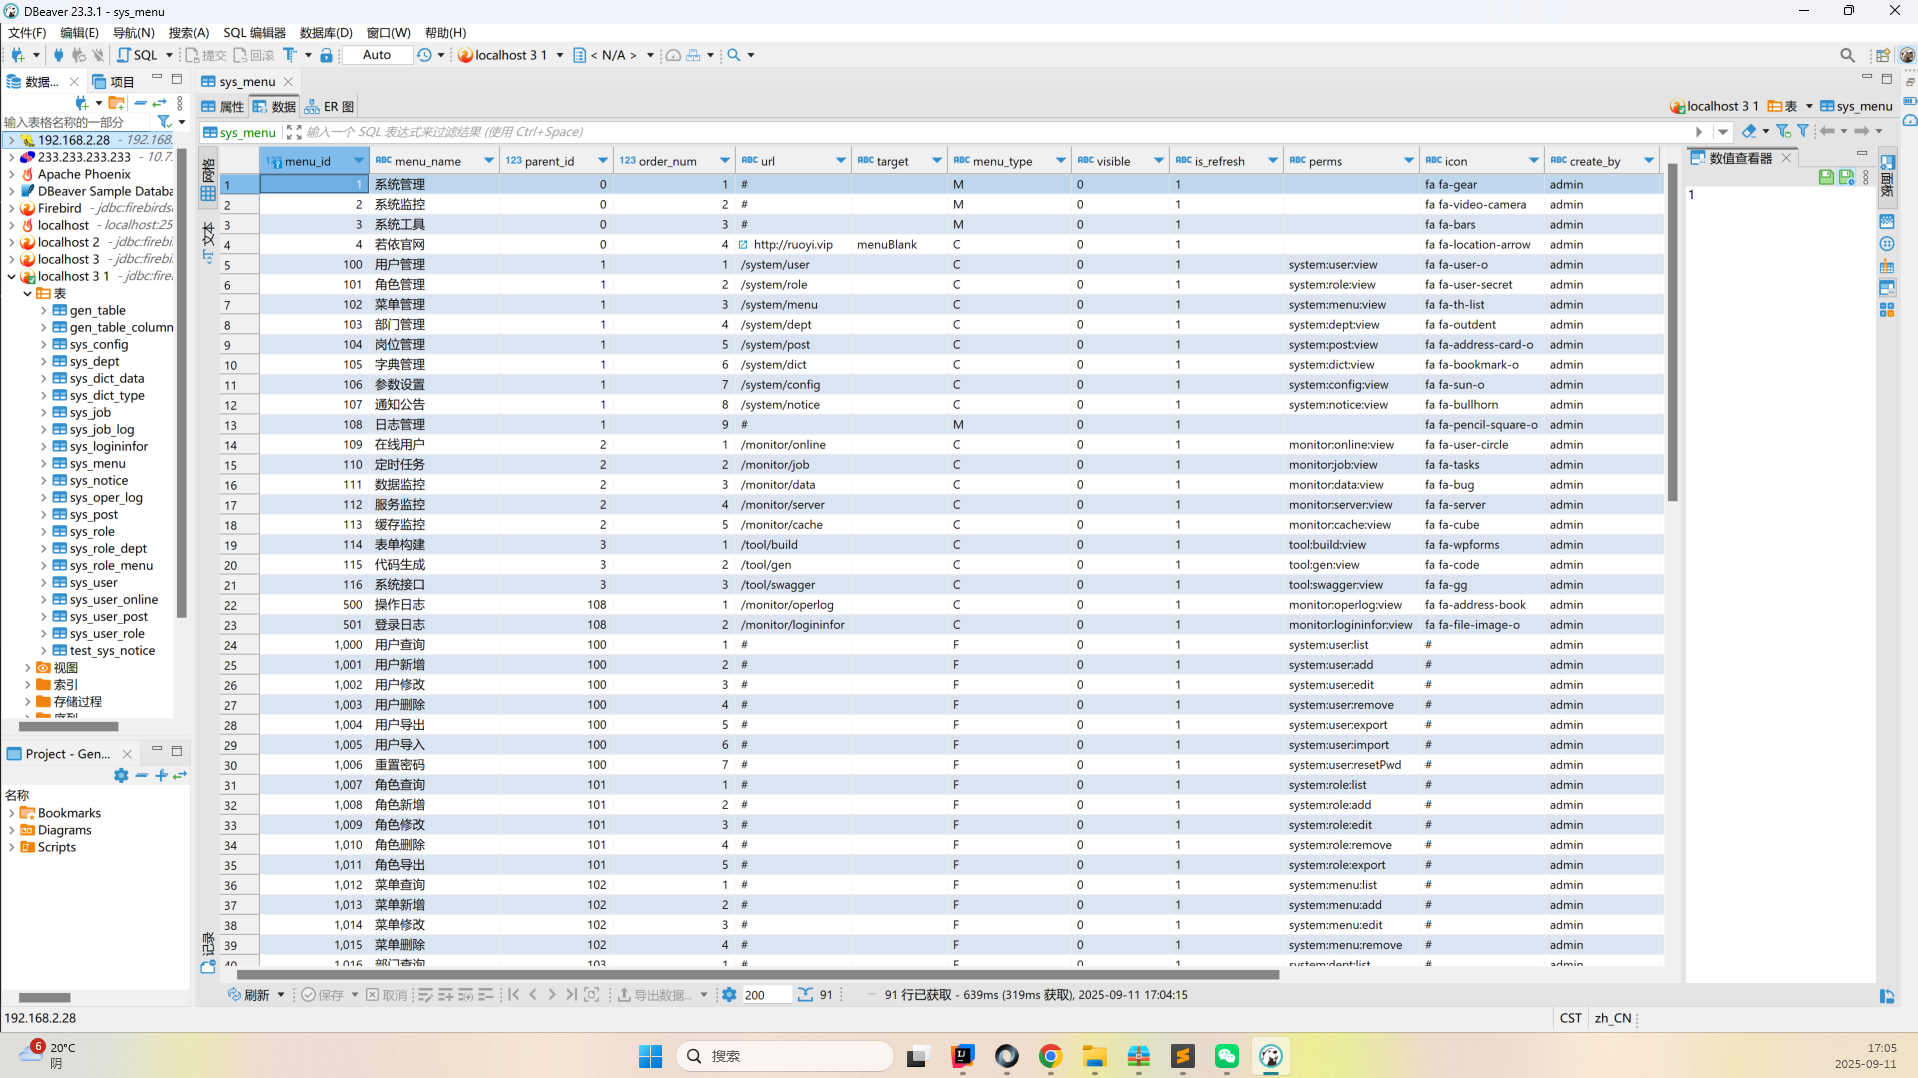
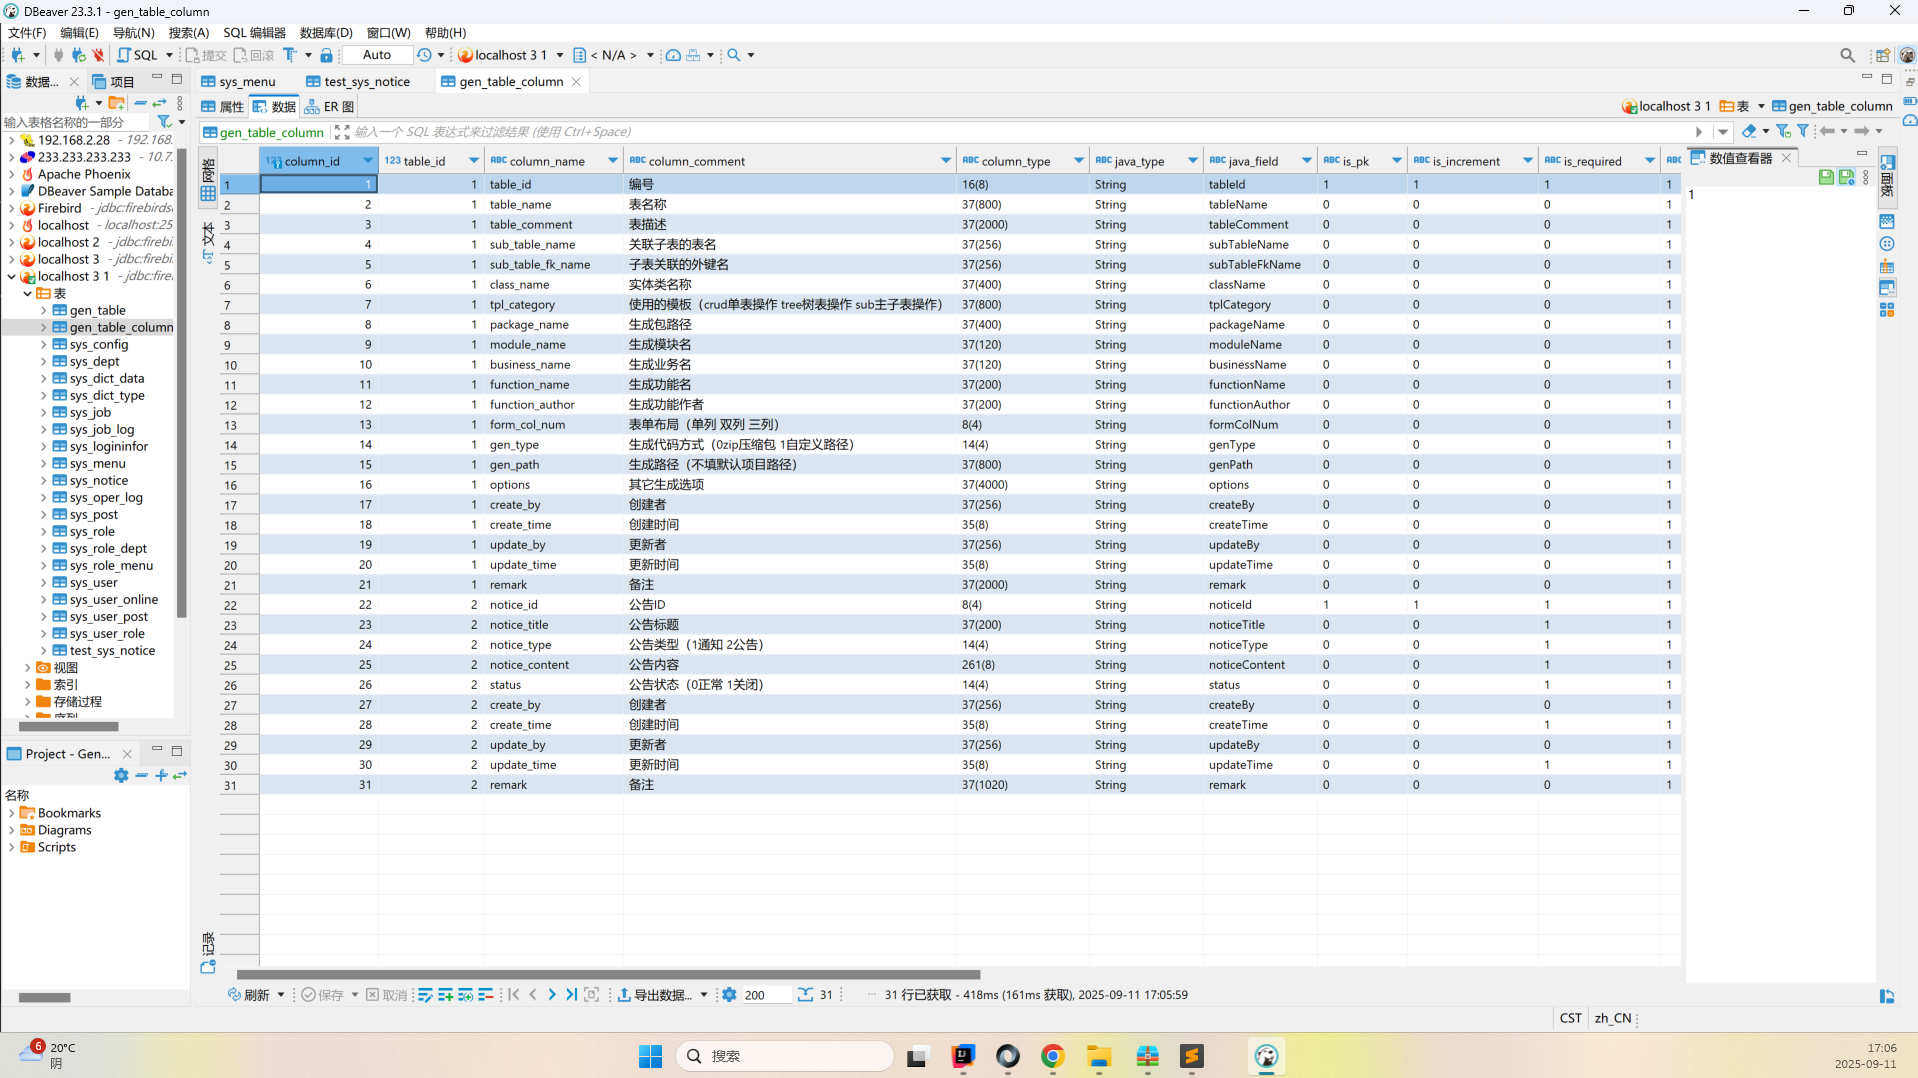
## 页面功能展示
## QQ交流群
* QQ交流群:852160973(加群请先star项目 不然验证不通过 备注格式:gitee用户名)
*  * 点击链接加入群聊【ruoyi-cloud-activiti7交流群】:https://jq.qq.com/?_wv=1027&k=gElPi0vw
## 启动说明
启动类在ruoyi-admin模块下
- com.ruoyi.RuoYiApplication
## 友情链接
- 感谢若依大佬开源的项目:https://gitee.com/y_project/RuoYi
## 插件版本
- RuoYi-Vue 4.8.1
- Firebird 5.0.3
- jdk1.8.0_281
## Firebird 的典型应用场景
---- 嵌入式系统、工业控制:
- 由于资源消耗小,很多嵌入式设备、工控系统会内置 Firebird,例如医疗仪器、银行终端、能源系统。
---- 单机/桌面应用:
- Firebird 常被用于 Windows 桌面软件作为后台数据库(例如 ERP、进销存软件),因为它无需复杂配置,用户只要带 .fdb 文件即可使用。
---- 需要强事务保证的系统:
- 金融、能源、电力、航空领域广泛使用 Firebird,因为 MVCC 和 ACID 特性非常可靠。
---- 跨平台轻量级服务器:
- Firebird 运行在 Windows、Linux、MacOS,甚至一些嵌入式操作系统上,非常灵活。
- 适合小型 Web 系统,不需要复杂运维。
| 痛点 | MySQL | Firebird 解决方案 |
| -------- | ------------- | --------------- |
| 部署迁移复杂 | 配置/权限/目录繁琐 | 复制 `.fdb` 文件即可 |
| 并发冲突 | 行锁/死锁频繁 | MVCC 并发控制,读写无阻塞 |
| 小应用运维成本 | 独立服务,需 DBA 调优 | 嵌入式模式,零运维 |
| SQL 特性不足 | 早期版本功能缺失 | 完善的存储过程、触发器、CTE |
| 备份不灵活 | mysqldump 慢 | gbak 在线备份,或直接复制 |
| 商业使用限制 | Oracle GPL 限制 | 宽松 IDPL 协议 |
| 资源占用大 | 内存/CPU 开销高 | 轻量运行,适合嵌入式 |
| 典型场景 | Web 应用、大型网站 | 工控、金融、单机软件 |
## Firebird Server安装
### 1.1 Firebird Server安装(Windows环境)
#### 1.下载 Firebird 安装包
##### 🔗 官方下载地址:
👉 https://firebirdsql.org/en/firebird-3-0/
建议下载版本:
- Firebird 3.0.x(稳定且兼容性好)
- 选择 **Windows 64-bit Full Installer**
例如:
**Firebird-3.0.11.33601_0_x64.exe**
------
#### 2.配置主机域名
1. 双击下载的安装包运行
2. 选择安装类型:
- 选择 **SuperClassic Server** 或 **SuperServer**
3. 服务设置:
- 选择 **安装为系统服务(Service)**
- 允许服务随系统启动(选中自动启动)
4. 用户账号设置:
- 默认用户是:`SYSDBA`
- 默认密码是:`masterkey`(安装后建议修改)
------
#### 3.验证服务是否安装成功
##### 方法一:任务栏图标
- 安装后任务栏会出现一个火鸟图标
- 红色:服务未运行
- 绿色:服务运行中
##### 方法二:Windows 服务管理器
- 打开:`Win + R` → 输入 `services.msc`
- 找到服务名:`Firebird Server - DefaultInstance`
- 检查状态是否为 “正在运行”
- 如未运行,右键 → 启动
------
### 1.2 Firebird Server安装(Linux环境)
你在 CentOS 上安装 Firebird Server 并开启服务,可以按下面的步骤来做,我会分成 下载 → 安装 → 启动 → 测试 四步。
#### 1.下载 Firebird Server
Firebird-5.0.3.1683-0-linux-x64.tar.gz
```
cd /opt/softwares
将Firebird-5.0.3.1683-0-linux-x64.tar.gz上传到softwares目录
```
#### 2.解压安装包
```
cd /opt/softwares
tar -xvzf Firebird-5.0.3.1683-0-linux-x64.tar.gz -C /opt/
```
#### 3.安装依赖包
如果你是 CentOS 7/8(或基于 RHEL 的系统),可以用:
```
sudo yum install libtommath
sudo yum install libtommath libtommath-devel
```
#### 4.运行安装脚本
进入解压后的目录执行安装:
```
cd Firebird-5.0.3.1683-0-linux-x64
sudo ./install.sh
安装过程中会:
创建 /opt/firebird 目录
创建 firebird 用户
设置开机启动脚本
生成 SYSDBA 默认密码(保存在 /opt/firebird/SYSDBA.password)
```
#### 5.启动 Firebird 服务
```
# 启动
sudo systemctl start firebird
# 开机自启
sudo systemctl enable firebird
# 查看状态
sudo systemctl status firebird
```
#### 6.测试 isql
```
/opt/firebird/bin/isql -u SYSDBA -p masterkey
如果看到:
Database:
SQL>
说明 Firebird Server 已经可以用。
退出:
quit;
```
#### 7.开放 3050 端口(远程访问)
```
sudo firewall-cmd --permanent --add-port=3050/tcp
sudo firewall-cmd --reload
```
#### 8.检查(可忽略)
```
并检查 /opt/firebird/firebird.conf 里:
# RemoteBindAddress = localhost
注释掉 RemoteBindAddress 或改成服务器 IP。
```
#### 9.确认 Firebird 监听端口
```
Firebird 默认监听 3050 端口:
sudo netstat -tulnp | grep 3050
如果没有监听,可能是配置问题,你可以检查 /opt/firebird/firebird.conf 文件,找到:
#RemoteServicePort = 3050
去掉 # 注释。
修改后重启服务:
```
#### 10.创建数据库LOCALDB.FDB文件
```
/opt/firebird/bin/isql -u SYSDBA -p masterkey
CREATE DATABASE '/opt/firebird/data/RUOYI-FIREBIRD.FDB' USER 'SYSDBA' PASSWORD 'masterkey'
DEFAULT CHARACTER SET UTF8;
```
#### 11.修改LOCALDB.FDB文件权限
```
irebird 服务一般是用 firebird 用户运行(可以用下面命令确认):
ps -ef | grep firebird
查看文件权限:
ls -l /opt/firebird/data/RUOYI-VUE-FIREBIRD.FDB
ls -ld /opt/firebird/data
赋予 Firebird 用户权限 确保目录和文件都属于 firebird 用户。
sudo chown firebird:firebird /opt/firebird/data/RUOYI-FIREBIRD.FDB
sudo chown firebird:firebird /opt/firebird/data
确保有读写权限
sudo chmod 660 /opt/firebird/data/RUOYI-FIREBIRD.FDB
sudo chmod 770 /opt/firebird/data
重启 Firebird 服务
sudo systemctl restart firebird
注意:
你不能用 root 直接访问 .FDB 文件来绕过权限,Firebird 必须用自己运行的服务用户去访问文件。
.FDB 文件必须在 Firebird 配置的 DatabaseAccess 路径内(默认 /opt/firebird/data),否则也会拒绝访问。
```
## DBeaver 中连接 Firebird
### 1.1 DBeaver 中连接 Firebird 数据库
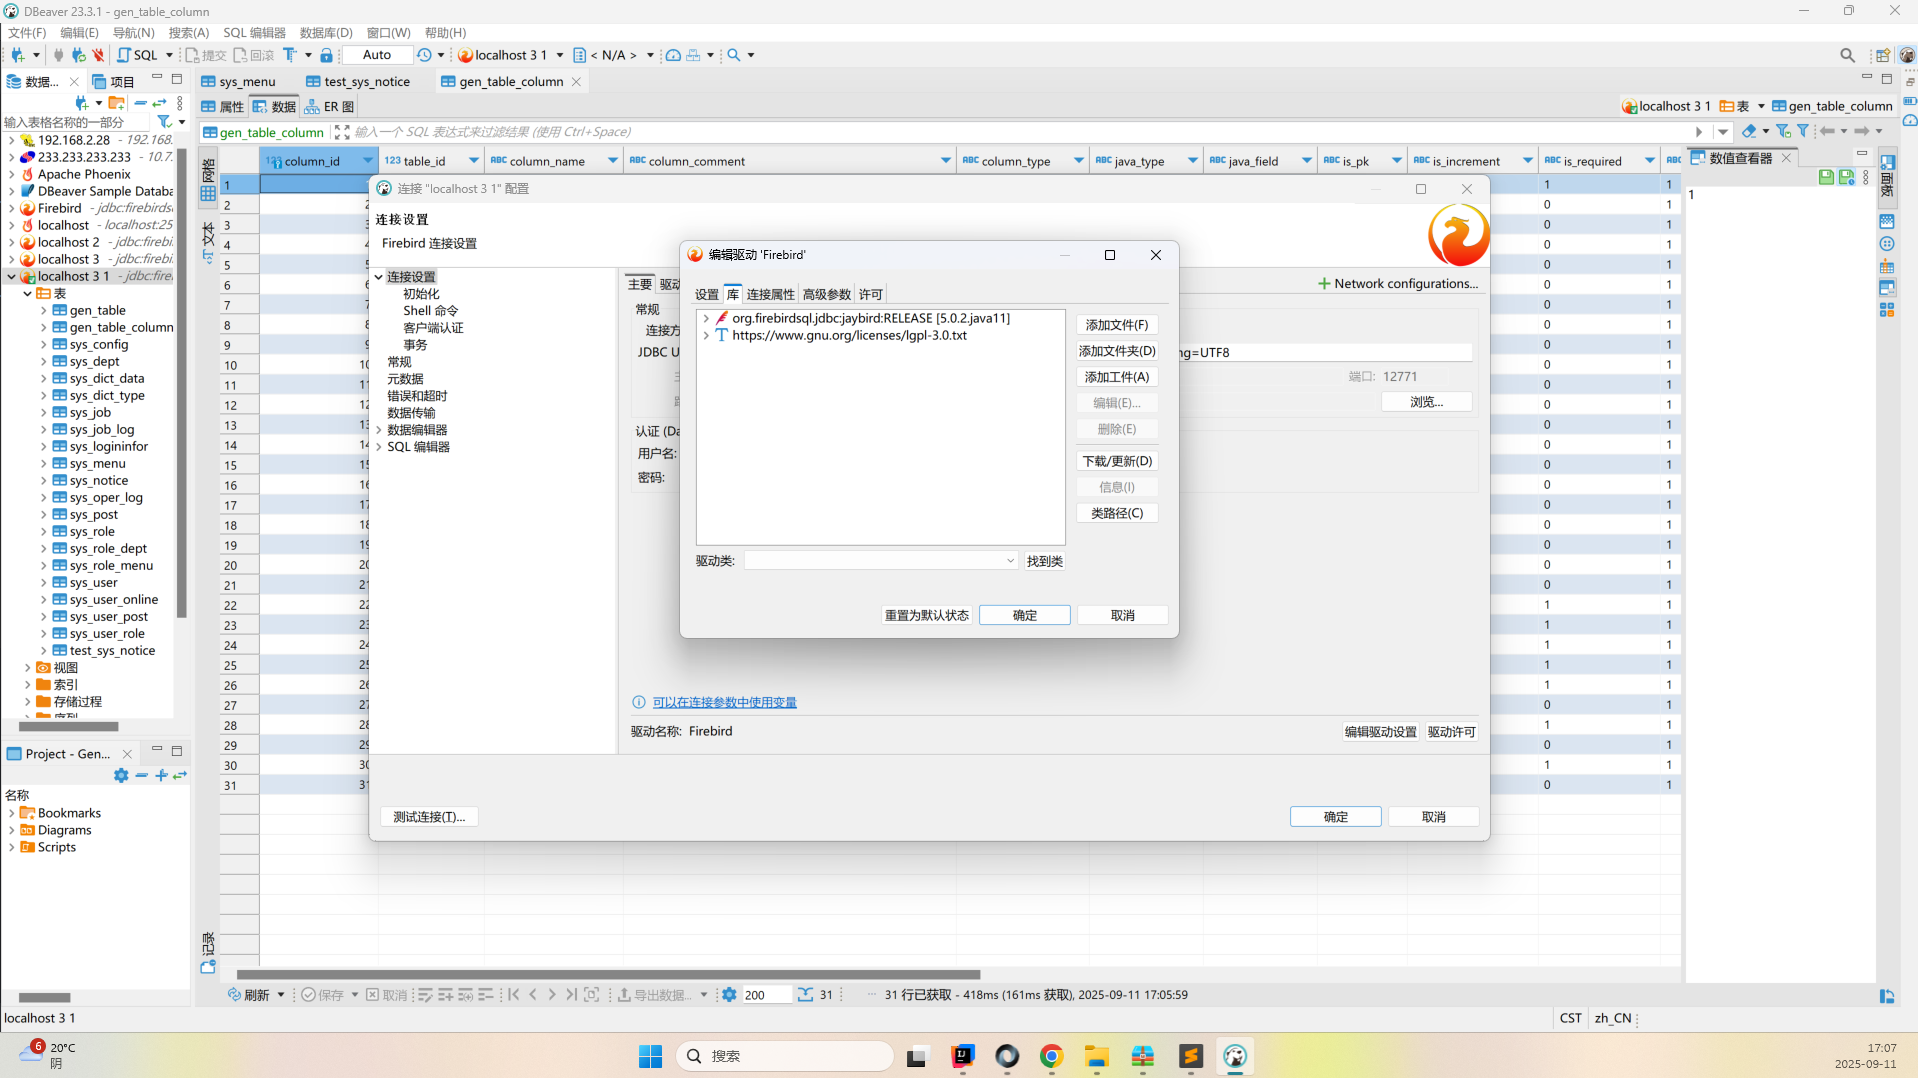
#### 1.安装 Firebird 驱动
```
DBeaver 自带 Firebird 驱动管理器,但默认可能没有安装。
打开 DBeaver → 点击菜单 Database → Driver Manager。
在搜索框中输入 Firebird。
选中 Firebird,如果提示没有驱动,点击 Download/Download Driver Files 自动下载。
```
#### 2.新建连接
```
在 DBeaver 左上角点击 新建数据库连接(New Database Connection)。
在数据库类型中搜索 Firebird,选择它。
配置连接参数:
Host/IP:例如 localhost 或服务器 IP
Port:默认是 3050(如果改过用对应端口)
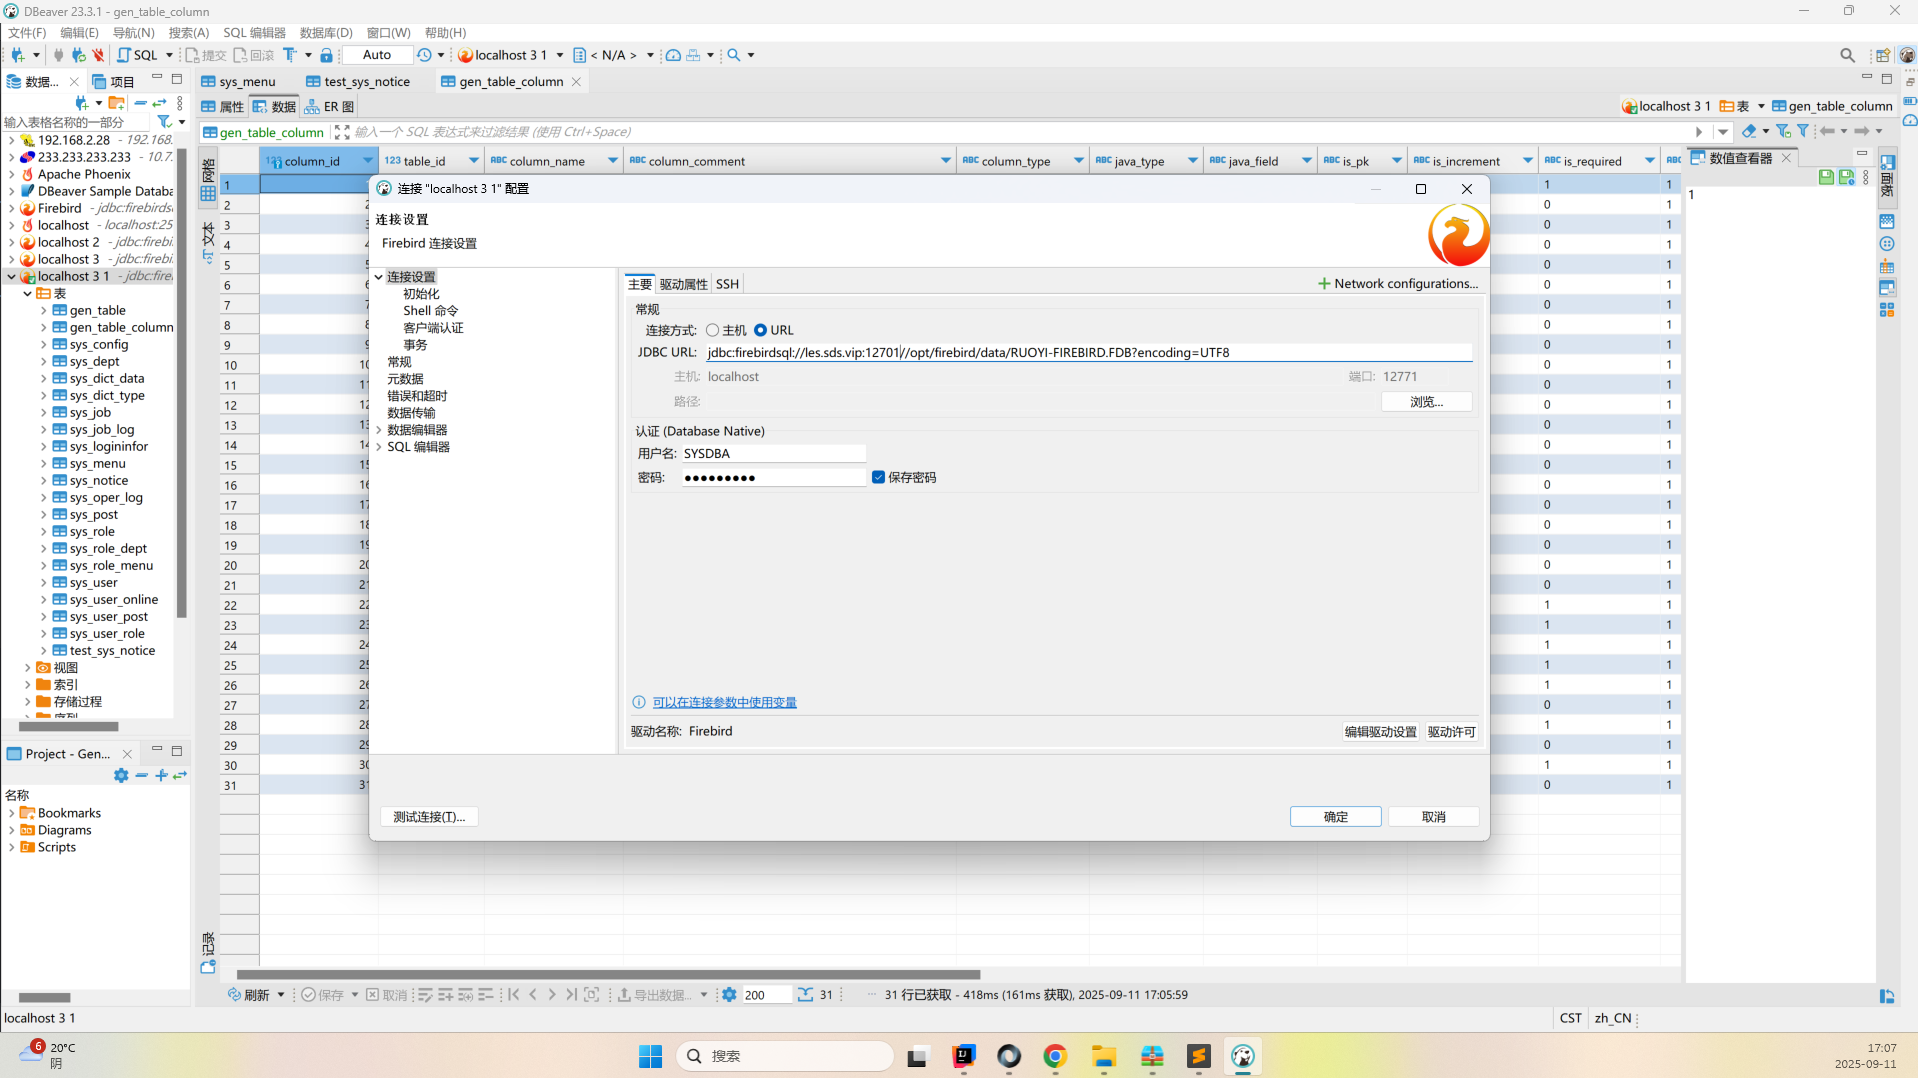
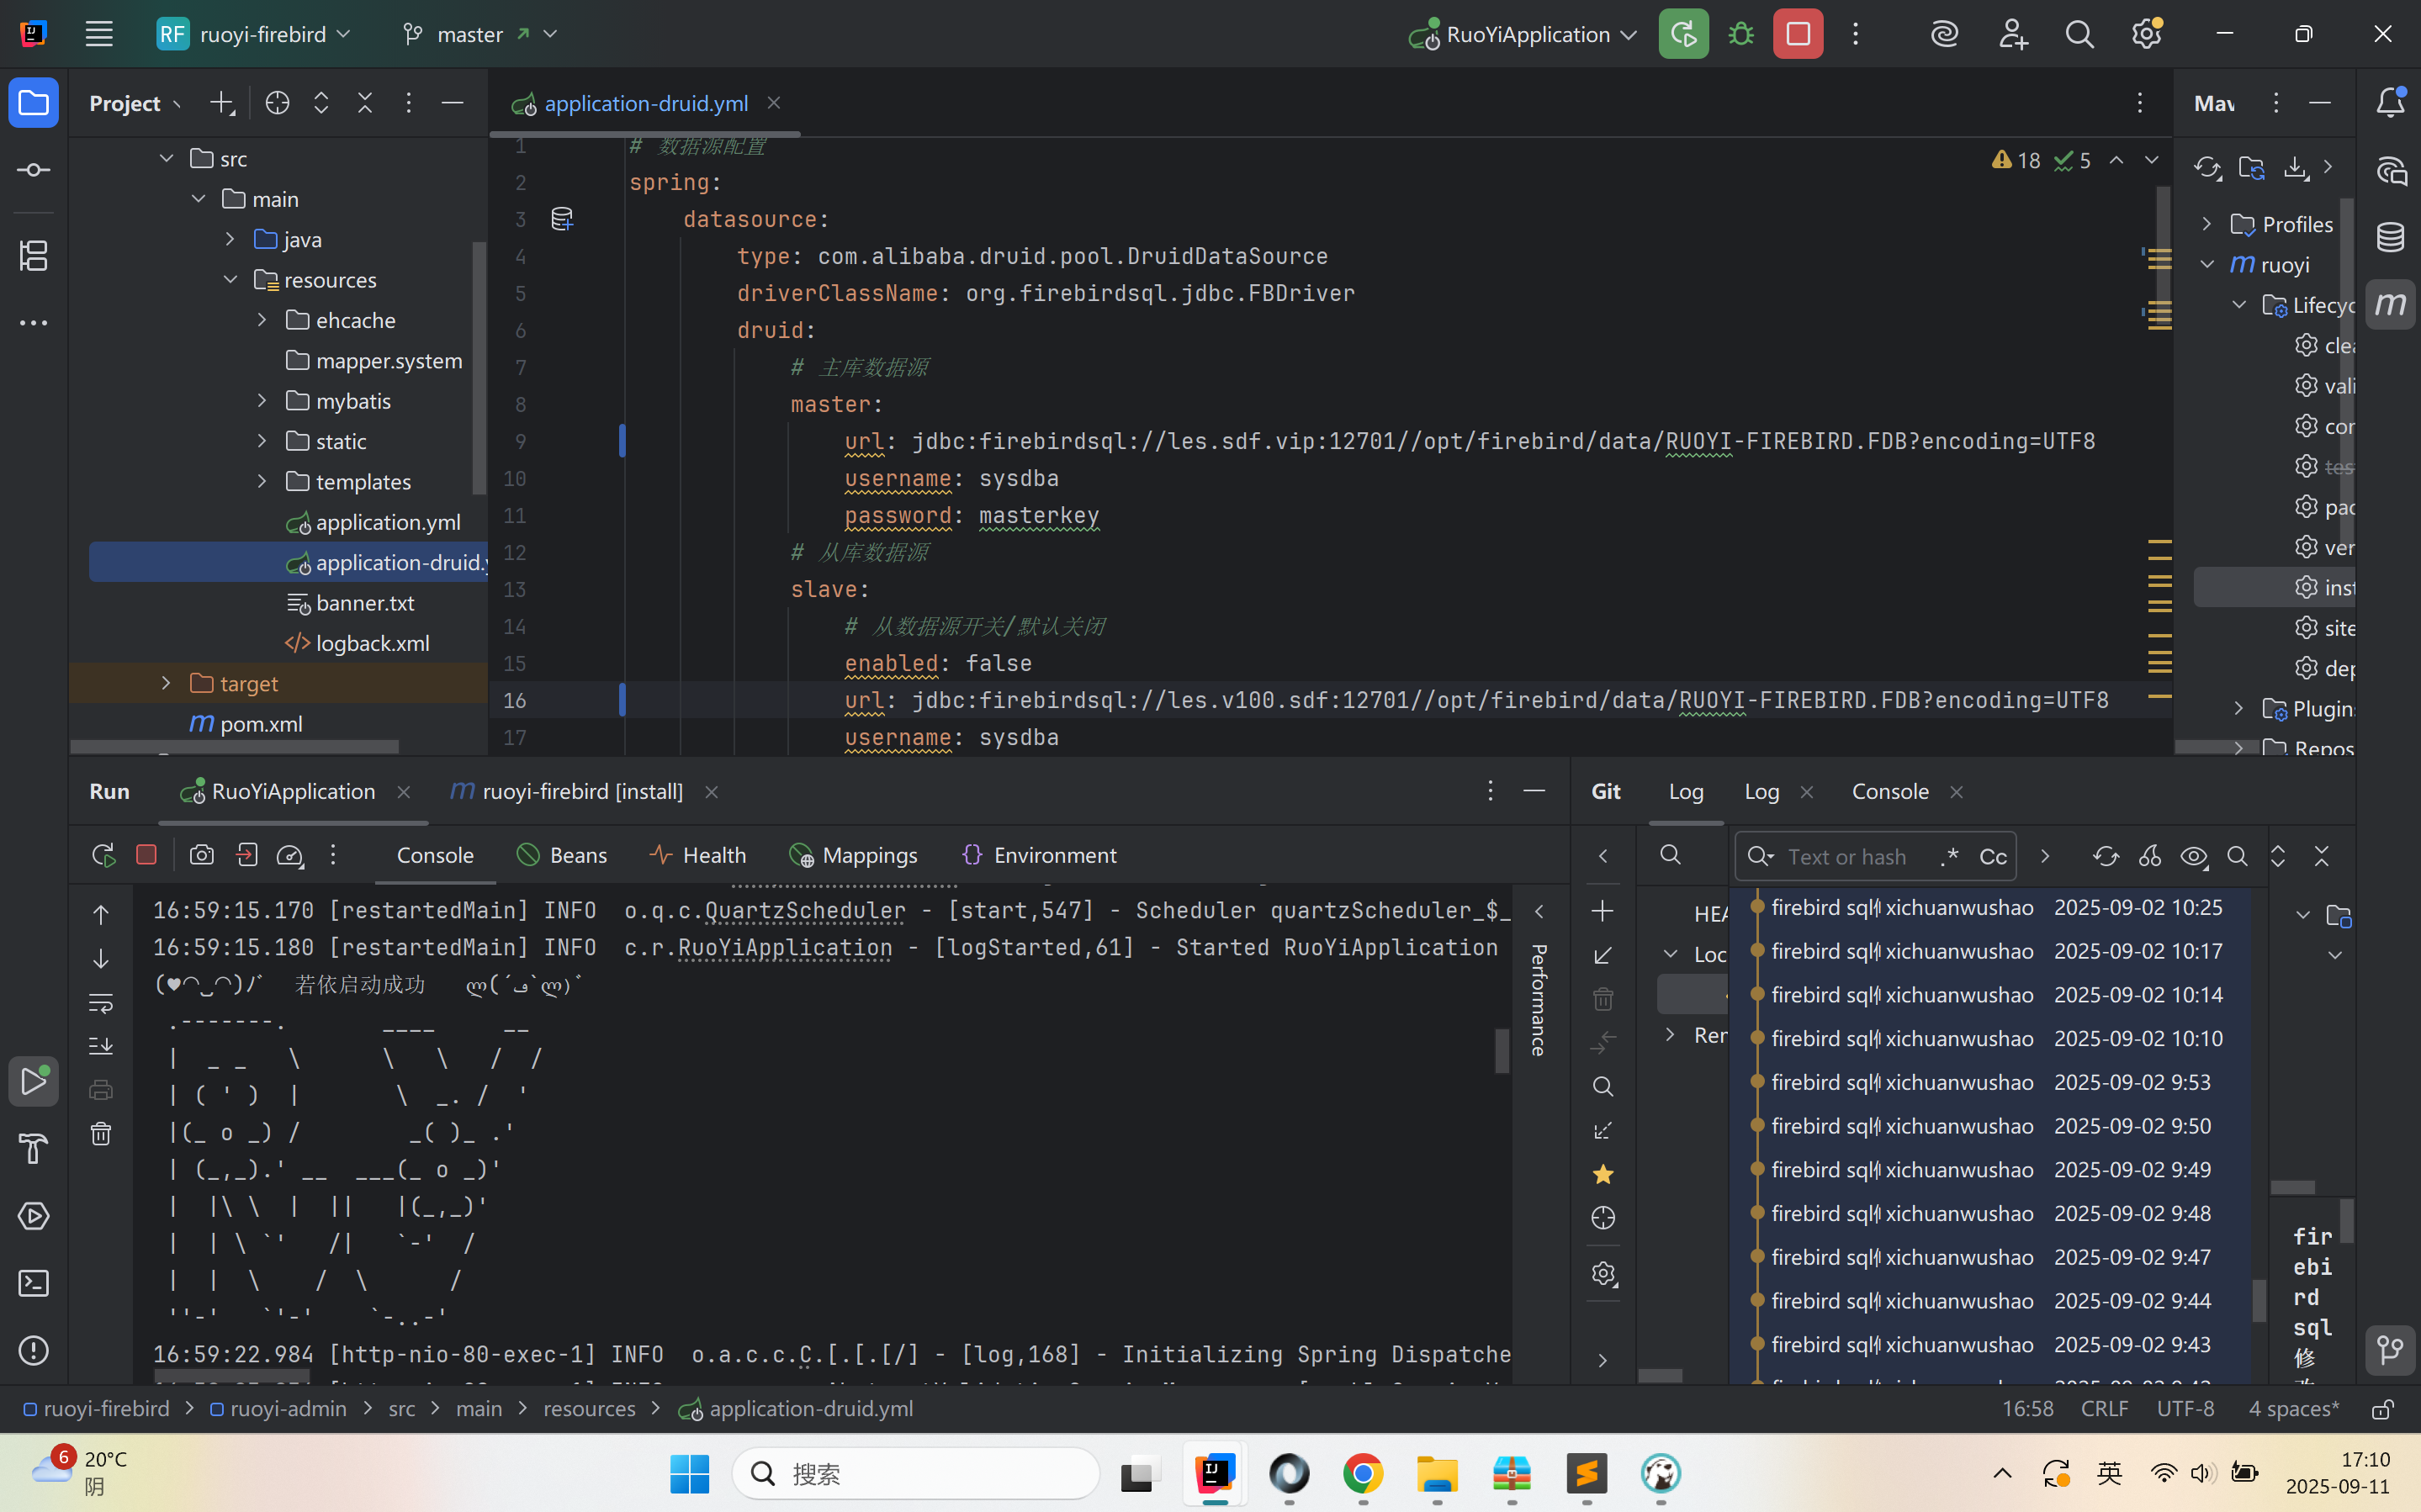
JDBC URL(linux):jdbc:firebirdsql://192.168.2.28:3050//opt/firebird/data/RUOYI-FIREBIRD.FDB?encoding=UTF8
JDBC URL(windows):jdbc:firebirdsql://localhost:3050/D:/test/RUOYI-FIREBIRD.FDB
User:默认 SYSDBA
Password:默认 masterkey(如果没改过)
注意:路径需要 Firebird 服务进程有权限访问,如果是远程连接,一般是 服务器上的路径,不是你本地电脑的。
```
#### 3.高级设置(可选)
```
如果连接时报 编码问题,可以在连接设置 → Driver Properties → 设置 encoding 为 UTF8 或 WIN1251 等。
如果报 I/O error / permission denied,说明 DBeaver 没权限访问远程的 .FDB 文件,需要确认:
Firebird 服务是否启动端口 3050 是否对外开放
远程连接时用的路径是否是服务器的路径(不是本机路径)
```
#### 1.测试连接
```
填写完成后点击 Test Connection。
成功后点 Finish 就可以在 DBeaver 里浏览表、执行 SQL 了。
```
### 1.4 安装XX
#### 1.解压
```
XX
```
#### 2.修改配置
```
XX
```
```
* 点击链接加入群聊【ruoyi-cloud-activiti7交流群】:https://jq.qq.com/?_wv=1027&k=gElPi0vw
## 启动说明
启动类在ruoyi-admin模块下
- com.ruoyi.RuoYiApplication
## 友情链接
- 感谢若依大佬开源的项目:https://gitee.com/y_project/RuoYi
## 插件版本
- RuoYi-Vue 4.8.1
- Firebird 5.0.3
- jdk1.8.0_281
## Firebird 的典型应用场景
---- 嵌入式系统、工业控制:
- 由于资源消耗小,很多嵌入式设备、工控系统会内置 Firebird,例如医疗仪器、银行终端、能源系统。
---- 单机/桌面应用:
- Firebird 常被用于 Windows 桌面软件作为后台数据库(例如 ERP、进销存软件),因为它无需复杂配置,用户只要带 .fdb 文件即可使用。
---- 需要强事务保证的系统:
- 金融、能源、电力、航空领域广泛使用 Firebird,因为 MVCC 和 ACID 特性非常可靠。
---- 跨平台轻量级服务器:
- Firebird 运行在 Windows、Linux、MacOS,甚至一些嵌入式操作系统上,非常灵活。
- 适合小型 Web 系统,不需要复杂运维。
| 痛点 | MySQL | Firebird 解决方案 |
| -------- | ------------- | --------------- |
| 部署迁移复杂 | 配置/权限/目录繁琐 | 复制 `.fdb` 文件即可 |
| 并发冲突 | 行锁/死锁频繁 | MVCC 并发控制,读写无阻塞 |
| 小应用运维成本 | 独立服务,需 DBA 调优 | 嵌入式模式,零运维 |
| SQL 特性不足 | 早期版本功能缺失 | 完善的存储过程、触发器、CTE |
| 备份不灵活 | mysqldump 慢 | gbak 在线备份,或直接复制 |
| 商业使用限制 | Oracle GPL 限制 | 宽松 IDPL 协议 |
| 资源占用大 | 内存/CPU 开销高 | 轻量运行,适合嵌入式 |
| 典型场景 | Web 应用、大型网站 | 工控、金融、单机软件 |
## Firebird Server安装
### 1.1 Firebird Server安装(Windows环境)
#### 1.下载 Firebird 安装包
##### 🔗 官方下载地址:
👉 https://firebirdsql.org/en/firebird-3-0/
建议下载版本:
- Firebird 3.0.x(稳定且兼容性好)
- 选择 **Windows 64-bit Full Installer**
例如:
**Firebird-3.0.11.33601_0_x64.exe**
------
#### 2.配置主机域名
1. 双击下载的安装包运行
2. 选择安装类型:
- 选择 **SuperClassic Server** 或 **SuperServer**
3. 服务设置:
- 选择 **安装为系统服务(Service)**
- 允许服务随系统启动(选中自动启动)
4. 用户账号设置:
- 默认用户是:`SYSDBA`
- 默认密码是:`masterkey`(安装后建议修改)
------
#### 3.验证服务是否安装成功
##### 方法一:任务栏图标
- 安装后任务栏会出现一个火鸟图标
- 红色:服务未运行
- 绿色:服务运行中
##### 方法二:Windows 服务管理器
- 打开:`Win + R` → 输入 `services.msc`
- 找到服务名:`Firebird Server - DefaultInstance`
- 检查状态是否为 “正在运行”
- 如未运行,右键 → 启动
------
### 1.2 Firebird Server安装(Linux环境)
你在 CentOS 上安装 Firebird Server 并开启服务,可以按下面的步骤来做,我会分成 下载 → 安装 → 启动 → 测试 四步。
#### 1.下载 Firebird Server
Firebird-5.0.3.1683-0-linux-x64.tar.gz
```
cd /opt/softwares
将Firebird-5.0.3.1683-0-linux-x64.tar.gz上传到softwares目录
```
#### 2.解压安装包
```
cd /opt/softwares
tar -xvzf Firebird-5.0.3.1683-0-linux-x64.tar.gz -C /opt/
```
#### 3.安装依赖包
如果你是 CentOS 7/8(或基于 RHEL 的系统),可以用:
```
sudo yum install libtommath
sudo yum install libtommath libtommath-devel
```
#### 4.运行安装脚本
进入解压后的目录执行安装:
```
cd Firebird-5.0.3.1683-0-linux-x64
sudo ./install.sh
安装过程中会:
创建 /opt/firebird 目录
创建 firebird 用户
设置开机启动脚本
生成 SYSDBA 默认密码(保存在 /opt/firebird/SYSDBA.password)
```
#### 5.启动 Firebird 服务
```
# 启动
sudo systemctl start firebird
# 开机自启
sudo systemctl enable firebird
# 查看状态
sudo systemctl status firebird
```
#### 6.测试 isql
```
/opt/firebird/bin/isql -u SYSDBA -p masterkey
如果看到:
Database:
SQL>
说明 Firebird Server 已经可以用。
退出:
quit;
```
#### 7.开放 3050 端口(远程访问)
```
sudo firewall-cmd --permanent --add-port=3050/tcp
sudo firewall-cmd --reload
```
#### 8.检查(可忽略)
```
并检查 /opt/firebird/firebird.conf 里:
# RemoteBindAddress = localhost
注释掉 RemoteBindAddress 或改成服务器 IP。
```
#### 9.确认 Firebird 监听端口
```
Firebird 默认监听 3050 端口:
sudo netstat -tulnp | grep 3050
如果没有监听,可能是配置问题,你可以检查 /opt/firebird/firebird.conf 文件,找到:
#RemoteServicePort = 3050
去掉 # 注释。
修改后重启服务:
```
#### 10.创建数据库LOCALDB.FDB文件
```
/opt/firebird/bin/isql -u SYSDBA -p masterkey
CREATE DATABASE '/opt/firebird/data/RUOYI-FIREBIRD.FDB' USER 'SYSDBA' PASSWORD 'masterkey'
DEFAULT CHARACTER SET UTF8;
```
#### 11.修改LOCALDB.FDB文件权限
```
irebird 服务一般是用 firebird 用户运行(可以用下面命令确认):
ps -ef | grep firebird
查看文件权限:
ls -l /opt/firebird/data/RUOYI-VUE-FIREBIRD.FDB
ls -ld /opt/firebird/data
赋予 Firebird 用户权限 确保目录和文件都属于 firebird 用户。
sudo chown firebird:firebird /opt/firebird/data/RUOYI-FIREBIRD.FDB
sudo chown firebird:firebird /opt/firebird/data
确保有读写权限
sudo chmod 660 /opt/firebird/data/RUOYI-FIREBIRD.FDB
sudo chmod 770 /opt/firebird/data
重启 Firebird 服务
sudo systemctl restart firebird
注意:
你不能用 root 直接访问 .FDB 文件来绕过权限,Firebird 必须用自己运行的服务用户去访问文件。
.FDB 文件必须在 Firebird 配置的 DatabaseAccess 路径内(默认 /opt/firebird/data),否则也会拒绝访问。
```
## DBeaver 中连接 Firebird
### 1.1 DBeaver 中连接 Firebird 数据库
#### 1.安装 Firebird 驱动
```
DBeaver 自带 Firebird 驱动管理器,但默认可能没有安装。
打开 DBeaver → 点击菜单 Database → Driver Manager。
在搜索框中输入 Firebird。
选中 Firebird,如果提示没有驱动,点击 Download/Download Driver Files 自动下载。
```
#### 2.新建连接
```
在 DBeaver 左上角点击 新建数据库连接(New Database Connection)。
在数据库类型中搜索 Firebird,选择它。
配置连接参数:
Host/IP:例如 localhost 或服务器 IP
Port:默认是 3050(如果改过用对应端口)
JDBC URL(linux):jdbc:firebirdsql://192.168.2.28:3050//opt/firebird/data/RUOYI-FIREBIRD.FDB?encoding=UTF8
JDBC URL(windows):jdbc:firebirdsql://localhost:3050/D:/test/RUOYI-FIREBIRD.FDB
User:默认 SYSDBA
Password:默认 masterkey(如果没改过)
注意:路径需要 Firebird 服务进程有权限访问,如果是远程连接,一般是 服务器上的路径,不是你本地电脑的。
```
#### 3.高级设置(可选)
```
如果连接时报 编码问题,可以在连接设置 → Driver Properties → 设置 encoding 为 UTF8 或 WIN1251 等。
如果报 I/O error / permission denied,说明 DBeaver 没权限访问远程的 .FDB 文件,需要确认:
Firebird 服务是否启动端口 3050 是否对外开放
远程连接时用的路径是否是服务器的路径(不是本机路径)
```
#### 1.测试连接
```
填写完成后点击 Test Connection。
成功后点 Finish 就可以在 DBeaver 里浏览表、执行 SQL 了。
```
### 1.4 安装XX
#### 1.解压
```
XX
```
#### 2.修改配置
```
XX
```
```