# Vue-blog
**Repository Path**: chenyjoe/vue-blog
## Basic Information
- **Project Name**: Vue-blog
- **Description**: vue实现个人博客
- **Primary Language**: Unknown
- **License**: Not specified
- **Default Branch**: master
- **Homepage**: None
- **GVP Project**: No
## Statistics
- **Stars**: 1
- **Forks**: 0
- **Created**: 2021-07-27
- **Last Updated**: 2024-02-22
## Categories & Tags
**Categories**: Uncategorized
**Tags**: None
## README
# 一、首页
##### 效果展示

在连数据库前可用JSONplaceholder的数据接口用假数据来测试,先将整体样式确定。确定好页面后再连接数据库的真数据。这里使用是数据库是firebase(使用时要注意打开数据库可写和可读)
##### 标题的彩虹色展示
在main.js中全局自定义指令
```js
Vue.directive('tit',{
bind(el){
el.style.color='#'+Math.random().toString(16).slice(2,8);
}
})
```
定义完后在需要使用的标签加上 v-tit 即可
##### 博客标题字母大写以及博客预览内容限制并在结尾加上“...”
在main.js中全局定义过滤器
```js
//标题大写
Vue.filter('toUppercase',function(value){
return value.toUpperCase()
})
//内容限制
Vue.filter('snippet',function(value){
return value.slice(0,100)+"..."
})
```
##### 分页的实现
页面创建时,在生命周期函数created()中获取数据库数据并且分页。这里的分页样式是引用的elementUI中的分页组件。分页在主要思路如下:
(参考自[https://blog.csdn.net/illusion_melody/article/details/82714793](https://blog.csdn.net/illusion_melody/article/details/82714793))
```js
//变量
data() {
return {
// 假设这是后台传来的数据来源
data: [],
// 所有页面的数据
totalPage: [],
// 每页显示数量
pageSize: 5,
// 共几页
pageNum: 1,
// 当前显示的数据
dataShow: "",
// 默认当前显示第一页
currentPage: 0
};
},
//计算页数
// 这里简单模拟一下后台传过来的数据
for (let i = 0; i < 601; i++) {
this.data.push({ name: "liu" ,look:"very handsome"});
}
// 根据后台数据的条数和每页显示数量算出一共几页,得0时设为1 ;
this.pageNum = Math.ceil(this.data.length / this.pageSize) || 1;
//根据页数存每一页内容
for (let i = 0; i < this.pageNum; i++) {
// 每一页都是一个数组 形如 [['第一页的数据'],['第二页的数据'],['第三页数据']]
// 根据每页显示数量 将后台的数据分割到 每一页,假设pageSize为5, 则第一页是1-5条,即slice(0,5),第二页是6-10条,即slice(5,10)...
this.totalPage[i] = this.data.slice(this.pageSize * i, this.pageSize * (i + 1))
}
// 获取到数据后显示第一页内容
this.dataShow = this.totalPage[this.currentPage];
//翻页
// 上一页和下一页
// 下一页
nextPage() {
if (this.currentPage === this.pageNum - 1) return ;
this.dataShow = this.totalPage[++this.currentPage];
},
// 上一页
prePage() {
if (this.currentPage === 0) return ;
this.dataShow = this.totalPage[--this.currentPage];
}
```
# 二、写博客页面
##### 效果展示
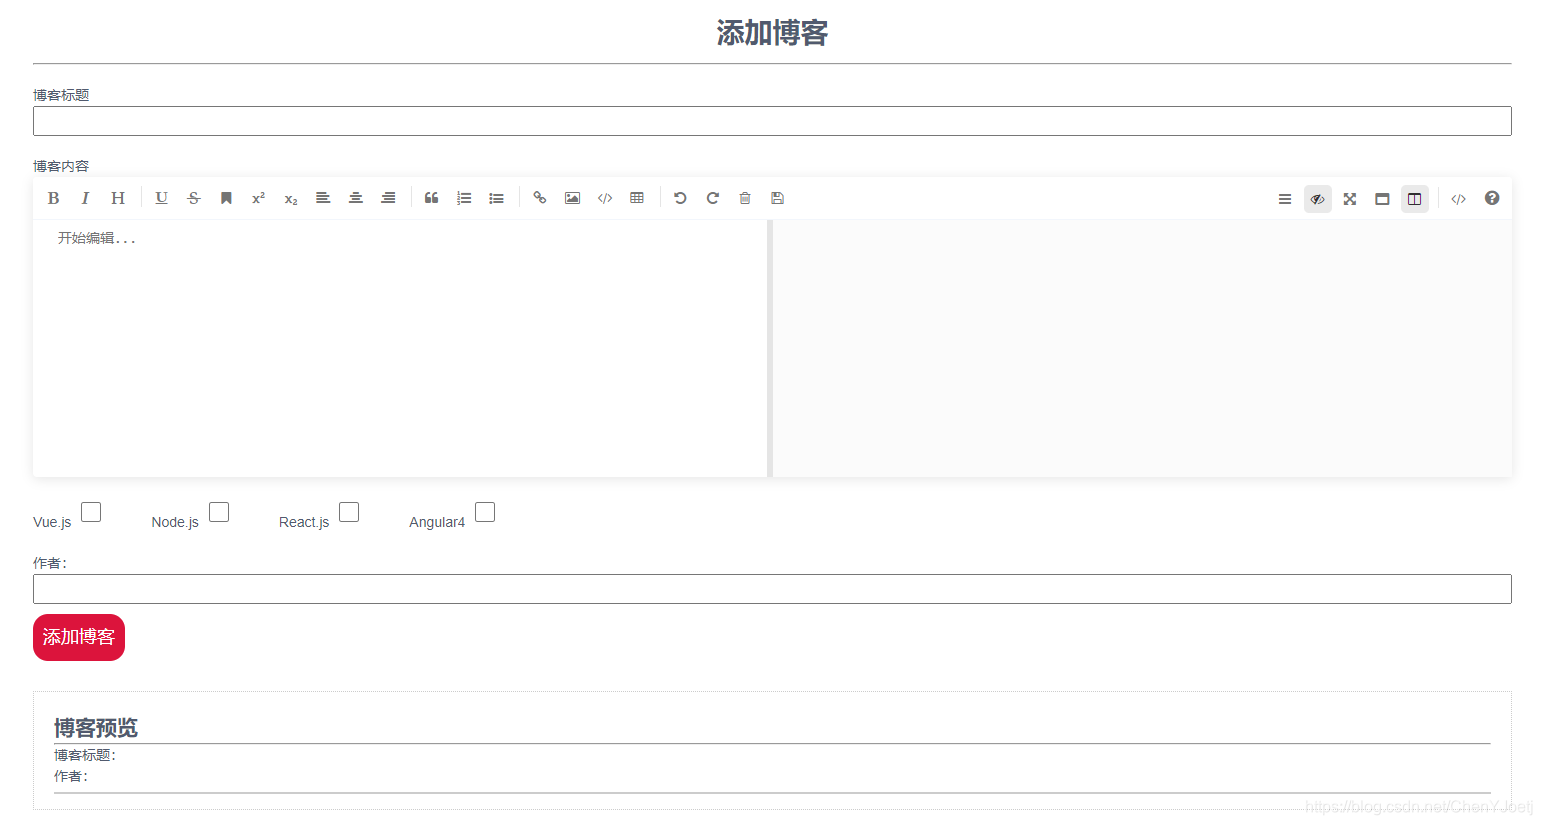
##### markdown编辑器
**1、安装**
>npm install mavon-editor --save
**2、全局引入**
```js
import Vue from 'vue'
import mavonEditor from 'mavon-editor'
import 'mavon-editor/dist/css/index.css'
// use
Vue.use(mavonEditor)
```
**3、使用**
```html
```
```js
updateDoc(value, render) {
// render 为 markdown 解析后的结果
this.blog.content = render;
}
```
**4、添加博客时加上当时的日期,并且格式化**
在main.js中全局定义函数获取当时的时期并且格式化
```js
Vue.prototype.getNowFormatDate=function(){
var date = new Date();
var seperator1 = "-";
var year = date.getFullYear();
var month = date.getMonth() + 1;
var strDate = date.getDate();
if (month >= 1 && month <= 9) {
month = "0" + month;
}
if (strDate >= 0 && strDate <= 9) {
strDate = "0" + strDate;
}
var currentdate = year + seperator1 + month + seperator1 + strDate;
return currentdate;
}
```
# 三、搜索功能
可根据博文的标题和发布日期搜索
首页点击搜索按钮触发
```js
sousuo(){
var fb=[];
if(this.selectTime!=''){
for(let i=0;i{
return blog.title.match(this.search)
})
this.$router.push({
path:'/search',
query:{
filteredBlogs:this.filteredBlogs,
search:this.search,
blogs:this.blogs,
selectTime:this.selectTime,
}
})
},
```
搜索页面绑定计算属性:要展示的博客在filteredBlogs()返回的数组中遍历
```js
computed:{
filteredBlogs(){
var fb=[];
if(this.selectTime!=''){
for(let i=0;i{
return blog.title.match(this.search)
})
}
}
```
**编辑页面和详细博客的页面大致和以上相同**