中文 | English
专为中小团队设计的 AI 聊天应用,支持 Deepseek、Open AI、Claude、Gemini 等模型。
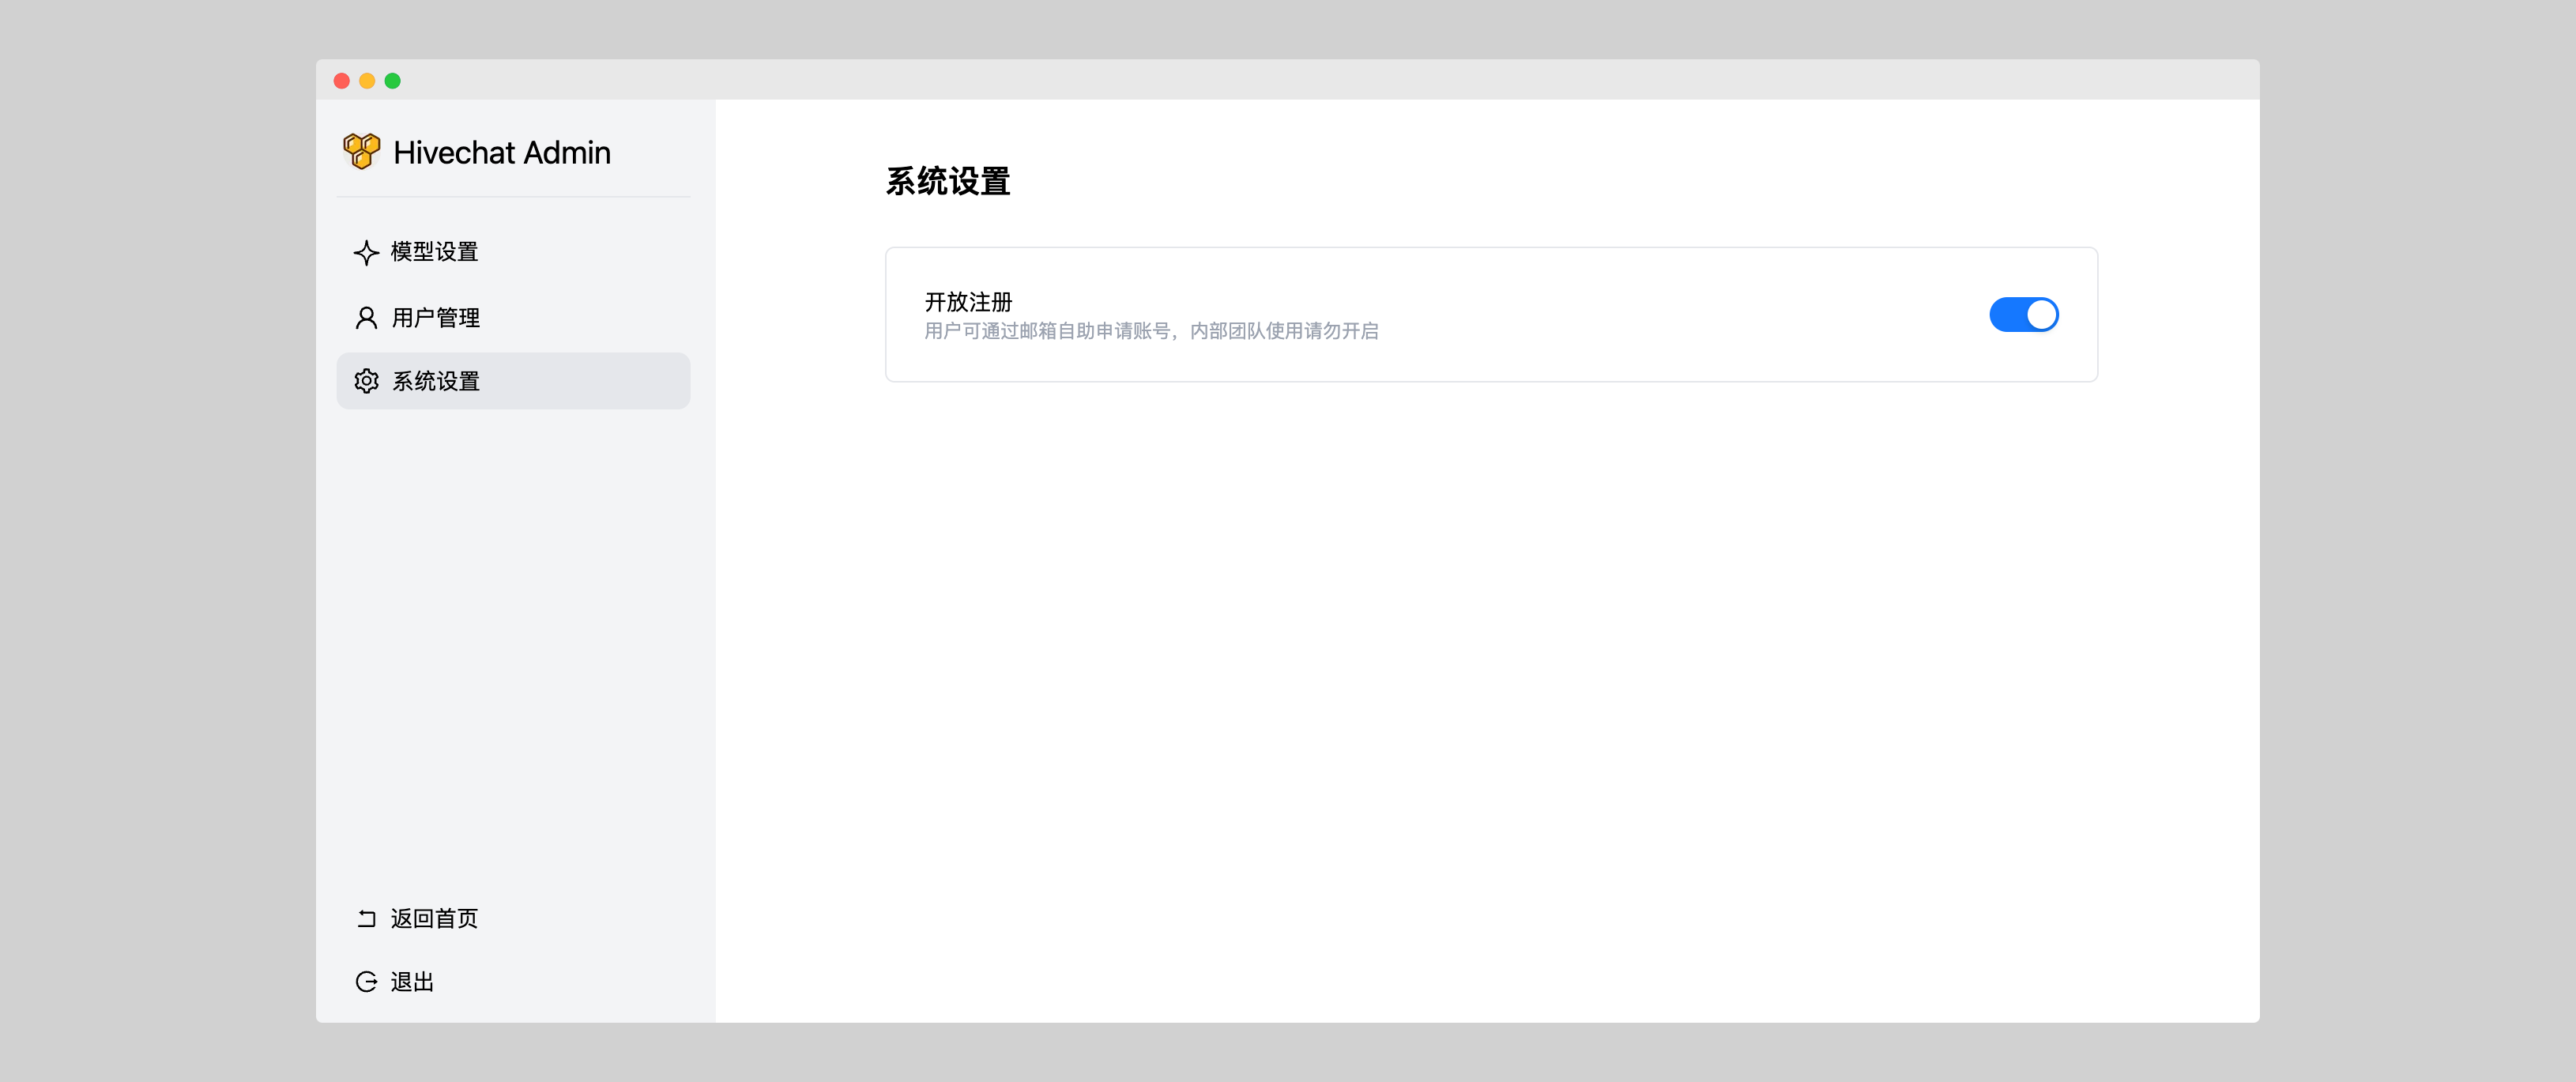
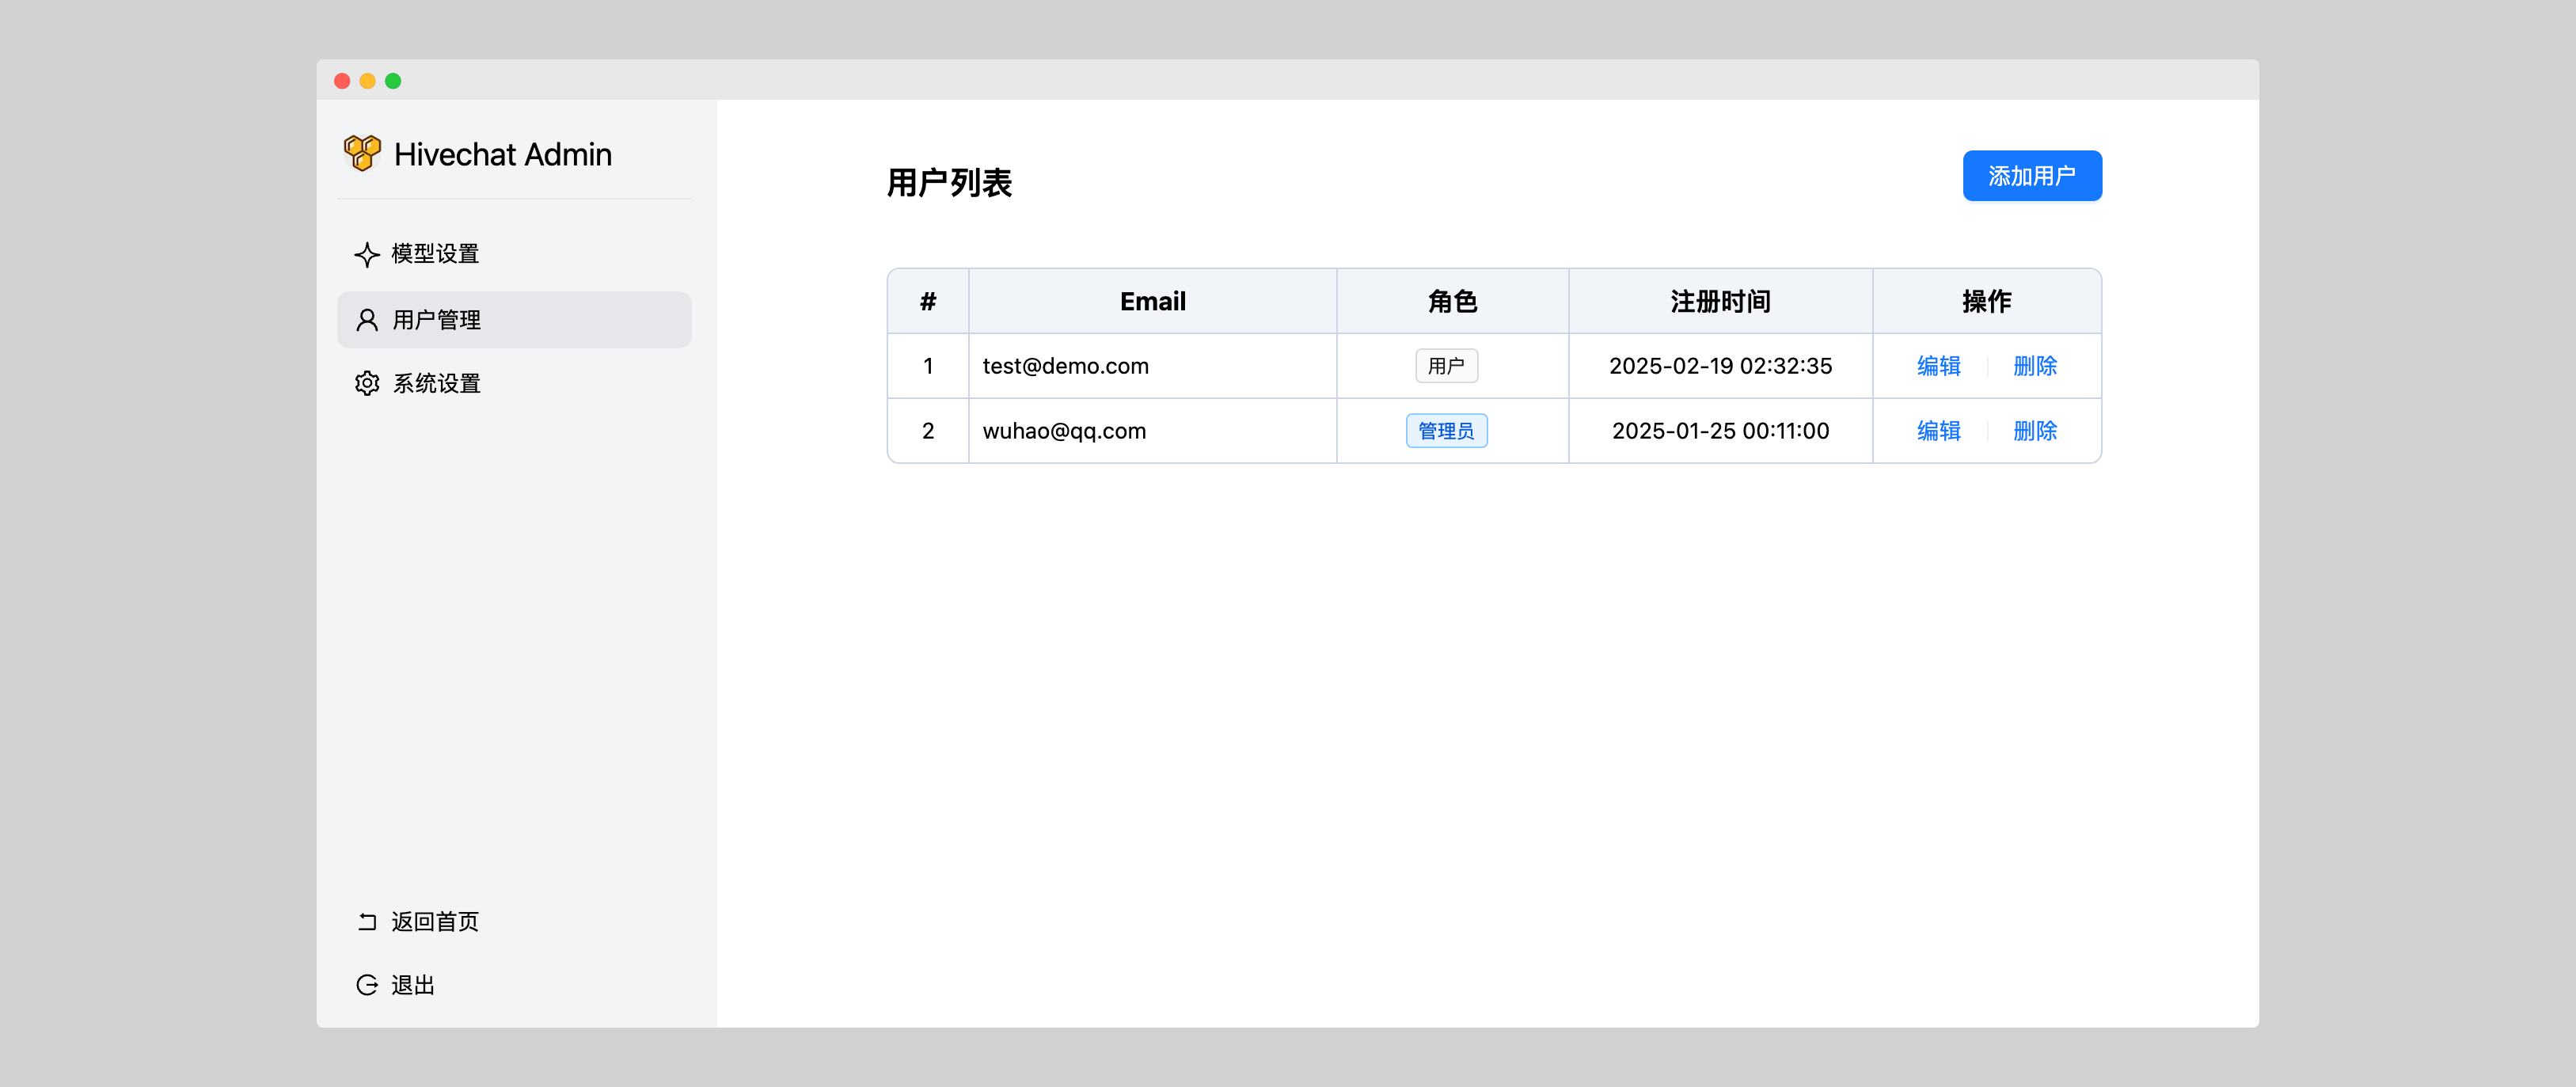 开启或关闭用户注册
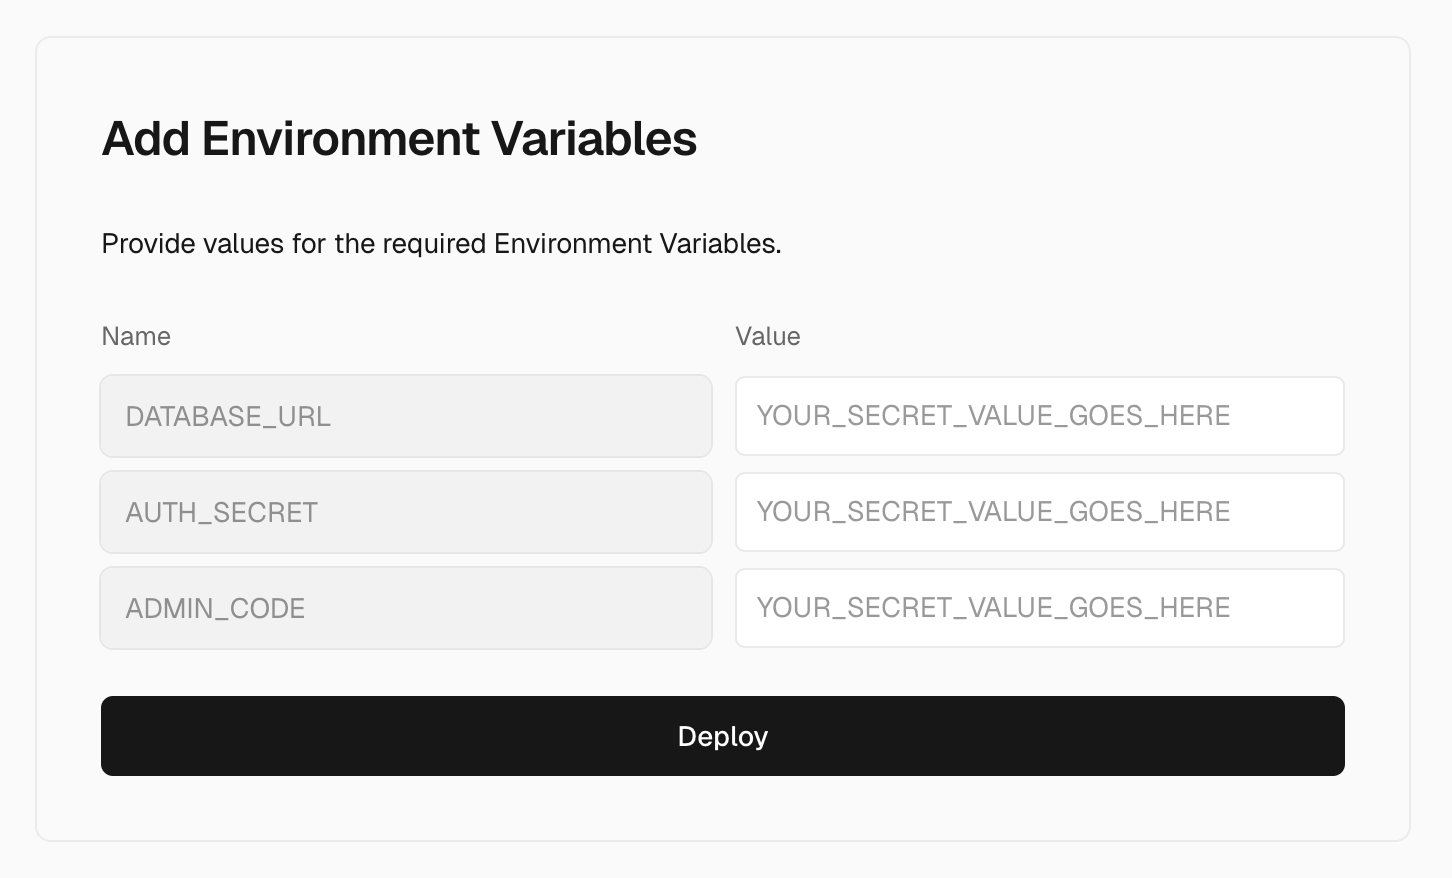 ```
# PostgreSQL 数据库连接 URL,Vercel 平台提供了免费的托管服务,详情见下面说明
DATABASE_URL=postgres://postgres:password@localhost/hivechat
#用于用户信息等敏感信息的加密,可以使用 openssl rand -base64 32 生成一个随机的 32 位字符串作为密钥,此处为示例,请替换为自己生成的值。
AUTH_SECRET=hclqD3nBpMphLevxGWsUnGU6BaEa2TjrCQ77weOVpPg=
# 管理员授权码,初始化后,凭此值设置管理员账号,此处为示例,请替换为自己生成的值。
ADMIN_CODE=22113344
```
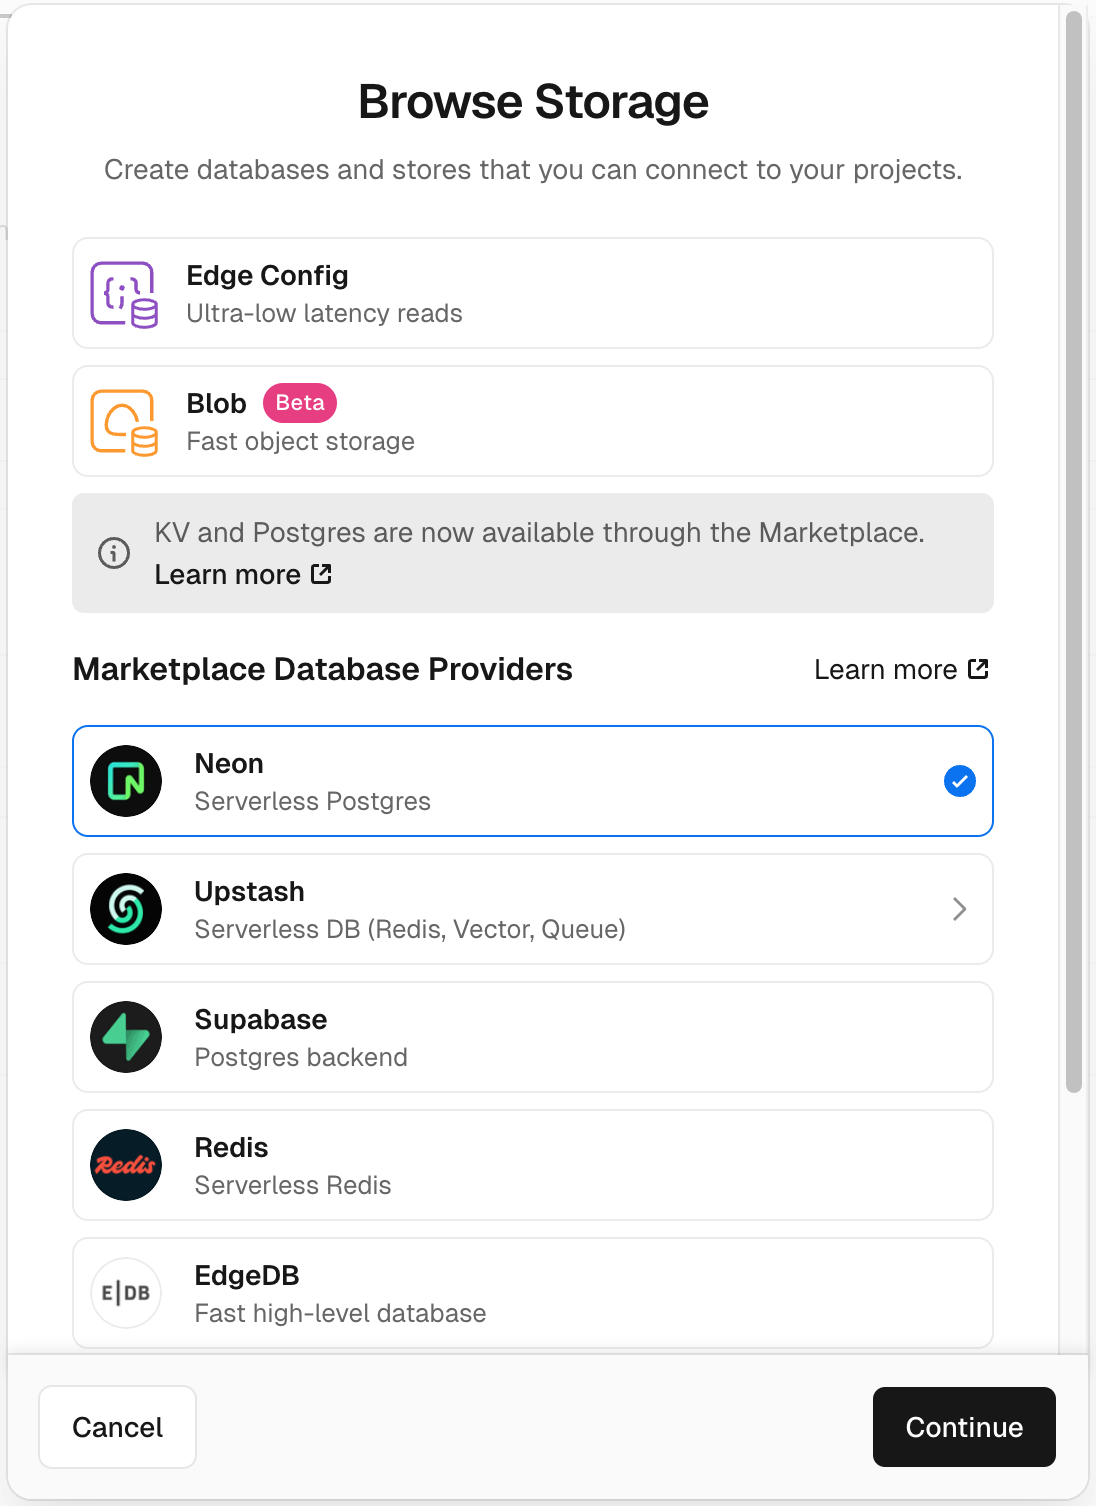
#### 附:Vercel(Neon)PostgreSQL 配置
1. 在 Vercel 平台顶部导航,选择「Storage」标签,点击 Create Databse
2. 选择 Neon(Serverless Postgres)
```
# PostgreSQL 数据库连接 URL,Vercel 平台提供了免费的托管服务,详情见下面说明
DATABASE_URL=postgres://postgres:password@localhost/hivechat
#用于用户信息等敏感信息的加密,可以使用 openssl rand -base64 32 生成一个随机的 32 位字符串作为密钥,此处为示例,请替换为自己生成的值。
AUTH_SECRET=hclqD3nBpMphLevxGWsUnGU6BaEa2TjrCQ77weOVpPg=
# 管理员授权码,初始化后,凭此值设置管理员账号,此处为示例,请替换为自己生成的值。
ADMIN_CODE=22113344
```
#### 附:Vercel(Neon)PostgreSQL 配置
1. 在 Vercel 平台顶部导航,选择「Storage」标签,点击 Create Databse
2. 选择 Neon(Serverless Postgres)
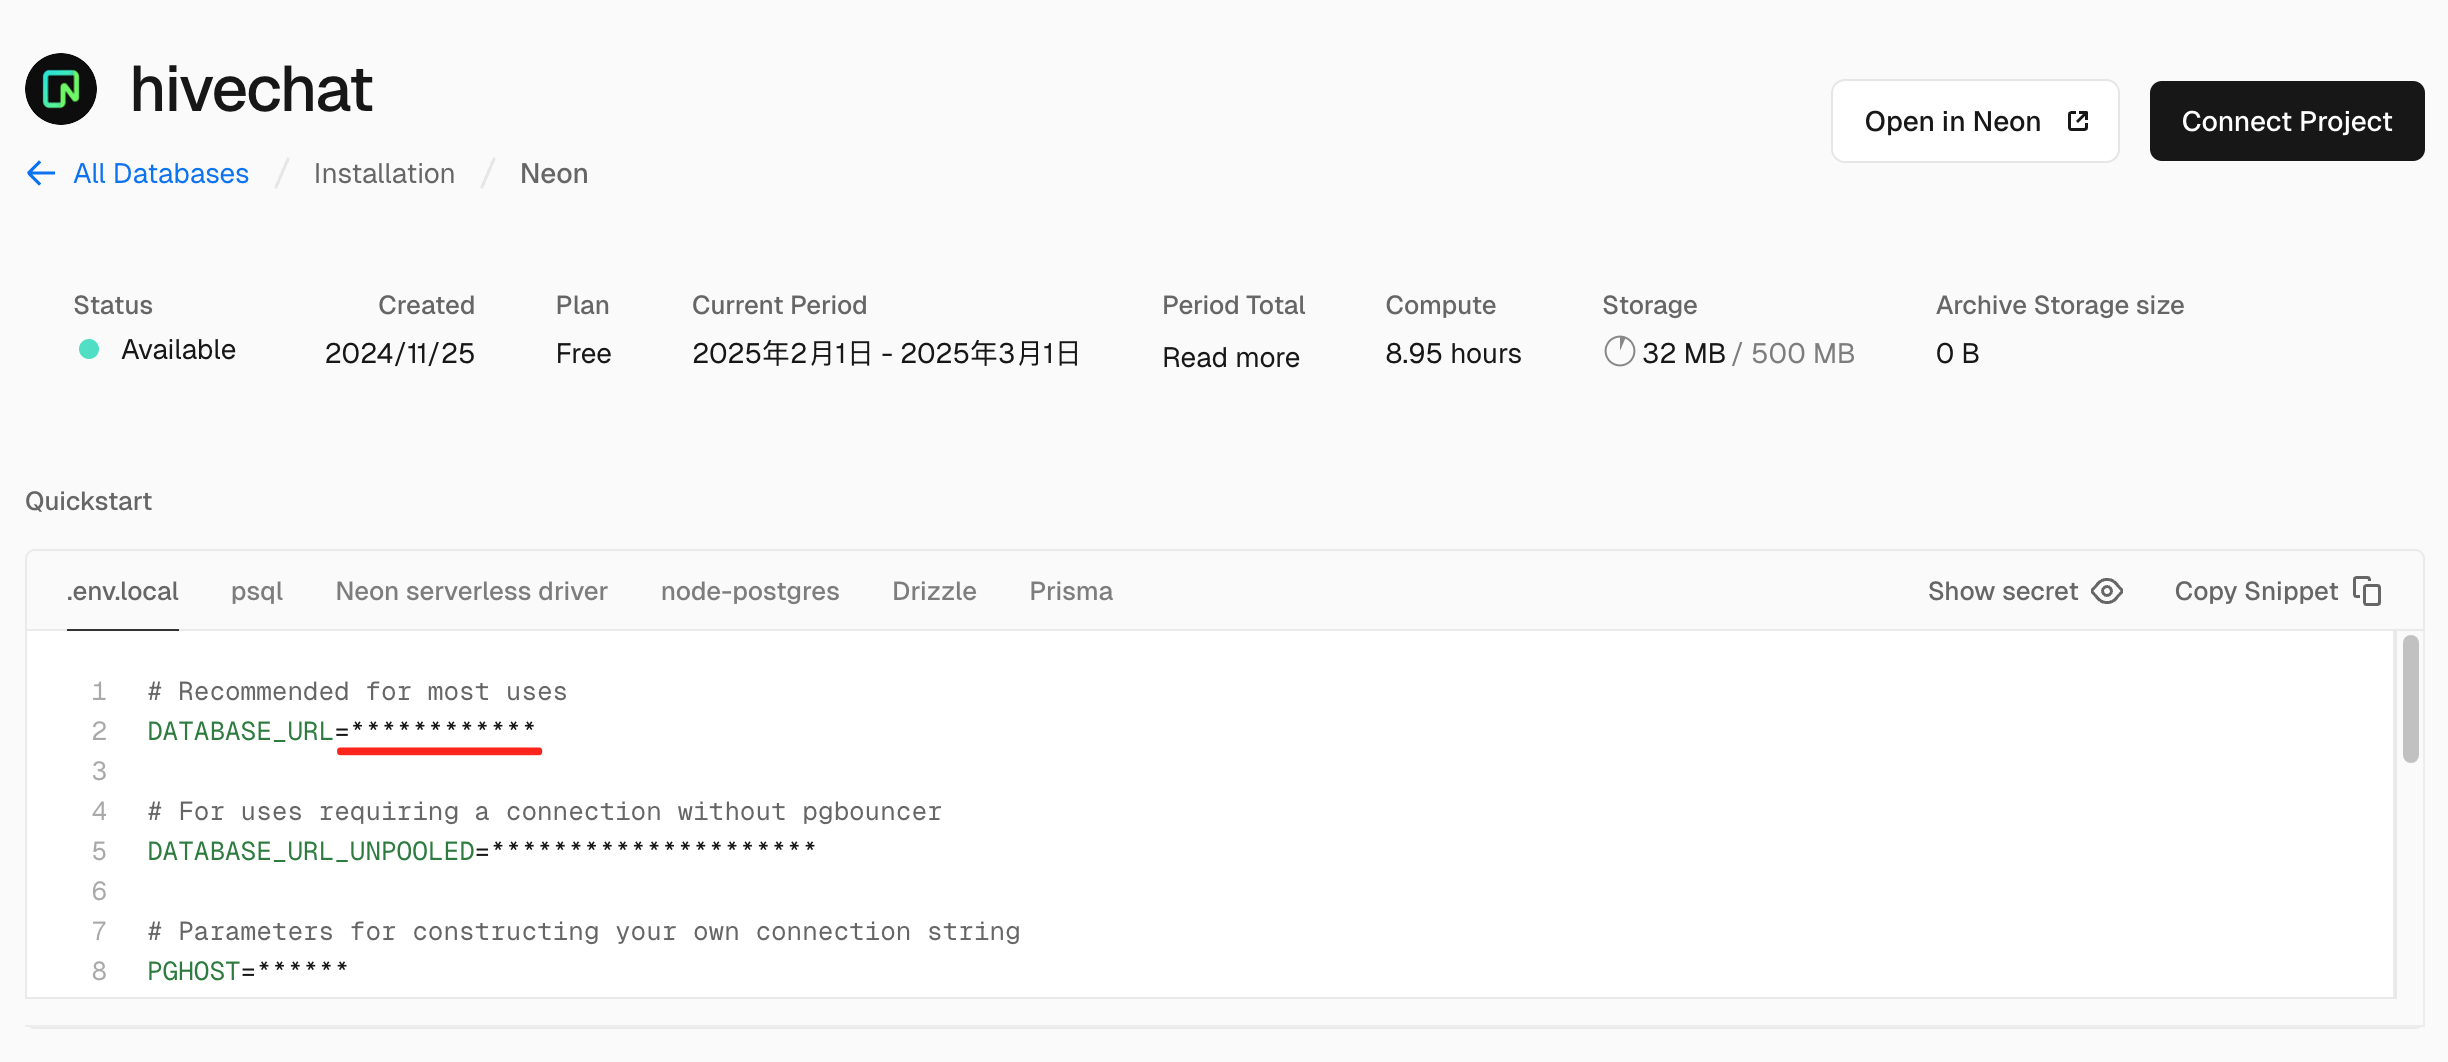
 3. 按照指引完成创建后,复制此处 `DATABASE_URL` 的值,填入到上一步的 `DATABASE_URL` 中
 4. 初始化管理员账号
按照以上方法安装部署完成后,访问 `http://localhost:3000/setup` (实际使用的域名和端口号),即可进入管理员账号设置页面,设置完成后,即可正常使用系统。
4. 初始化管理员账号
按照以上方法安装部署完成后,访问 `http://localhost:3000/setup` (实际使用的域名和端口号),即可进入管理员账号设置页面,设置完成后,即可正常使用系统。