# python_flask_dive
**Repository Path**: enzoism/python_flask_dive
## Basic Information
- **Project Name**: python_flask_dive
- **Description**: Python使用Flask快速项目搭建
- **Primary Language**: Unknown
- **License**: Not specified
- **Default Branch**: master
- **Homepage**: None
- **GVP Project**: No
## Statistics
- **Stars**: 0
- **Forks**: 0
- **Created**: 2025-05-12
- **Last Updated**: 2025-05-12
## Categories & Tags
**Categories**: Uncategorized
**Tags**: None
## README
# Python-Flask-Dive
> 适用Python编写一个Flask的快速上手模板,后续如果需要使用Python快速进行we端的验证可以直接下载使用
----
## 1-项目创建
> 本项目仓库代码地址:https://gitee.com/enzoism/python_flask_dive
## 1-Python环境
```
## 1-空工程初始化环境
mkdir my_project
cd my_project
python -m venv .venv
## 2-激活环境
source .venv/bin/activate
## 3-添加依赖
pip install flask
```
----
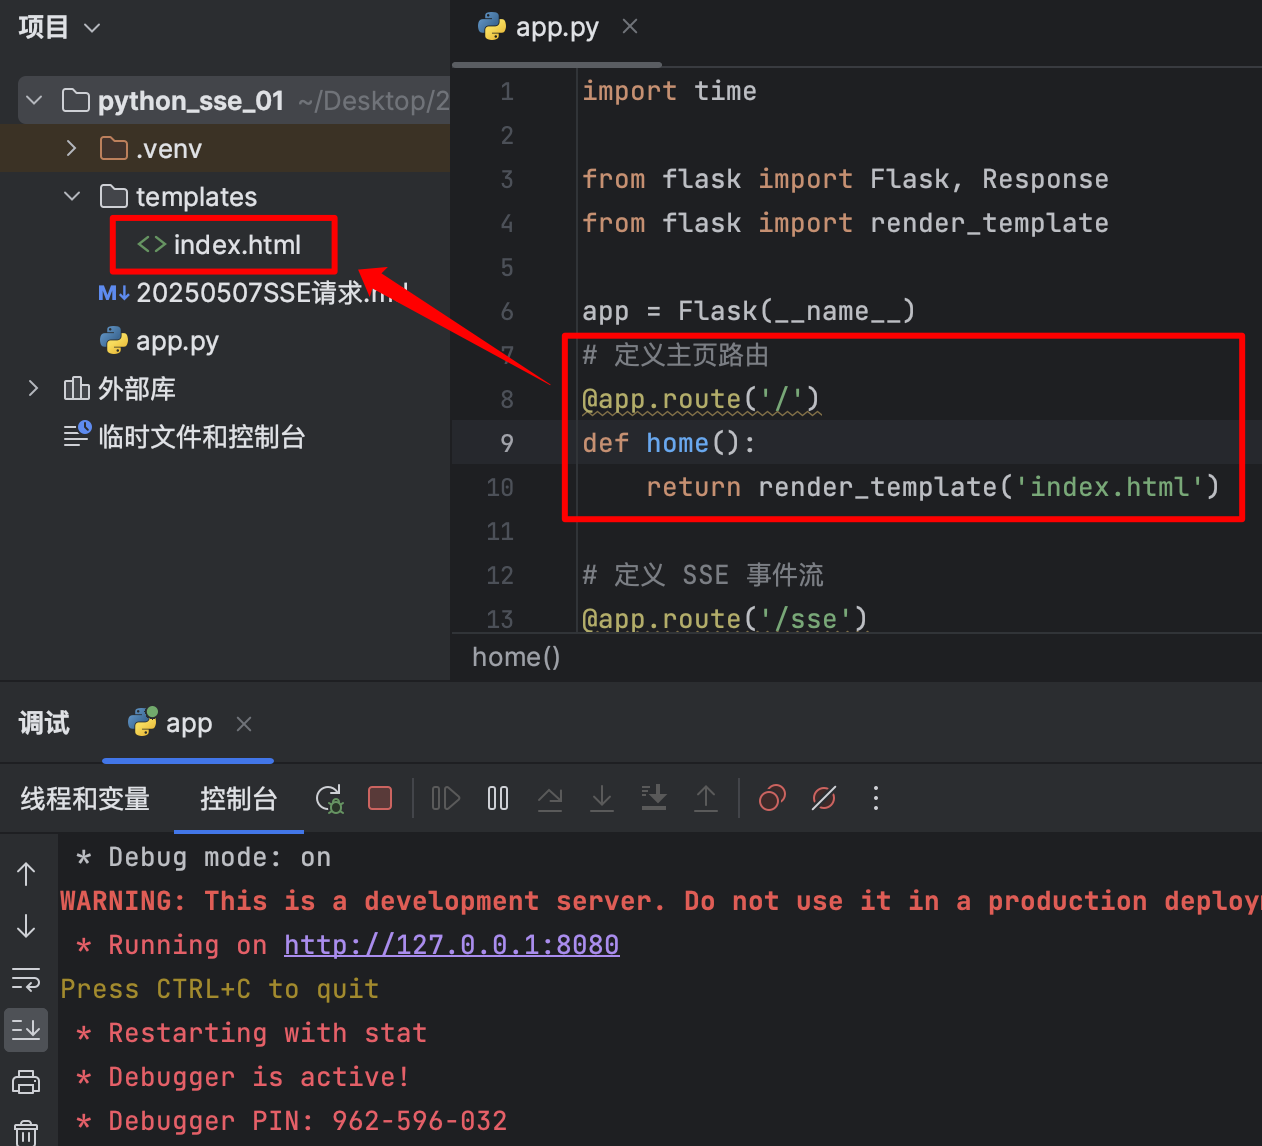
## 2-Python脚本
```
import time
from flask import Flask, Response
from flask import render_template
app = Flask(__name__)
# 定义主页路由
@app.route('/')
def home():
return render_template('index.html')
# 定义 SSE 事件流
@app.route('/sse')
def sse_stream():
def event_stream():
for i in range(20):
yield f"data: 测试数据20-Message {i}\n\n"
time.sleep(1)
return Response(event_stream(),
content_type='text/event-stream')
# 启动并指定端口
if __name__ == '__main__':
app.run(port=8080, debug=True)
```
## 3-Index代码
```
Python-Flask-DEMO-SSE
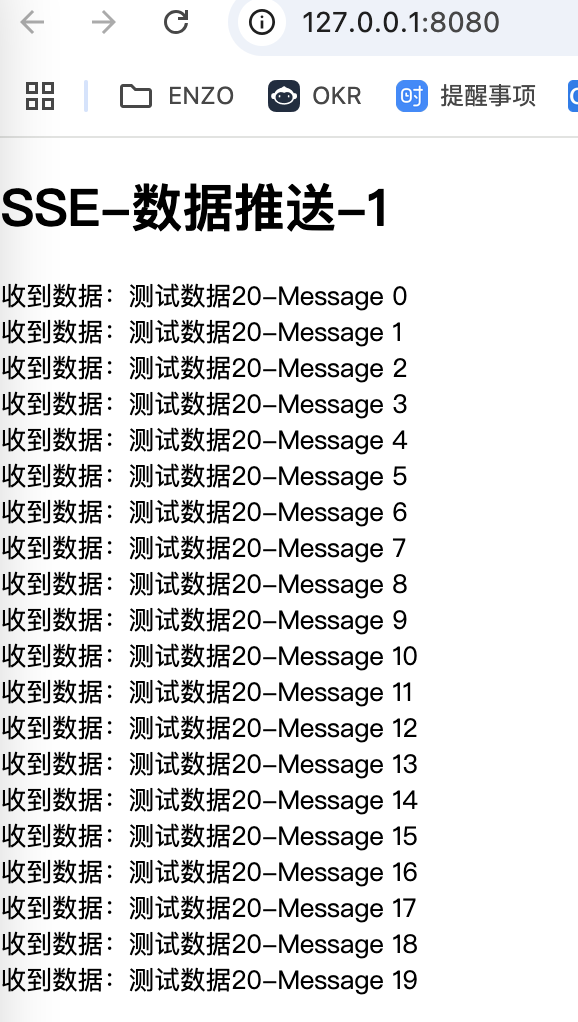
SSE-数据推送-1
```
----
## 2-运行效果
- 1)直接点击链接
> 注意事项:前端index.html中设置的是127.0.0.1,如何和你当前访问的IP地址保持一致,否则跨域。错误示例:localhost就不行,一定要两边保持hi一致
- 2)前端页面展示
> 当前是演示Python的SSE代码示例