# bwoken
**Repository Path**: mirrors_dblock/bwoken
## Basic Information
- **Project Name**: bwoken
- **Description**: iOS UIAutomation Test Runner
- **Primary Language**: Unknown
- **License**: MIT
- **Default Branch**: master
- **Homepage**: None
- **GVP Project**: No
## Statistics
- **Stars**: 0
- **Forks**: 0
- **Created**: 2020-09-24
- **Last Updated**: 2026-05-23
## Categories & Tags
**Categories**: Uncategorized
**Tags**: None
## README
# Bwoken 
Runs your UIAutomation tests from the command line for both iPhone and iPad, in the simulator or on your device.
Supports coffeescript and javascript.
## On the Command Line
### Running tests
Make sure bwoken is properly installed. Then, build your project and run all your tests via:
# will build and run all of your tests
$ bwoken test

# will run one file, relative to integration/coffeescript/{iphone,ipad}/
#  (note: no file extension)
$ bwoken test --focus some_test # runs this test on (iphone and ipad) OR (connected iDevice)
$ bwoken test --focus some_test --family iphone
### structuring your test files
To add new coffeescript test, add those file to the /integration/coffeescript/iphone or /integration/coffeescript/ipad folder.
To add new javascript test, if the iphone and ipad folder don't exist in the /integration/javascript forlder, create them.
Then copy your test file inside those folder depending on your target.
Your file hierarchy should look something like this
| integration
	| coffeescript
		| iphone
			| exemple.coffee
		| ipad
			| example.coffee
	| javascript
		| iphone
			| myTest.js
		| ipad
			| myiPadtest.js
	|tmp
Note that your test scripts inside the coffeescript and javascript folder will be copied to their equivalent folder in the /tmp folder(ie: /tmp/javascript/iphone/myTest.js),
so all your import statement should be relative to that location (ie: #import "../filetoImport.js" for file in the javascript folder)
### Simulator or Device?
To run bwoken tests on your device, just plug it in! And if you want to run tests in the simulator, just unplug it!
# without a device connected, will run on the simulator:
$ bwoken test

# with a device connected, will run on the device:
$ bwoken test

# with a device connected, will run on the simulator:
$ bwoken test --simulator
Your tests will look something like this:
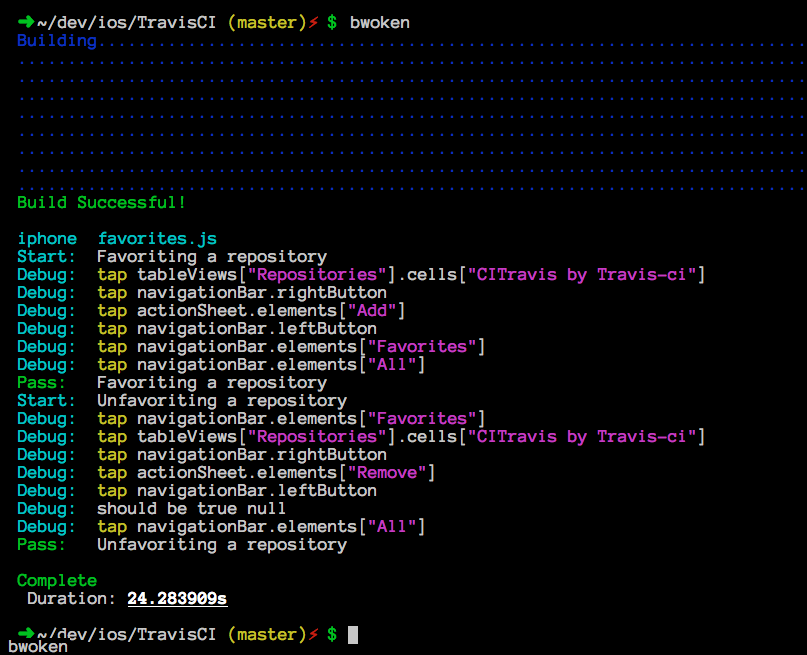
$ bwoken test
Building.............................................................................
.....................................................................................
.....................................................................................
.....................................................................................
.....................................................................................
.....................................................................................
.....................................................................................
................................................................................
Build Successful!

iphone  favorites.js
Start:  Favoriting a repository
Debug:  tap tableViews["Repositories"].cells["CITravis by Travis-ci"]
Debug:  tap navigationBar.rightButton
Debug:  tap actionSheet.elements["Add"]
Debug:  tap navigationBar.leftButton
Debug:  tap navigationBar.elements["Favorites"]
Debug:  navigationBar.elements["Favorites"].scrollToVisible
Debug:  tap navigationBar.elements["All"]
Pass:   Favoriting a repository
Start:  Unfavoriting a repository
Debug:  tap navigationBar.elements["Favorites"]
Debug:  tap tableViews["Repositories"].cells["CITravis by Travis-ci"]
Debug:  tap navigationBar.rightButton
Debug:  tap actionSheet.elements["Remove"]
Debug:  tap navigationBar.leftButton
Debug:  should be true null
Debug:  tap navigationBar.elements["All"]
Pass:   Unfavoriting a repository

Complete
 Duration: 23.419741s
### All the switches
Here's a list of all the switches that bwoken takes for the `test` command:
$ bwoken test -h
[...]
        --simulator             Use simulator, even when an iDevice is connected
        --family                Test only one device type, either ipad or iphone. Default is to test on both
        --scheme                Specify a custom scheme
        --product-name          Specify a custom product name (e.g. --product-name="My Product"). Default is the name of of the xcodeproj file
        --integration-path      Specify a custom directory to store your test scripts in (e.g. --integration-path=uiautomation/path/dir). Note that this folder still expects the same directory structure as the one create by `bwoken init`.
        --formatter             Specify a custom formatter (e.g., --formatter=passthru)
        --focus                 Specify particular tests to run
        --clobber               Remove any generated file
        --skip-build            Do not build the iOS binary
        --verbose               Be verbose
    -h, --help                  Display this help message.
## In Your Code
### Like Javascript?
Sometimes we'd like to have some javascript help us out. For example, what if you'd like [Underscore.js](http://underscorejs.org) in your test suite? Simple! Just put it in integration/javascript and import it in your test:
#import "../underscore.js"
### Bring in Libraries!
Wanna bring in [tuneup.js](https://github.com/alexvollmer/tuneup_js), [mechanic](https://github.com/jaykz52/mechanic), or [underscore](http://underscorejs.org) without manually downloading them first? Just use `#github` instead of `#import`:
#github "jashkenas/underscore/underscore.js"
#github "alexvollmer/tuneup_js/tuneup.js"
#github "jaykz52/mechanic/src/mechanic-core.js"
## Installation
### Create an iOS project
If you don't have an iOS project already, go ahead and create it. If you already have a project, no worries: you can install bwoken at any point.
Ensure your project is in a workspace rather than simply a project:
* In Xcode, select File -> Save as workspace...
* Save the workspace in the same directory as your .xcodeproj file
Note: This is done automatically if you use [CocoaPods](http://cocoapods.org/). I highly suggest you do!
### Prerequisites
Ensure Xcode is up-to-date.
Install rvm via the instructions. Ensure your after_cd_bundler rvm hook is enabled:
$ chmod u+x ~/.rvm/hooks/after_cd_bundler
### Install
**NOTE:** Do **NOT** use `sudo` to install or run bwoken. It will almost definitely fail you.
In the terminal, inside the directory of your project (e.g., you should see a ProjectName.xcodeproj file), create .ruby-version and .ruby-gemset files and trigger their use:
$ echo '2.0.0' > .ruby-version
$ echo 'my_project' > .ruby-gemset
$ cd .
Install bundler (a ruby library dependency manager) and init:
$ gem install bundler # idempotent; might already be installed and that's ok
$ bundle init
This will create a Gemfile. Add bwoken to it and bundle:
$ echo "gem 'bwoken', '2.0.0.beta.1'" >> Gemfile
$ bundle
The last installation step is to initialize the bwoken file structure:
$ bwoken init
Now, you can start using it!
#### The Dirty Little Installation Method
Technically, you can skip this entire Installation section and just run `sudo gem install bwoken && bwoken init`. This is listed here for completeness, but you really shouldn't install gems this way.
## Contributors
Special thank you goes out to everyone who's helped with bwoken. Here's a (probably incomplete) list of those folks:
* Brad Grzesiak ([listrophy](https://github.com/listrophy))
* Jaymes Waters ([jaym3s](https://github.com/jaym3s))
* Jonathan Penn ([jonathanpenn](https://github.com/jonathanpenn))
* Ryland Herrick ([rylnd](https://github.com/rylnd))
* Whitney Young ([wbyoung](https://github.com/wbyoung))
* David Gagnon ([mrdavidgagnon](https://github.com/mrdavidgagnon))
* [otusweb](https://github.com/otusweb)
* Alec Gorge ([alecgorge](https://github.com/alecgorge))
## Contributing
1. Fork it
2. Create your feature branch (`git checkout -b my-new-feature`)
3. Commit your changes (`git commit -am 'Added some feature'`)
4. Push to the branch (`git push origin my-new-feature`)
5. Create new Pull Request