# springbootrediscache
**Repository Path**: wmazh/springbootrediscache
## Basic Information
- **Project Name**: springbootrediscache
- **Description**: springboot使用redis作为缓存
- **Primary Language**: Unknown
- **License**: GPL-2.0
- **Default Branch**: master
- **Homepage**: None
- **GVP Project**: No
## Statistics
- **Stars**: 0
- **Forks**: 0
- **Created**: 2022-07-08
- **Last Updated**: 2022-09-07
## Categories & Tags
**Categories**: Uncategorized
**Tags**: None
## README
springboot 使用 redis作为缓存,简单的demo
@[toc]
## 安装redis
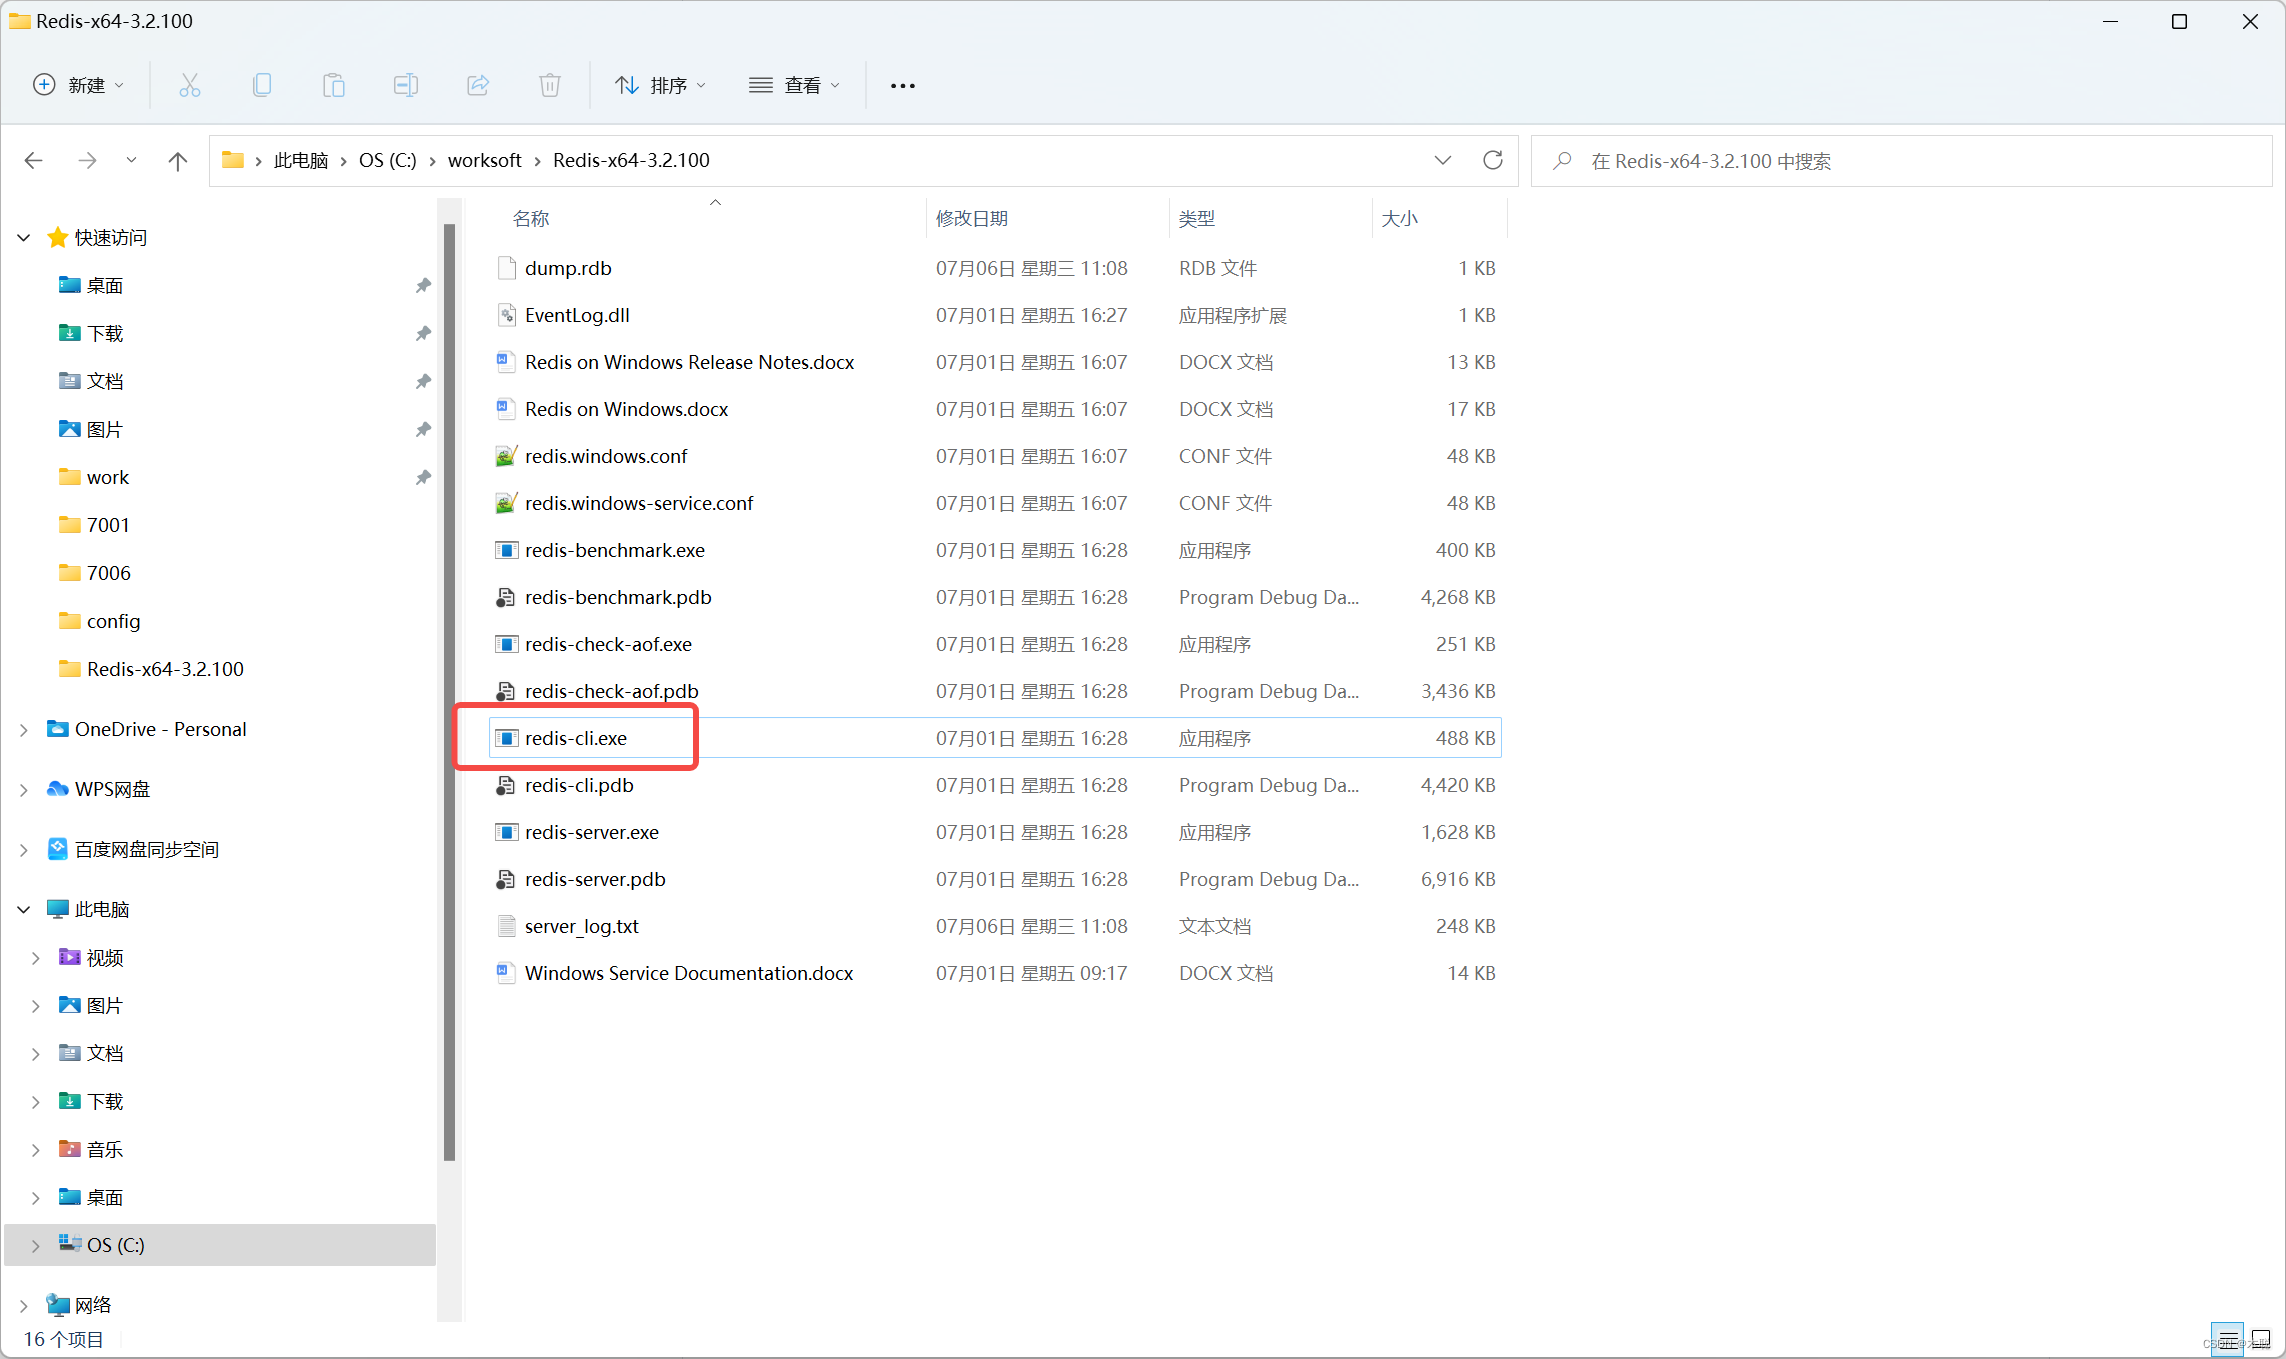
### windows安装
[下载地址](https://github.com/MicrosoftArchive/redis/releases)
解压之后启动redis服务
`redis-server.exe redis.windows.conf`
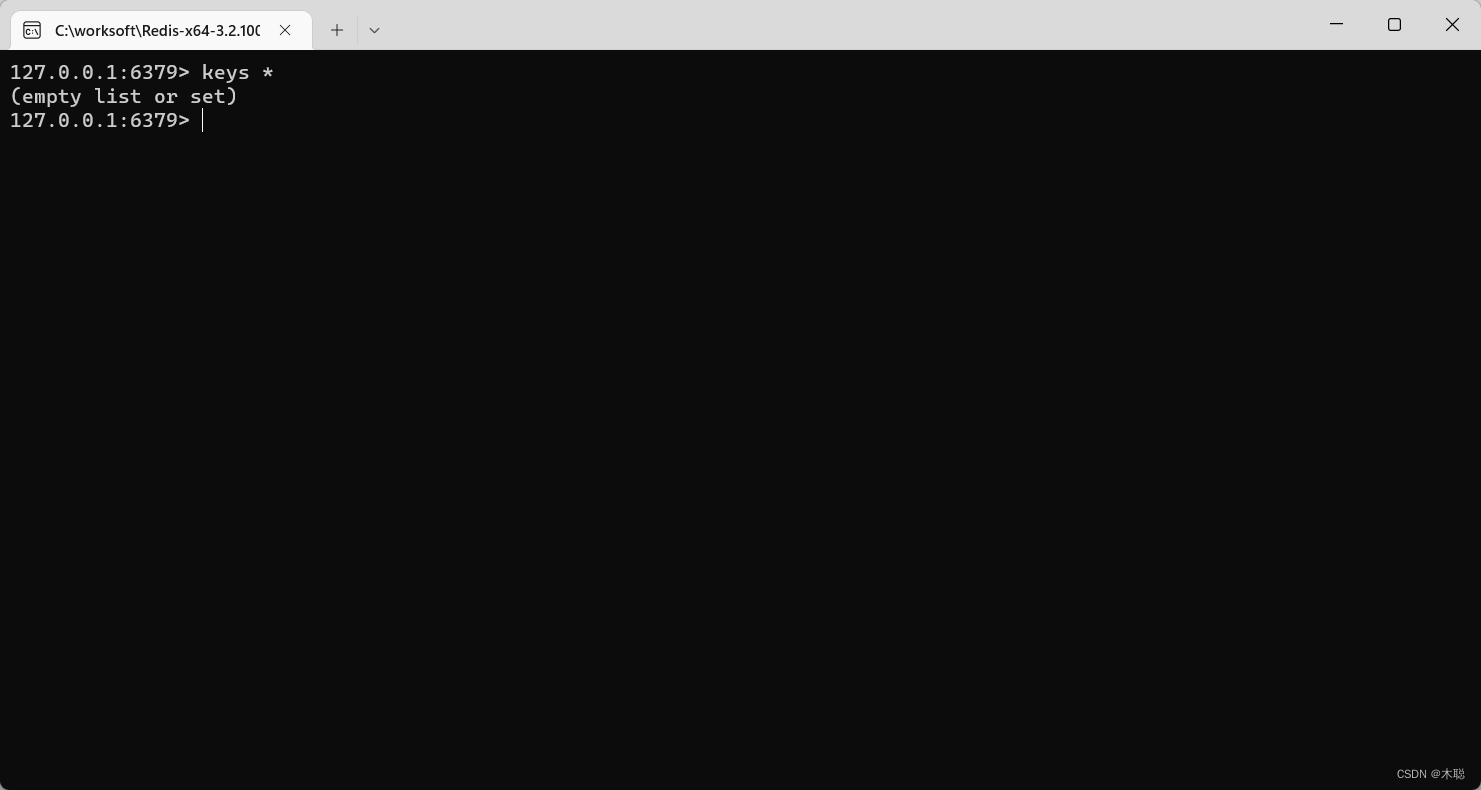
然后使用客户端连接,redis-cli.exe可以连接默认是 127.0.0.1:6379
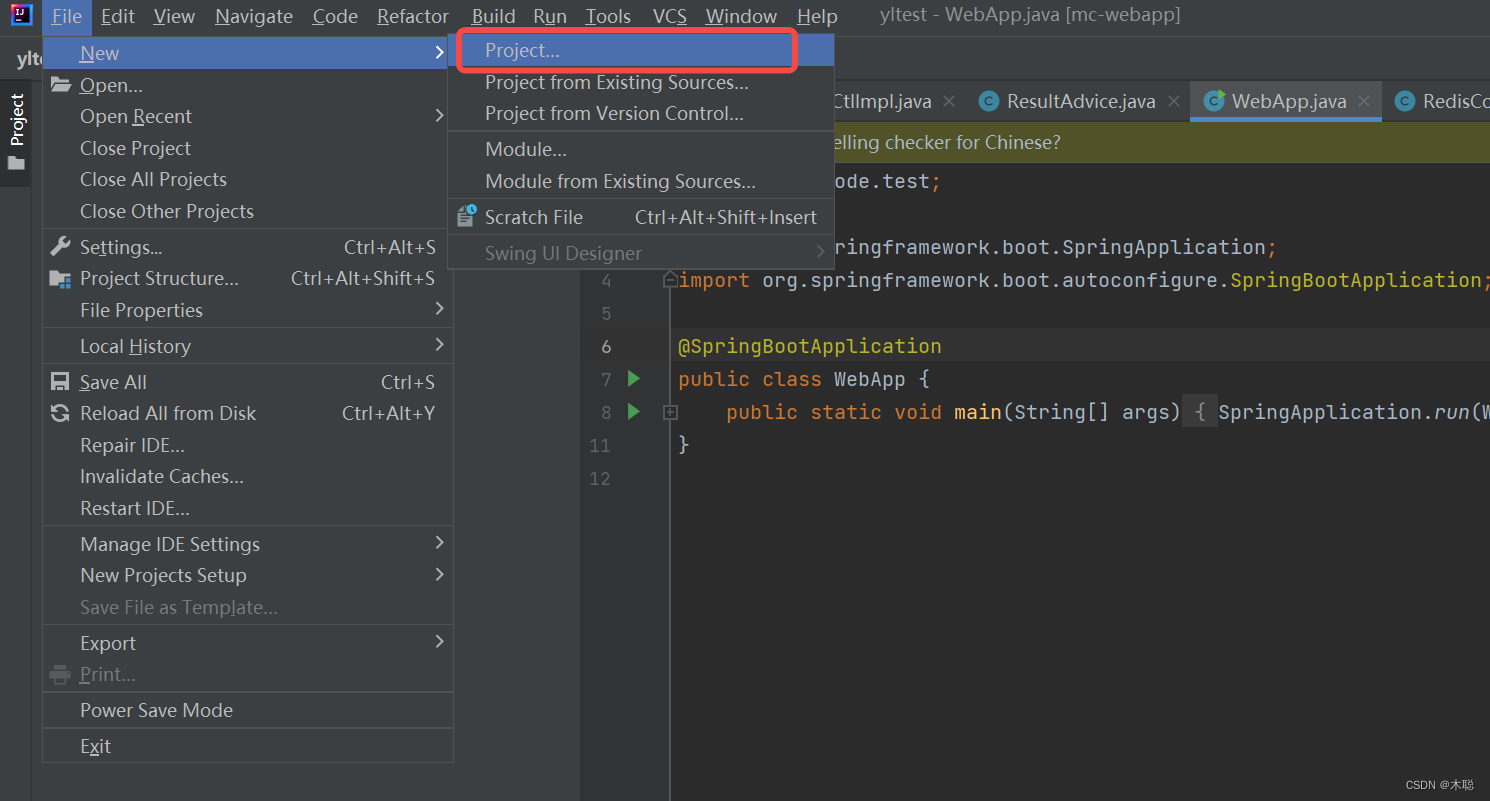
## 搭建springboot+redis项目
使用的工具是idea
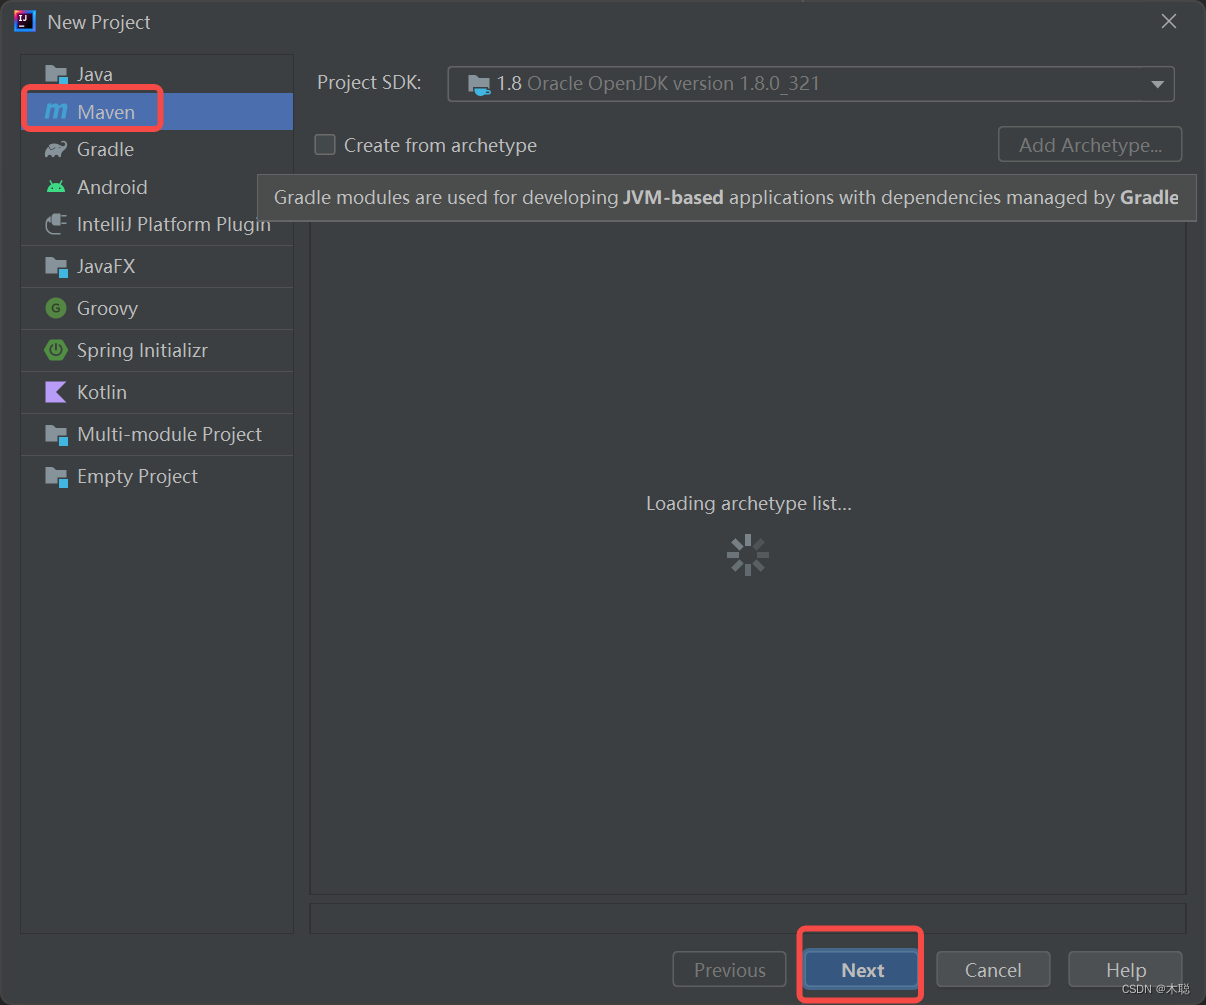
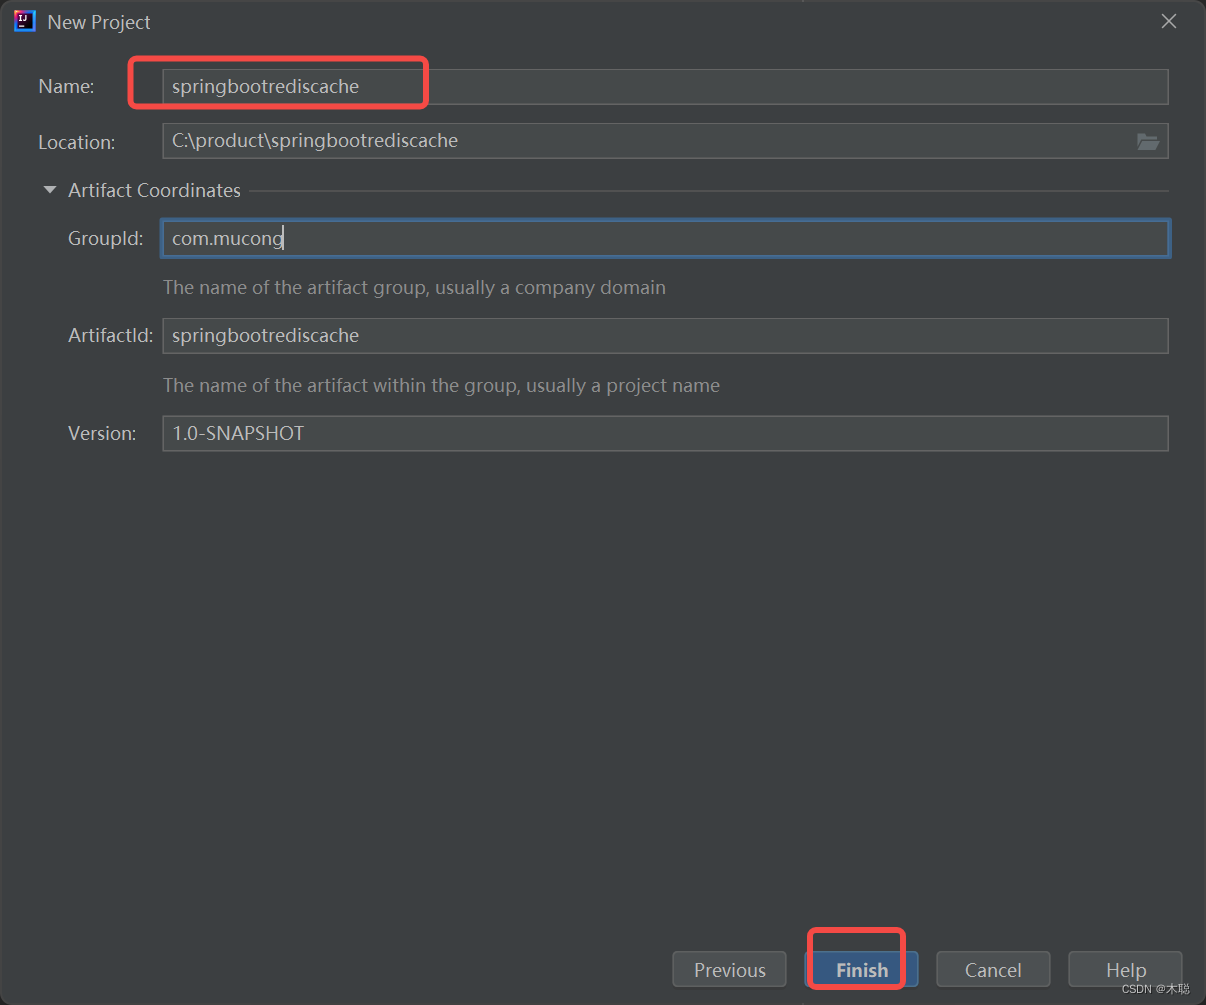
pom.xml文件内容
```xml
4.0.0
com.mucong
springbootrediscache
1.0-SNAPSHOT
8
8
org.springframework.boot
spring-boot-starter-parent
2.3.0.RELEASE
org.springframework.boot
spring-boot-autoconfigure
org.springframework.boot
spring-boot-starter-web
org.slf4j
slf4j-log4j12
org.springframework.boot
spring-boot-starter-tomcat
org.springframework.boot
spring-boot-starter-undertow
org.springframework.boot
spring-boot-starter-data-redis
com.alibaba
fastjson
2.0.8
```
## 代码
>为了测试效果,我们设计了一个接口**获取当前的时间**,这样每次获取的都是最新的时间,如果增加了缓存,就可能获取之前的时间,实际项目中不能这么用,实际项目为了保证**接口的幂等性**,如果有时间的话,一般会把时间作为参数。
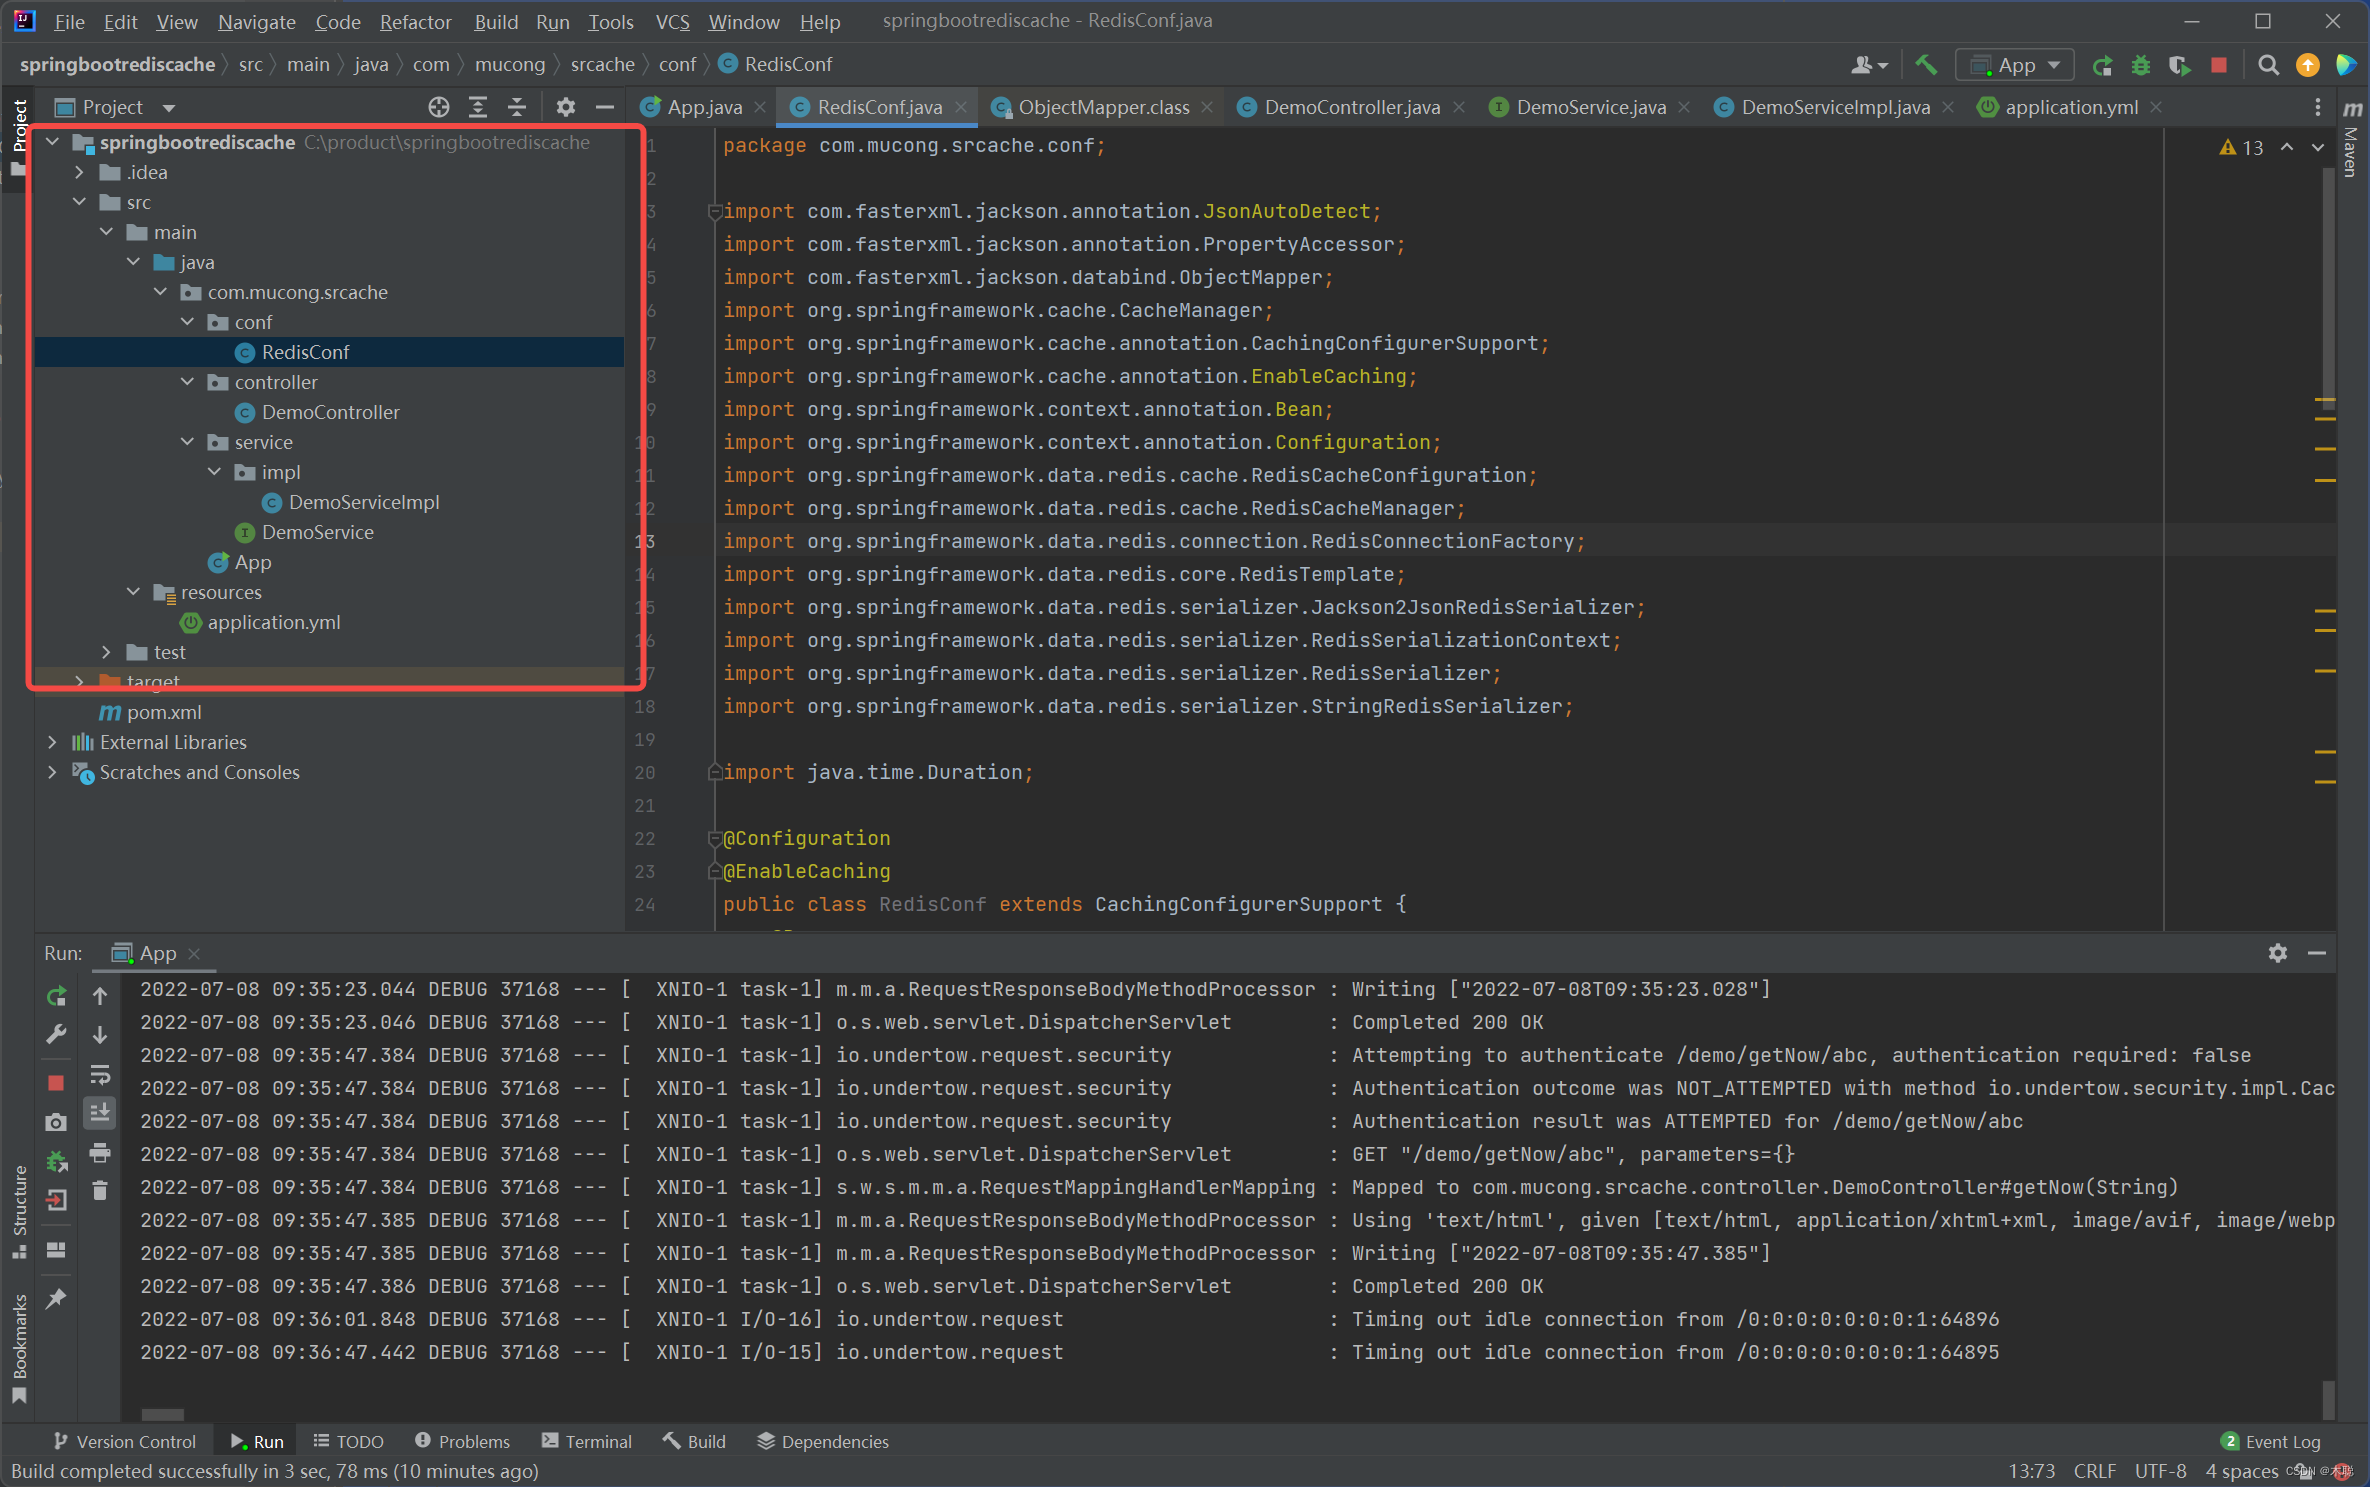
项目结构
App.java
```java
package com.mucong.srcache;
import org.springframework.boot.SpringApplication;
import org.springframework.boot.autoconfigure.SpringBootApplication;
@SpringBootApplication
public class App {
public static void main(String[] args) {
SpringApplication.run(App.class,args);
}
}
```
#### DemoController.java
```java
ppackage com.mucong.srcache.controller;
import com.mucong.srcache.service.DemoService;
import org.springframework.beans.factory.annotation.Autowired;
import org.springframework.web.bind.annotation.GetMapping;
import org.springframework.web.bind.annotation.RequestMapping;
import org.springframework.web.bind.annotation.RestController;
@RestController
@RequestMapping("/demo")
public class DemoController {
@Autowired
private DemoService demoService;
@GetMapping("/getNow")
public String getNow(String key) throws Exception{
return demoService.getTime(key);
}
}
```
#### DemoService.java
```java
package com.mucong.srcache.service;
public interface DemoService {
String getTime(String key);
}
```
#### DemoServiceImpl.java
```java
package com.mucong.srcache.service.impl;
import com.mucong.srcache.service.DemoService;
import org.springframework.stereotype.Service;
import java.time.LocalDateTime;
import java.time.format.DateTimeFormatter;
@Service
public class DemoServiceImpl implements DemoService {
@Override
public String getTime(String key) {
return LocalDateTime.now().format(DateTimeFormatter.ISO_DATE_TIME);
}
}
```
#### RedisConf.java
```java
package com.mucong.srcache.conf;
import com.fasterxml.jackson.annotation.JsonAutoDetect;
import com.fasterxml.jackson.annotation.PropertyAccessor;
import com.fasterxml.jackson.databind.ObjectMapper;
import org.springframework.cache.CacheManager;
import org.springframework.cache.annotation.CachingConfigurerSupport;
import org.springframework.cache.annotation.EnableCaching;
import org.springframework.context.annotation.Bean;
import org.springframework.context.annotation.Configuration;
import org.springframework.data.redis.cache.RedisCacheConfiguration;
import org.springframework.data.redis.cache.RedisCacheManager;
import org.springframework.data.redis.connection.RedisConnectionFactory;
import org.springframework.data.redis.core.RedisTemplate;
import org.springframework.data.redis.serializer.Jackson2JsonRedisSerializer;
import org.springframework.data.redis.serializer.RedisSerializationContext;
import org.springframework.data.redis.serializer.RedisSerializer;
import org.springframework.data.redis.serializer.StringRedisSerializer;
import java.time.Duration;
@Configuration
@EnableCaching
public class RedisConf extends CachingConfigurerSupport {
@Bean
public RedisTemplate redisTemplate(RedisConnectionFactory factory) {
RedisTemplate template = new RedisTemplate<>();
RedisSerializer redisSerializer = new StringRedisSerializer();
Jackson2JsonRedisSerializer jackson2JsonRedisSerializer = new Jackson2JsonRedisSerializer(Object.class);
ObjectMapper om = new ObjectMapper();
om.setVisibility(PropertyAccessor.ALL, JsonAutoDetect.Visibility.ANY);
om.enableDefaultTyping(ObjectMapper.DefaultTyping.NON_FINAL);
jackson2JsonRedisSerializer.setObjectMapper(om);
template.setConnectionFactory(factory);
//key序列化方式
template.setKeySerializer(redisSerializer);
//value序列化
template.setValueSerializer(jackson2JsonRedisSerializer);
//value hashmap序列化
template.setHashValueSerializer(jackson2JsonRedisSerializer);
return template;
}
@Bean
public CacheManager cacheManager(RedisConnectionFactory factory) {
RedisSerializer redisSerializer = new StringRedisSerializer();
Jackson2JsonRedisSerializer jackson2JsonRedisSerializer = new Jackson2JsonRedisSerializer(Object.class);
//解决查询缓存转换异常的问题
ObjectMapper om = new ObjectMapper();
om.setVisibility(PropertyAccessor.ALL, JsonAutoDetect.Visibility.ANY);
om.enableDefaultTyping(ObjectMapper.DefaultTyping.NON_FINAL);
jackson2JsonRedisSerializer.setObjectMapper(om);
// 配置序列化(解决乱码的问题),过期时间600秒
RedisCacheConfiguration config = RedisCacheConfiguration
.defaultCacheConfig()
.entryTtl(Duration.ofSeconds(600))
.serializeKeysWith(RedisSerializationContext.SerializationPair.fromSerializer(redisSerializer))
.serializeValuesWith(RedisSerializationContext.SerializationPair.fromSerializer(jackson2JsonRedisSerializer))
.disableCachingNullValues();
RedisCacheManager cacheManager = RedisCacheManager.builder(factory)
.cacheDefaults(config)
// 可以给每个cacheName不同的RedisCacheConfiguration 设置不同的过期时间
//.withCacheConfiguration("Users",config.entryTtl(Duration.ofSeconds(100)))
.transactionAware()
.build();
return cacheManager;
}
}
```
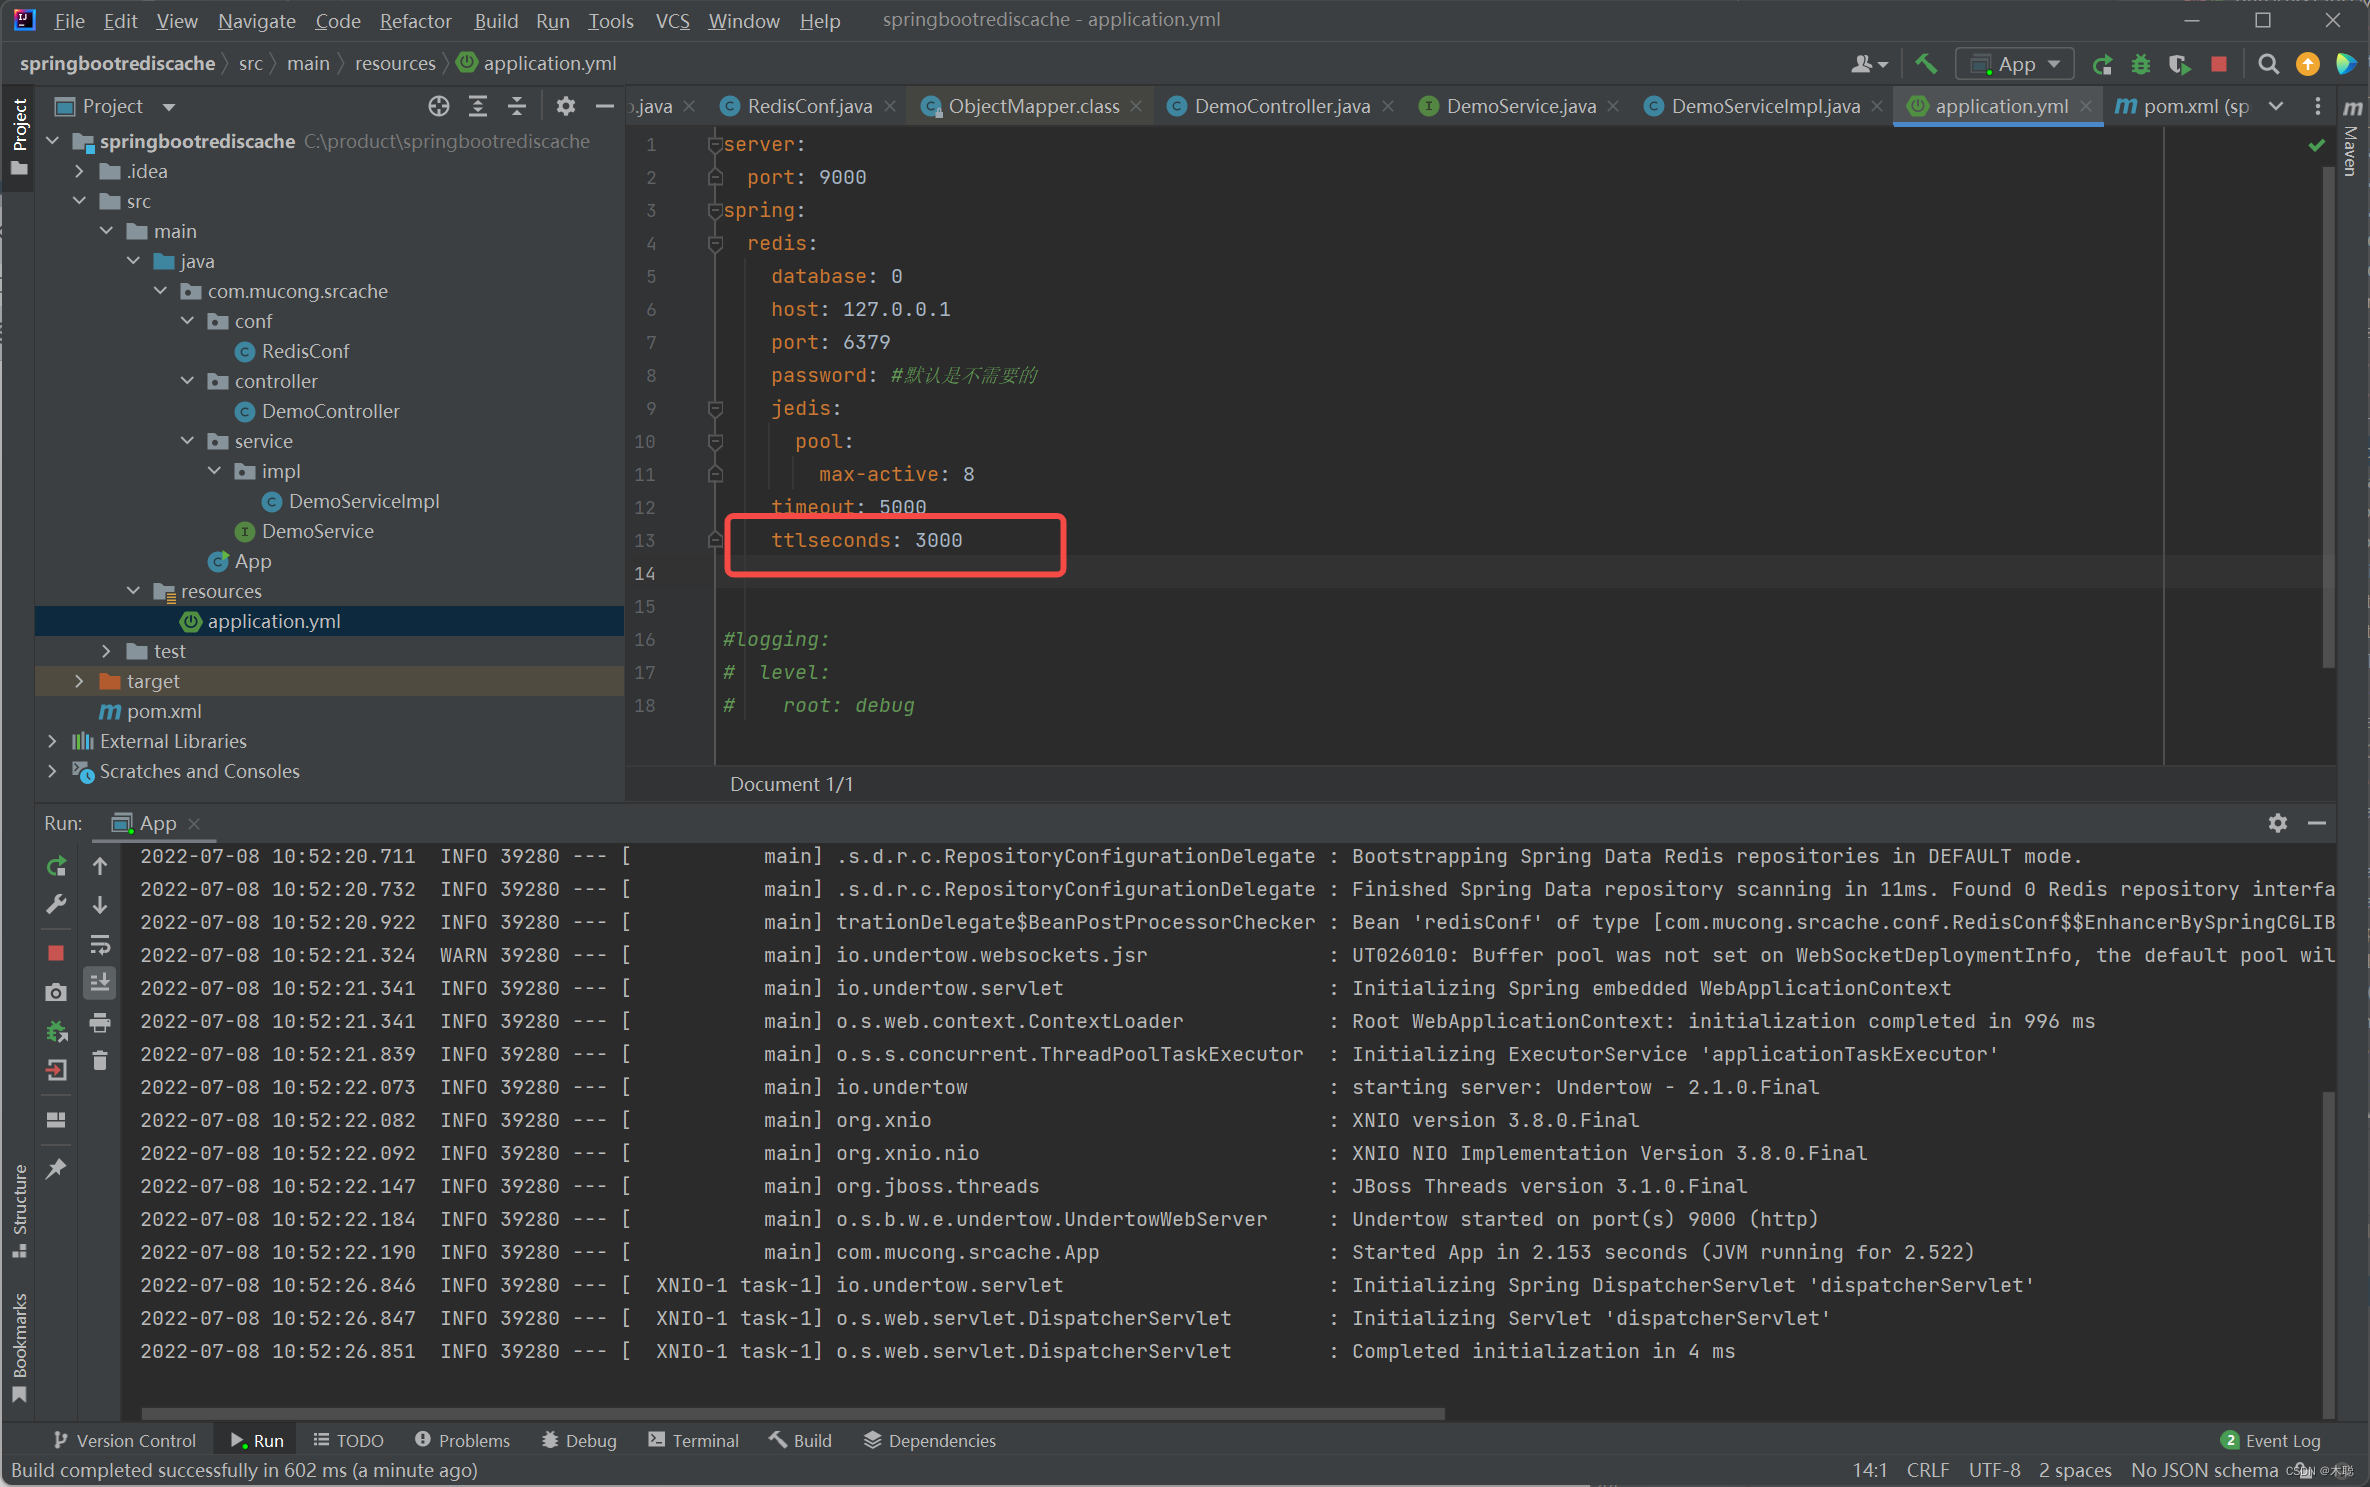
#### application.yml
```yaml
server:
port: 9000
spring:
redis:
database: 0
host: 127.0.0.1
port: 6379
password: #默认是不需要的
jedis:
pool:
max-active: 8
timeout: 5000
#logging:
# level:
# root: debug
```
## 不缓存的测试
> 上面的代码还没有添加缓存
启动项目
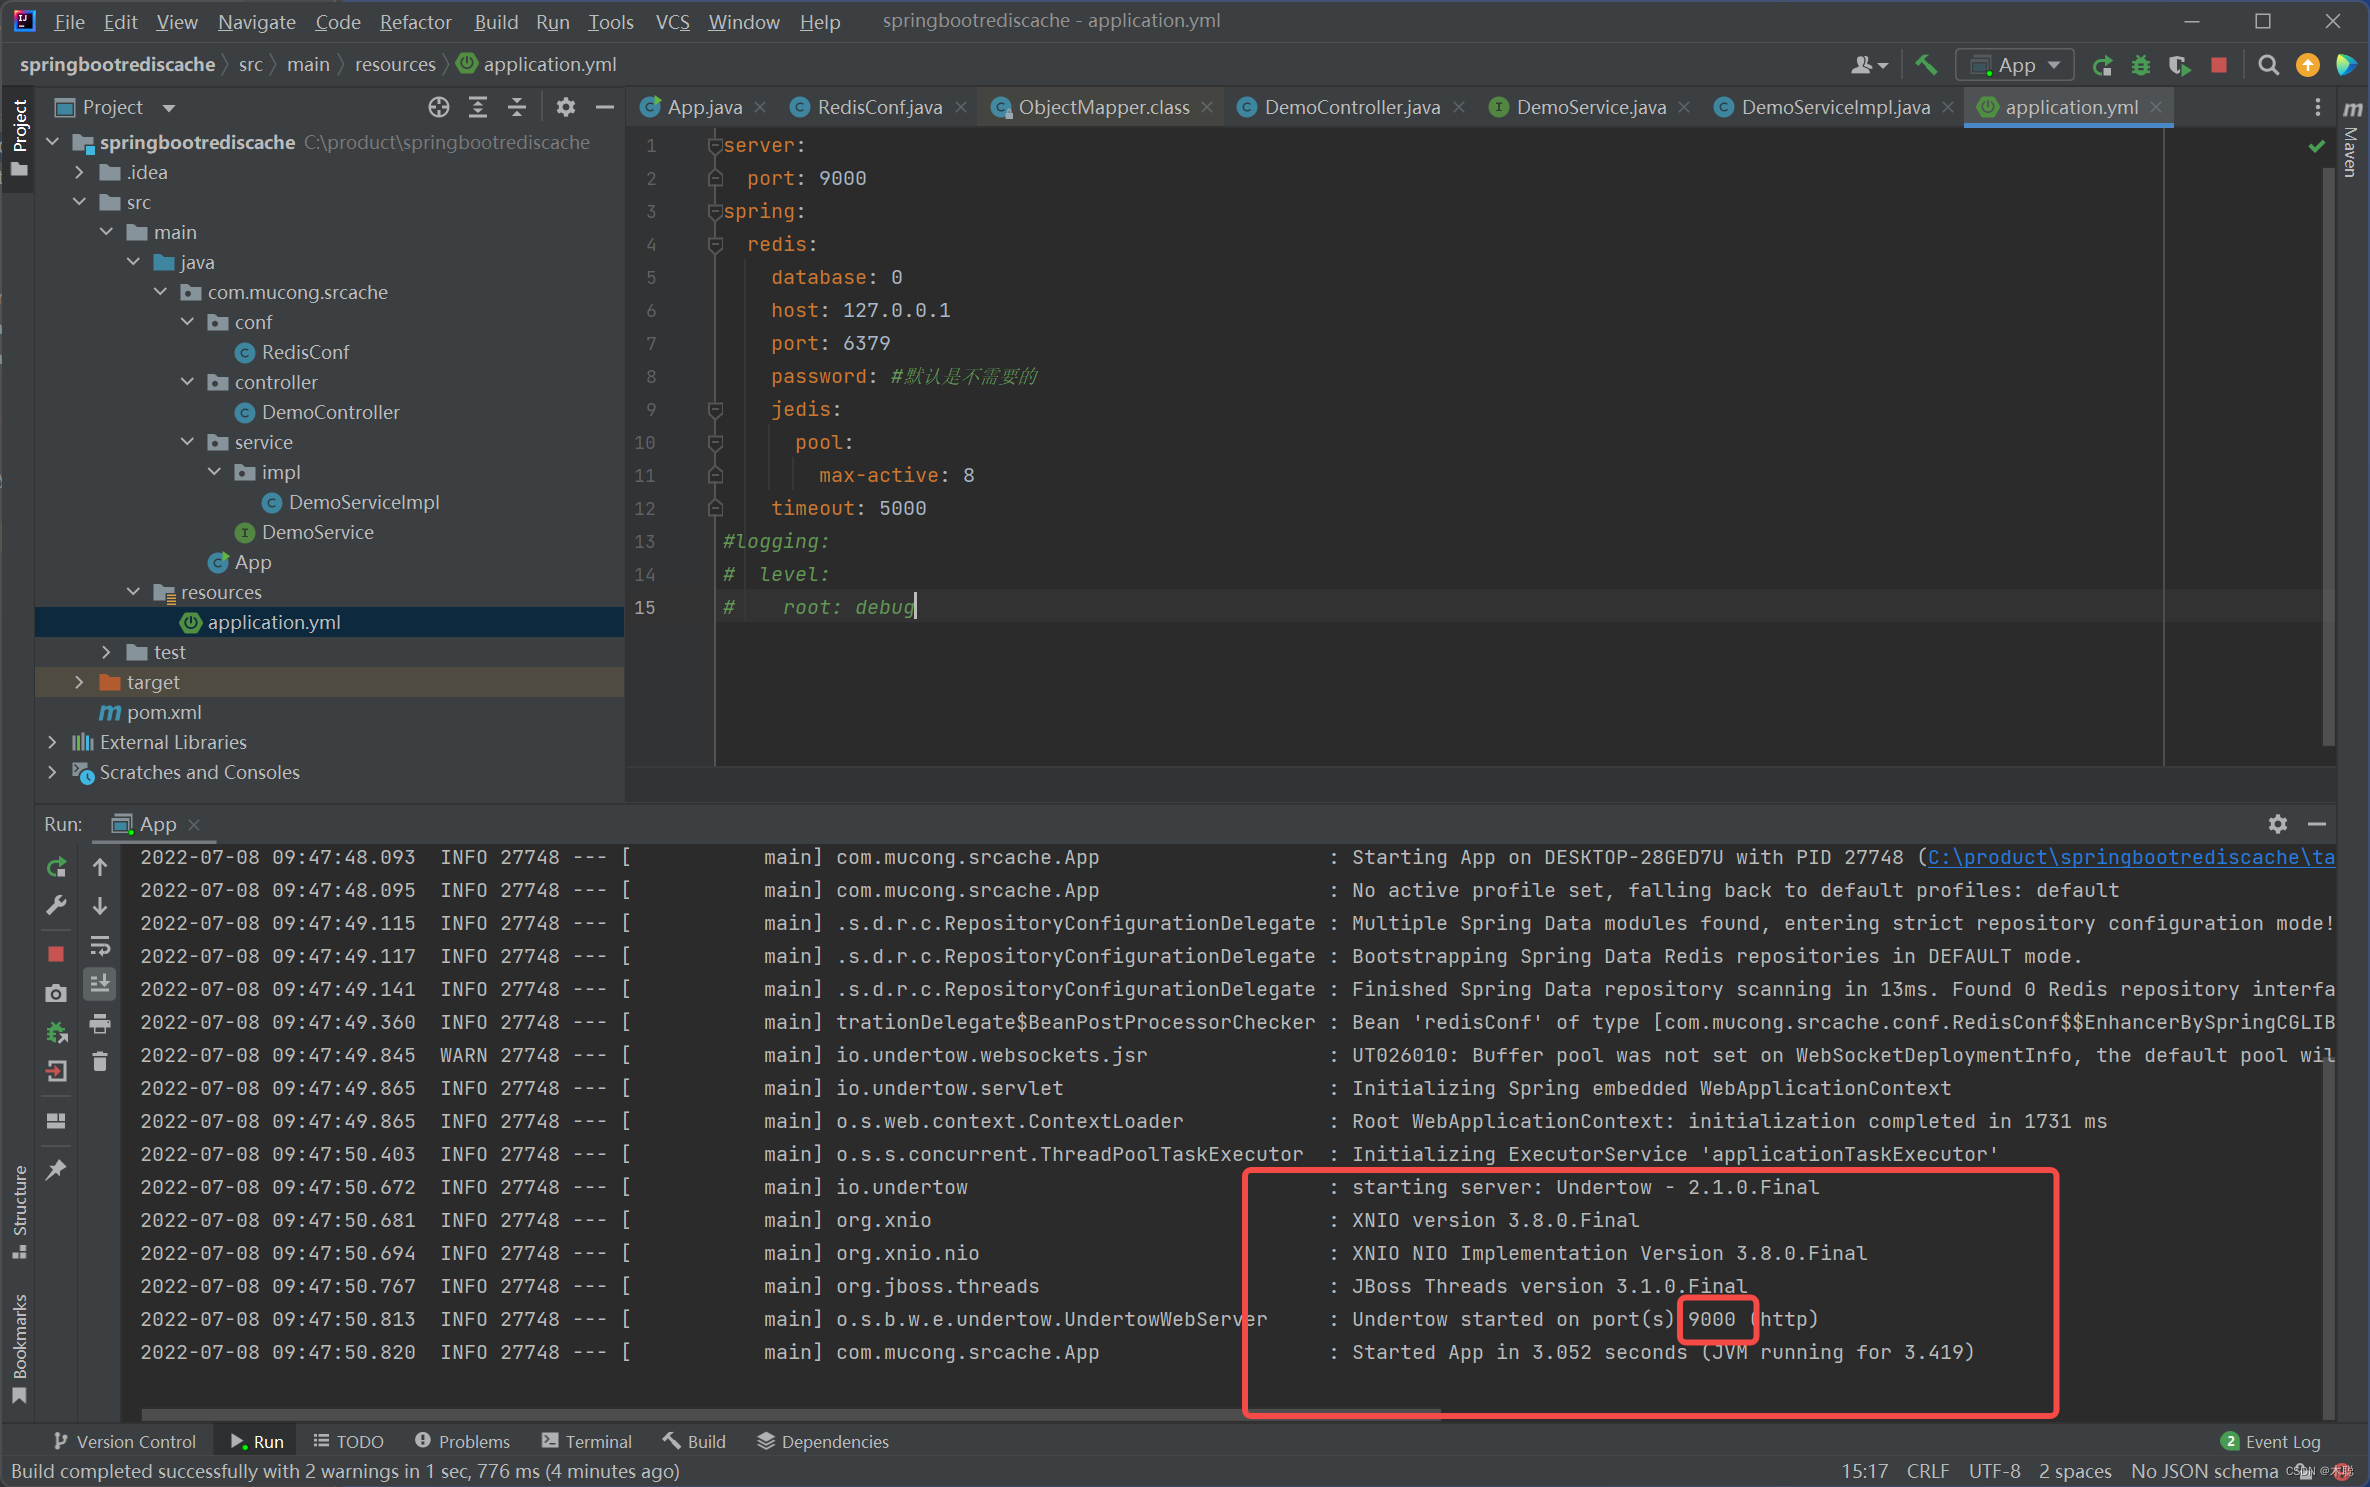
>浏览器中输入 http://localhost:9000/demo/getNow/abc
>每次刷新**返回的时间都不同**
!
## 了解几个注解
> 简单介绍几个注解,待会要用到
- @EnableCaching
- @Cacheable
- @CachePut
- @Caching
- @CacheConfig
- @CacheEvict
|注解|说明 |作用对象|
|--|--|--|
| EnableCaching | 开启缓存的**开关**,放到配置类上,也可以直接放到App上|全局的|
| CacheConfig| 标注到类上,主要**设置公共属性**,缓存空间,key生成策略,缓存管理器|设置的类内部|
| Cacheable| 标注到方法上,**使用缓存**的主方法,逻辑是,根据key如果有缓存则返回缓存数据,没有则执行方法,并且把数据放入缓存|方法上|
| CachePut| 放到方法上,**更新缓存**,方法的返回值根据设置的key值放入缓存|方法上|
| CacheEvict| 放到方法上,**清除缓存**,一般设置在编辑或者删除操作的方法上,清除对应key值的缓存|方法上|
| Caching| diy方式|方法上|
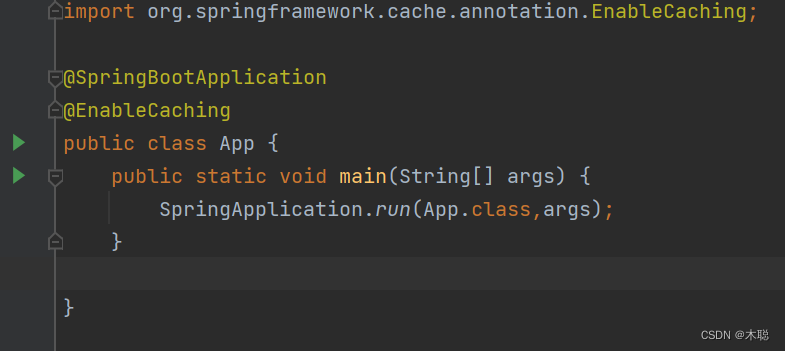
## 添加缓存测试
>通过上面的注解,我们首先需要开启缓存,在App.java中添加注解@EnableCaching,
>然后修改DemoServiceImpl.java,然后重启项目。
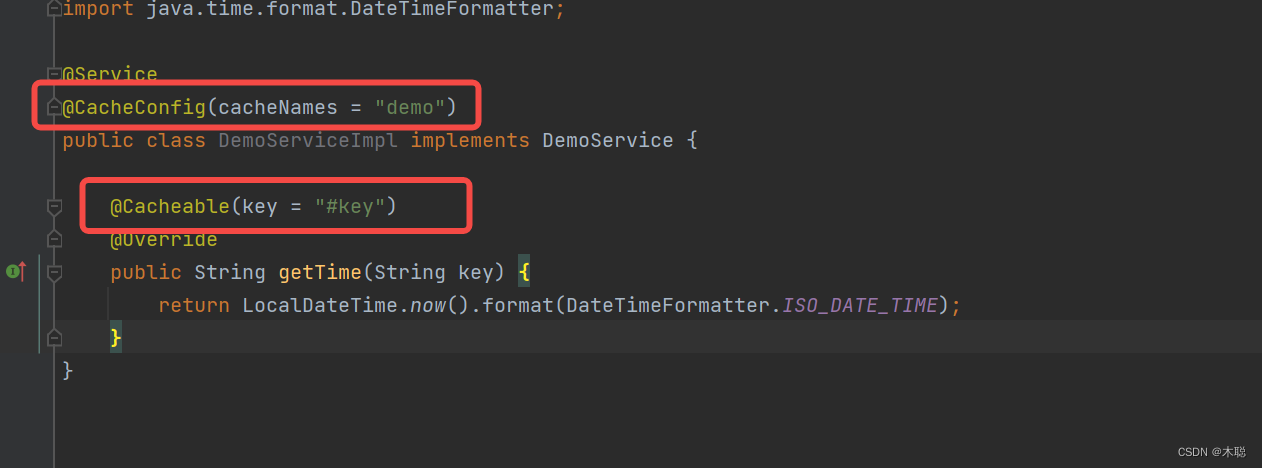
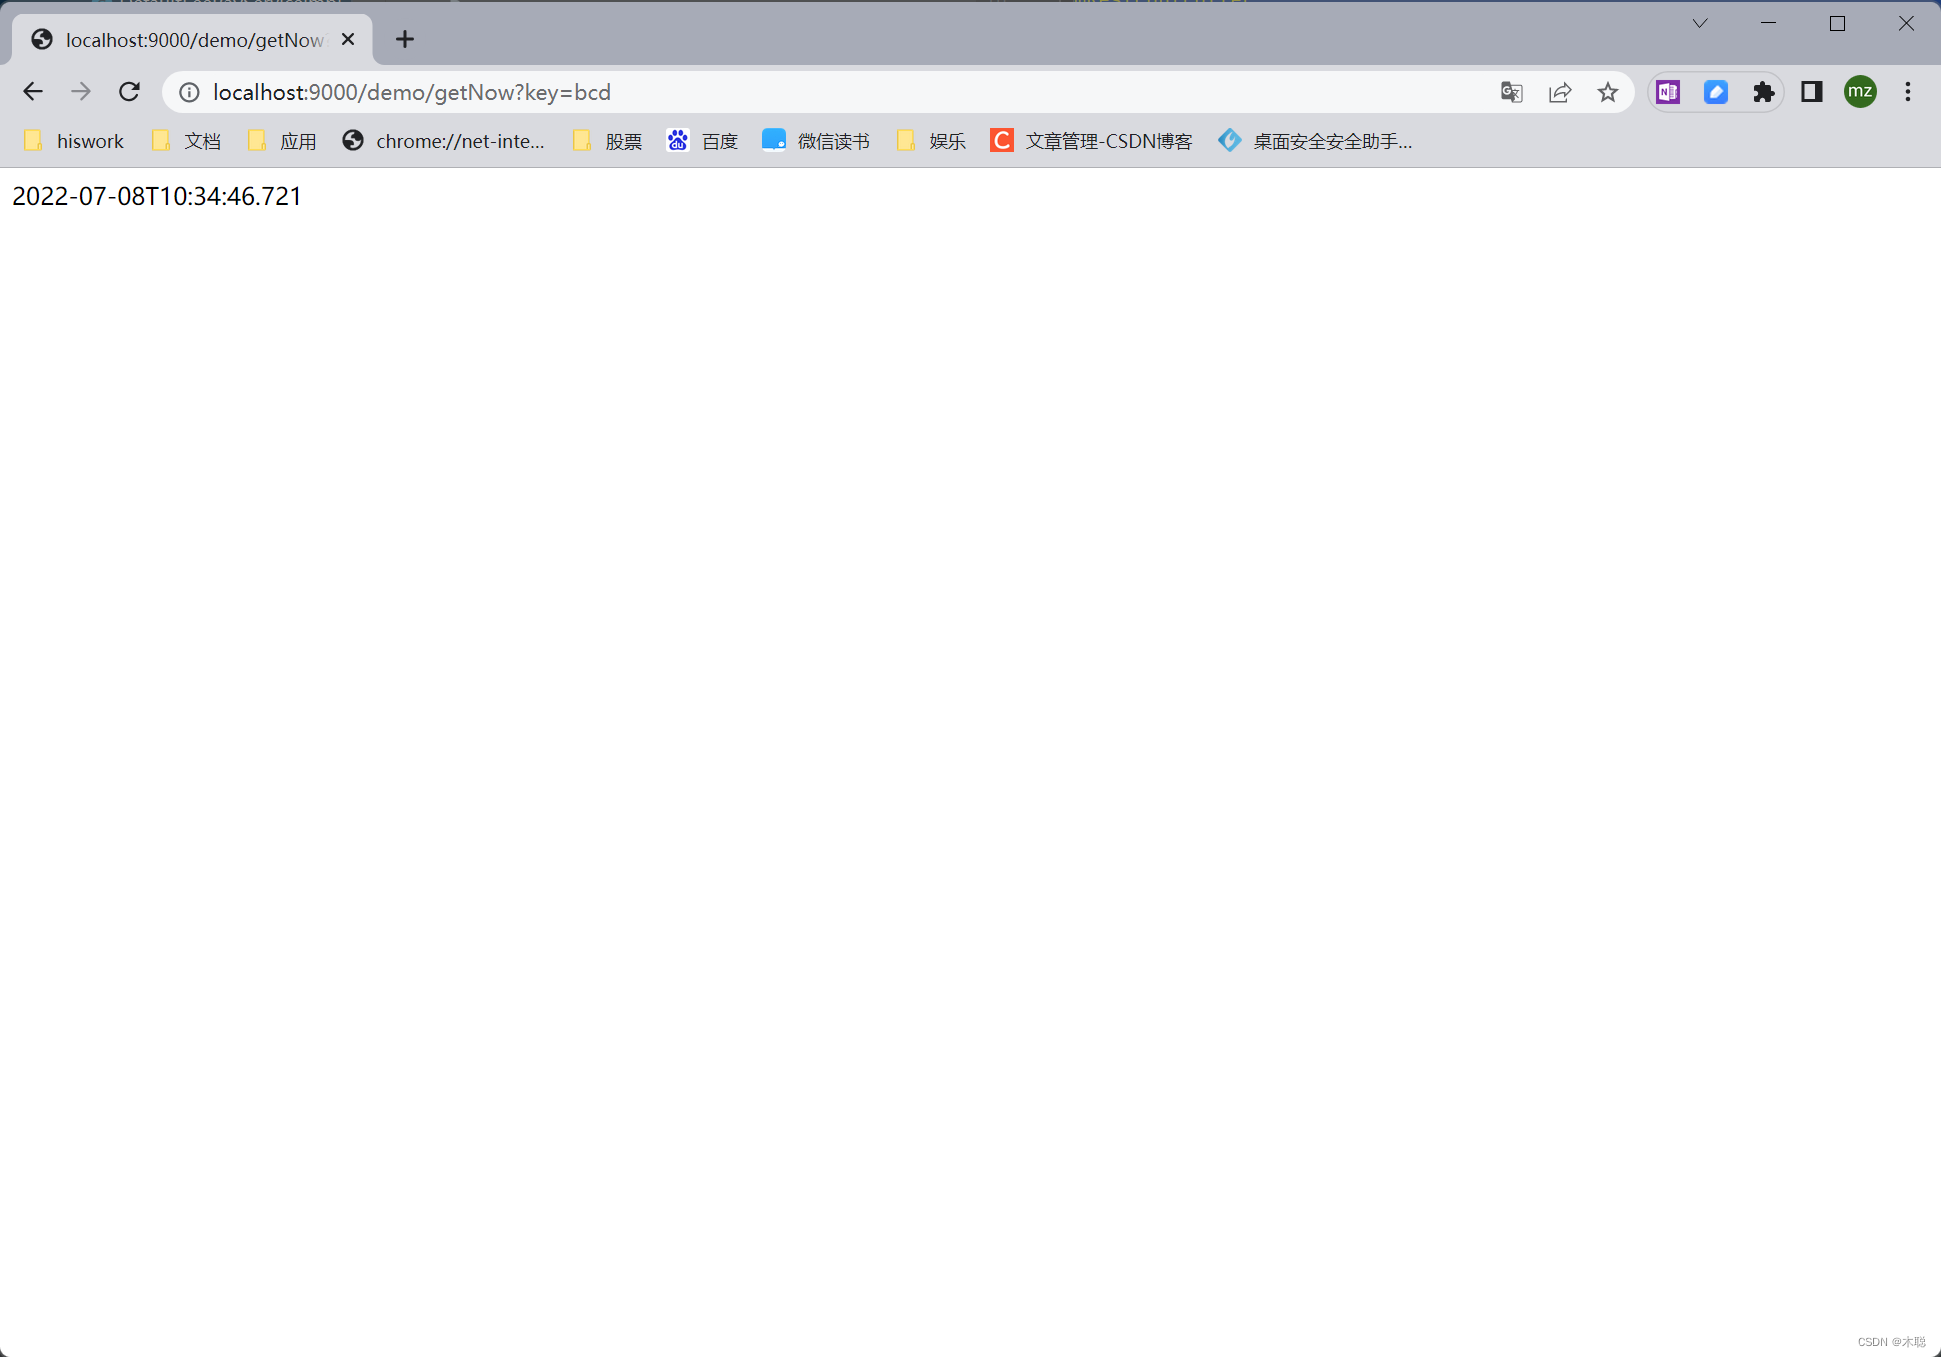
> 刷新页面发现每次时间都相同,修改key值之后,可以返回时间
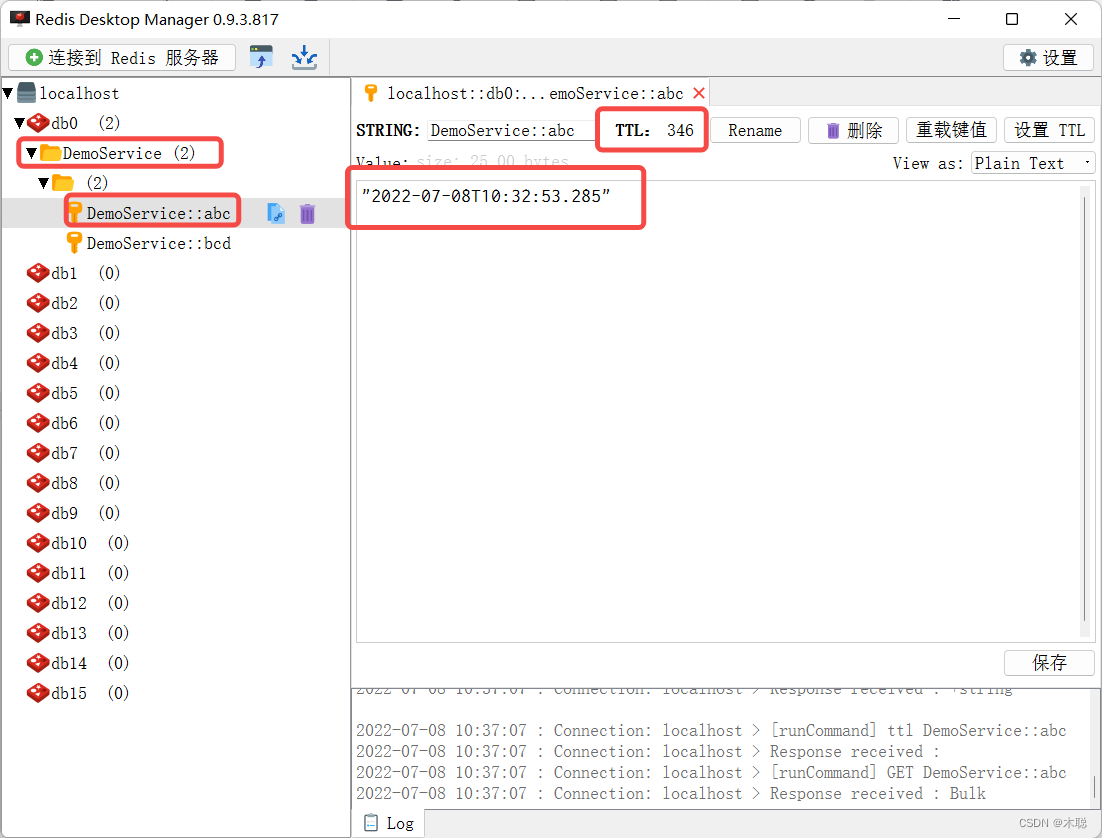
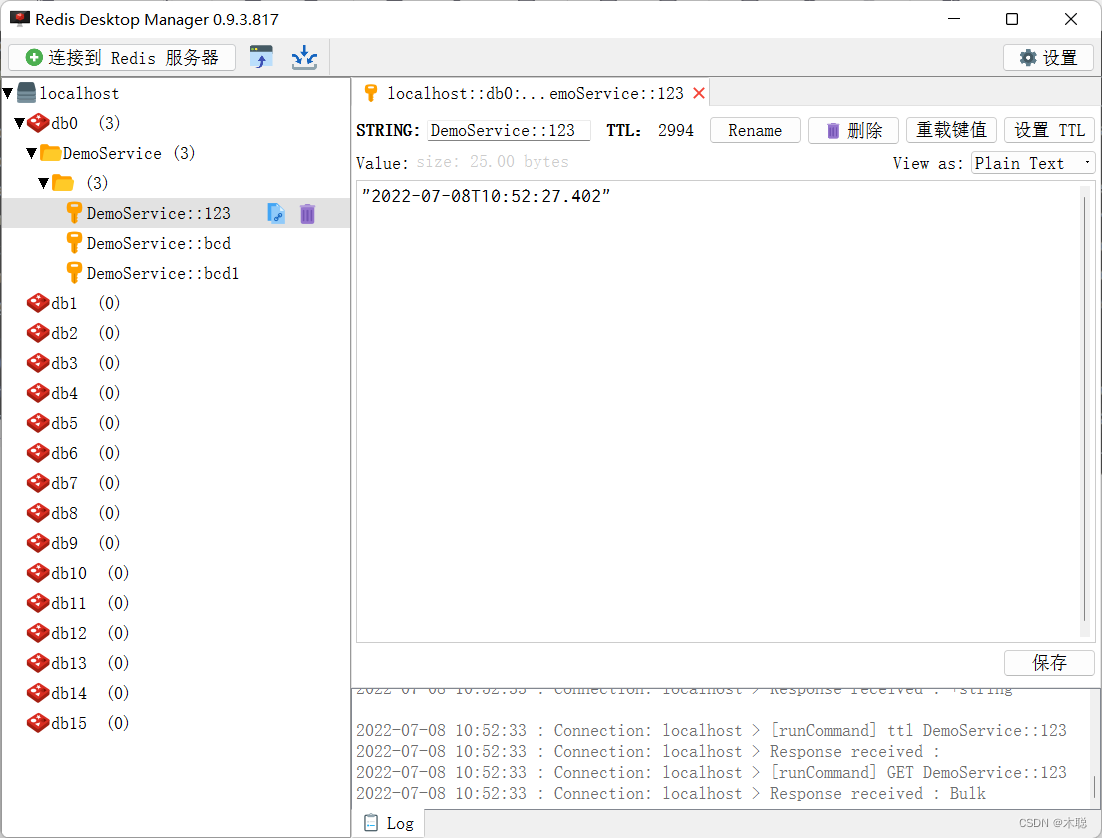
## 查看redis里面的缓存
> 使用的工具是 redisDesktopManager,可以看到里面的缓存有个时间,TTL缓存失效的时间单位是秒。
### 设置缓存失效时间
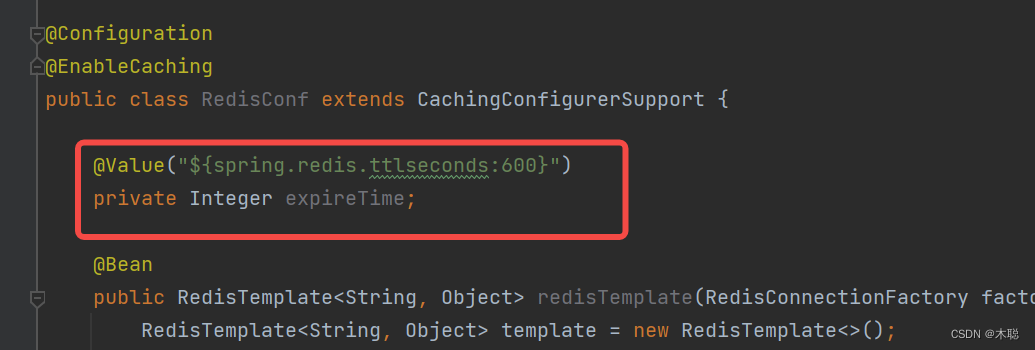
> 在RedisConf.java文件中,修改里面的参数,我们可以设置到application.yml中
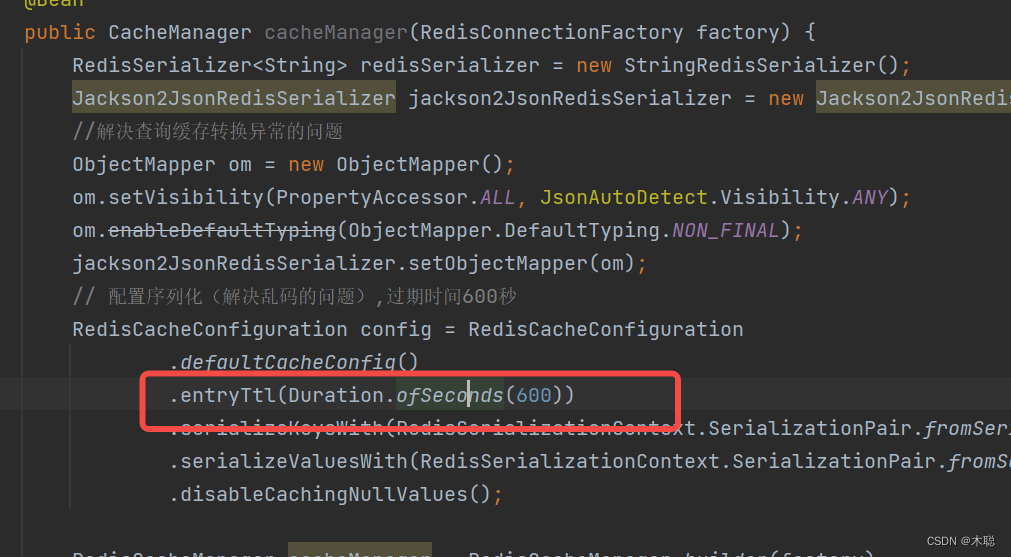
>在文件中设置属性,默认我们用600秒
> 修改代码
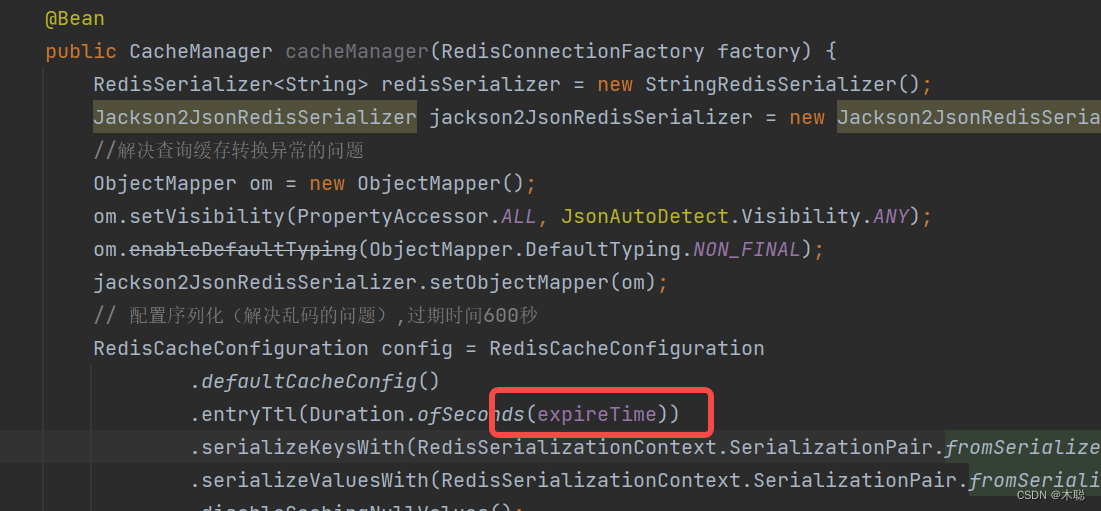
>现在我们可以在application.yml中设置过期时间了,使用后发现时间变长了
## 总结
这里只是简单介绍一下应用,我们在使用中会发现会有很多细节需要掌握,比如过期策略,缓存穿透,雪崩,key冲突,还有redis单点到哨兵模式,这些我们都可以一点一点使用中摸索出来。
需要源码可以访问:
[githup](https://github.com/maozhg/springbootrediscache)
[gitee](https://gitee.com/wmazh/springbootrediscache)