

代码拉取完成,页面将自动刷新

![]()
![]()
![]()
ReacType is a rapid prototyping tool for developers employing React component architecture alongside the comprehensive type-checking of TypeScript. In other words, you can draw prototypes and export React / TypeScript code!
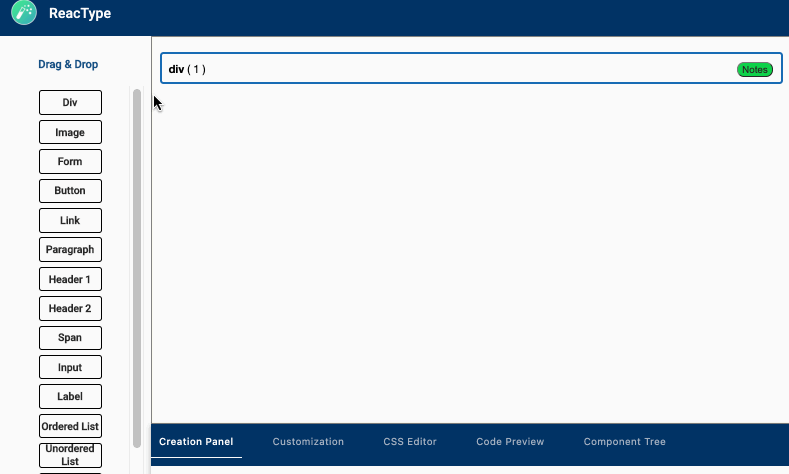
ReacType allows users to visualize their application architecture dynamically, employing a drag-and-drop canvas display , a real-time demo render , a real-time component code preview. Users can create components and drag instances of these components, as well as HTML elements, onto the canvas. This architecture can then be exported as TypeScript application files to be used as a starter template for any repository.
Download for MacOS, Windows, Linux.
Mac users: After opening the dmg and dragging ReacType into your Applications folder, ctrl+click the icon and select 'Open' from the context menu to run the app. This extra step is necessary since we don't have an Apple developer license yet.
Windows users: Install the application by running ReacType Setup 8.0.0.exe.
Linux users: Run the application as a super user in order to read and write files.
Sign-in page: Sign up for an account, sign in via Github, or just continue as a guest. Registered users enjoy additional project-saving functionality.
Tutorial: Click ‘Tutorial’ from the Help tab’s dropdown menu (at the top left of the application) to view a tutorial.
Start a project (only after registration): Registered users can create a new project and select whether they want their project to be a Next.js, Gatsby.js, or classic React project. Also, registered users can save projects to return to them at a later time.
Add Components: Create components on the right panel. Components can be associated with a route, or they can be used within other components.
Delete Components: Delete components after focusing on them in the right panel. Be careful when deleting components: Upon deletion, all instances of the component will be removed within the application/project.
Add Custom Elements: Create custom elements or add provided HTML elements into the application. Once the project is exported, the HTML tags generated in the code preview will function as expected. You can specify functionality for custom elements in the code preview. The tutorial on HTML Elements explains more on how to do this.
Delete Custom HTML Elements: Delete custom HTML elements by clicking on the ‘X’ button adjacent to the element. Be careful when deleting custom elements: All instances of the element will be deleted within the application/project.
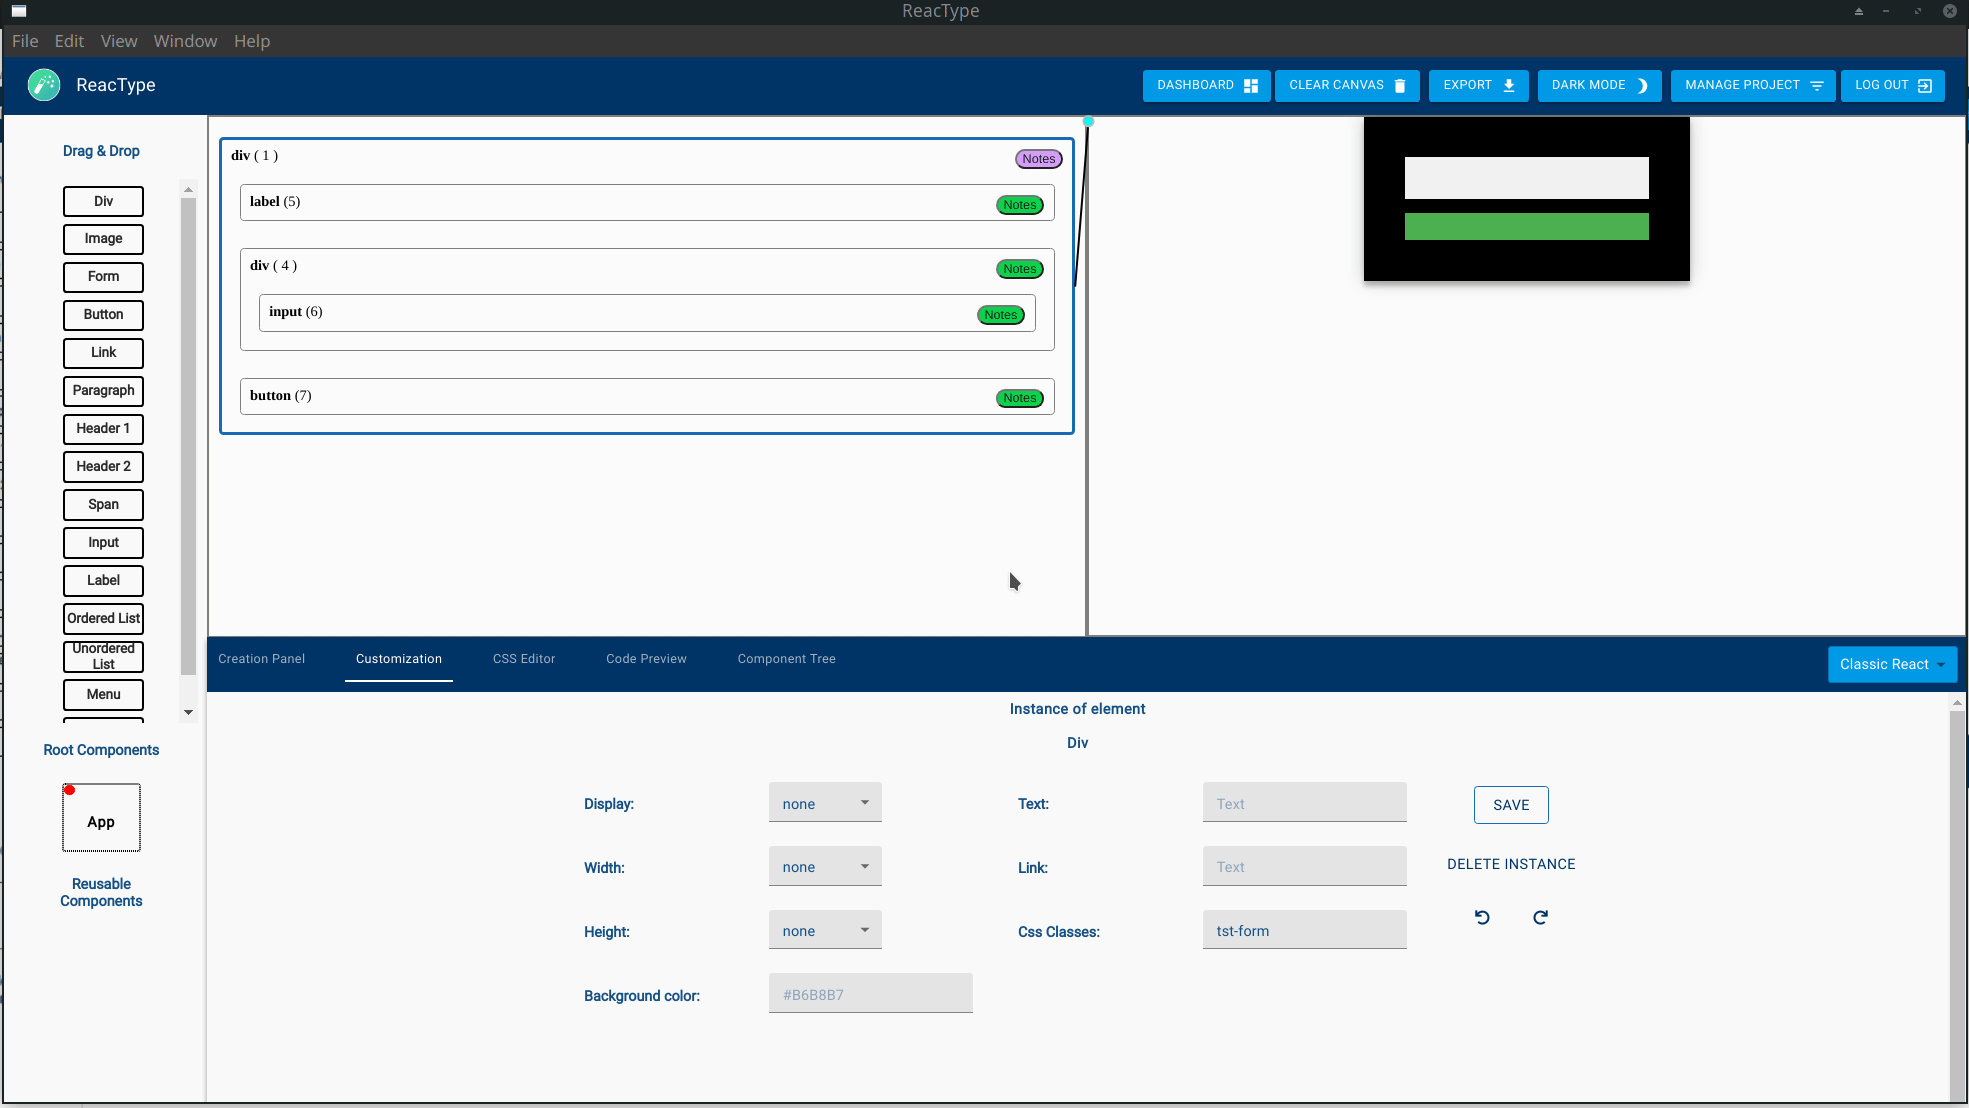
Create Instances on the Canvas: Each component has its own canvas. Add an element to a component by dragging it onto the canvas. Div components are arbitrarily nestable and useful for complex layouts. Next.js and Gatsby.js projects have Link components to enable client-side navigation to other routes.
Component Tree: Click on the Component Tree tab next to the Code Preview tab to view the component tree hierarchy.
Update Styling: Select an element on the canvas to update its basic style attributes on the right panel. As you create new instances and add styling, watch as your code dynamically generates in the code preview in the bottom panel.
User Preference Features: With the click of a button, toggle between light mode and dark mode, depending on your preference.
Export project: Click the “Export Project’ button to export the project’s application files into a TypeScript file. The exported project is fully functional with Webpack, Express server, routing, etc., and will match what is mocked on the canvas.
Export project with Tests: Click the "includes tests" checkbox while exporting to include pre-configured Webpack, Jest, and Typescript files along with tests for your project.
Elements may be added to components in any location, rather than only at the bottom
Compatibility with Gatsby.js
Modernized and cleaner UI, including enhanced dark mode
Tutorial has been updated to reflect other modifications
New with version 8.0.0:
OAuth via Github: Sign up with your github accounts.
Live Render Demo: Live render demo in React using Electron's sandbox environment. Updates in realtime to reflect canvas structure and customization options.
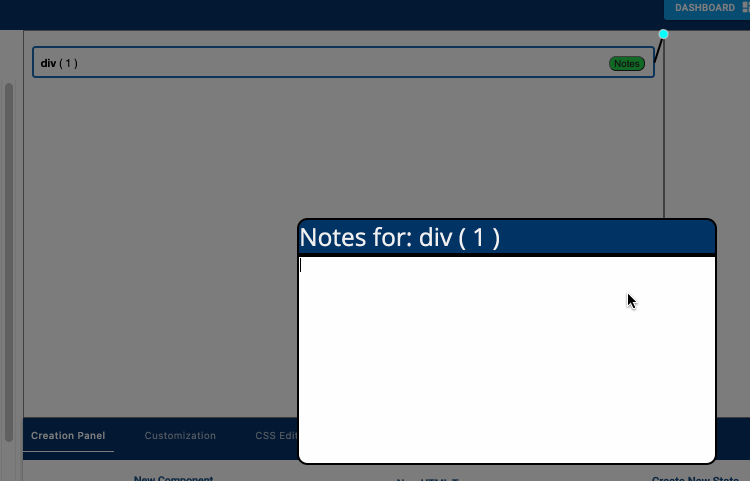
Annotations: Provide design notes directly on the canvas and have these persist while sharing designs with other engineers.
CSS Editor: Copy and paste custom css styles and classes into the editor and save to use personal or company designs in an instant.
State & Props Creator: Create custom state hooks with real-time updates in the code preview.
Application Style Update: Complete redesign of the entire application for enhanced user experience to maintain a single view application
Dashboard: Click the 'Dashboard' button to view the Public Dashboard and User Dashboard.
Like: Like other people's templates by clicking on the thumbs up icon.
Comment: Comment on other templates by typing in the input field and clicking the comment icon.
Download: Save any public template by clicking the download icon to save a copy as your own.
Publish: Publish any template to the Public Dashboard for other users to download, like, or comment on. Click again to unpublish projects.
Sort By: Click the 'Sort By' button to choose different metrics to sort the Public Dashboard by.
Form Nesting: Nesting within form tags is now fully functional
Added Undo and Redo functionality
Test Suite Export: pre-configured configuration & test file exports with application files.
Dark mode: change the theme of the app for a different asthetic.
Mac:
Windows:
Anthony Torrero @Anthonytorrero
Christian Padilla @ChristianEdwardPadilla
Jonathan Calvo Ramirez @jonocr
npm install
npm run prod
npm run dev
npm run dev should spin up the development server from the server folder of this repo. For additional information, the readme is here. Alternatively, you can select "Continue as guest" on the login page of the app, which will not use any features that rely on the server (authentication and saving project data.)npm install
npm run build
npm run start
This project is licensed under the MIT License - see the LICENSE.md file for details.
此处可能存在不合适展示的内容,页面不予展示。您可通过相关编辑功能自查并修改。
如您确认内容无涉及 不当用语 / 纯广告导流 / 暴力 / 低俗色情 / 侵权 / 盗版 / 虚假 / 无价值内容或违法国家有关法律法规的内容,可点击提交进行申诉,我们将尽快为您处理。


